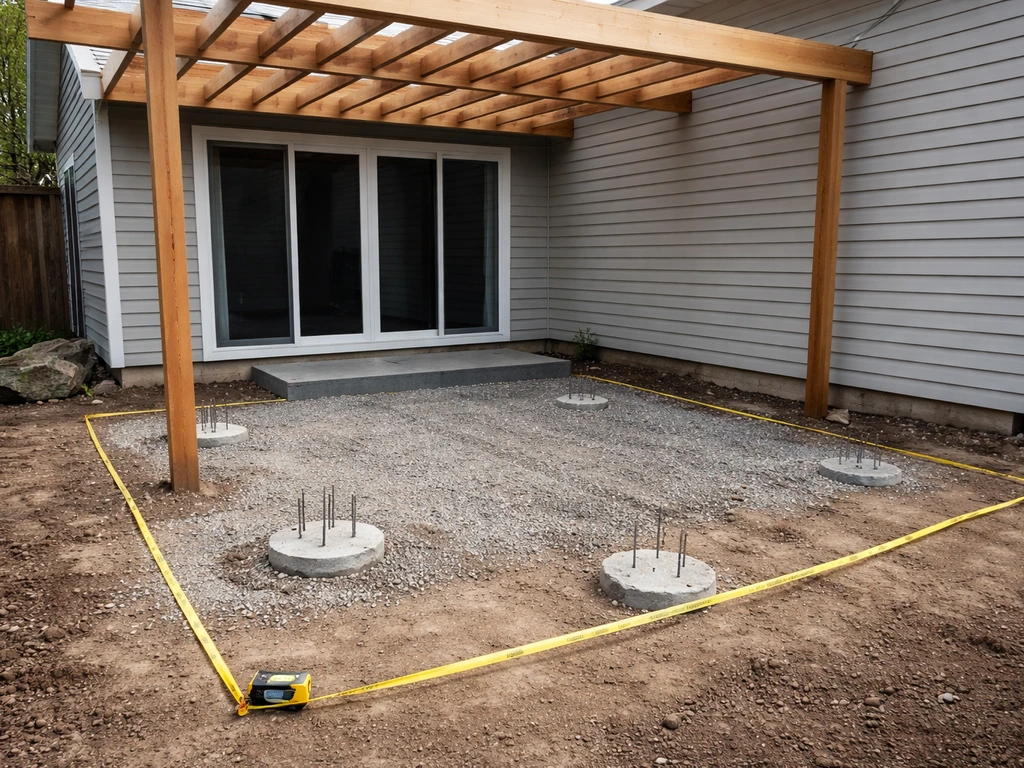
A patio does not have to go right up to the house, and in most cases it shouldn't. The best practice is to leave a small intentional gap, typically between half an inch and an inch, between the patio surface and the foundation wall. That gap allows for independent movement, gives water somewhere to go, and prevents the kind of slow moisture damage that ruins foundations and basements over years. Whether you're pouring concrete, laying pavers, or using a composite system, the details around that joint matter more than almost anything else in the project.
Should Patio Go Right Up to House? Safe Spacing and Watering

Miles Hart
8 Jul 2026
What the building code actually says about patio placement
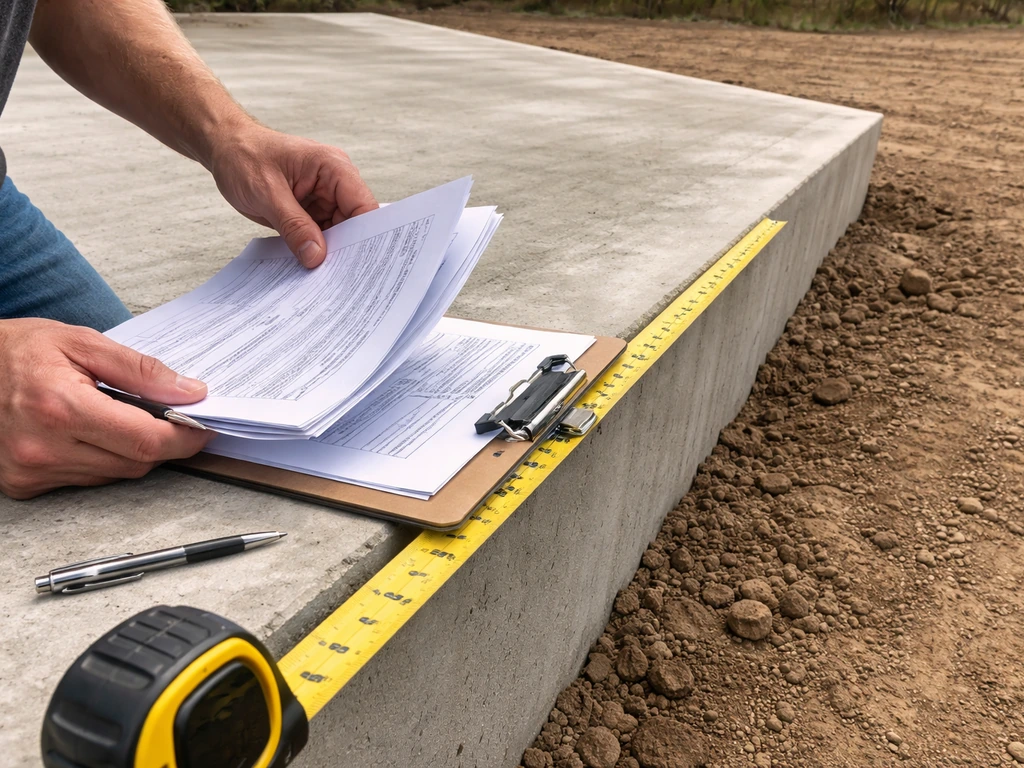
Most homeowners think permits and code only apply to decks or covered structures, but patios have real grading and drainage requirements too. Before you pour, review the building code for patios so you match the required grading and drainage around the foundation. Under IRC Section R401.3, the ground adjacent to your foundation must slope away from the house with at least 6 inches of drop within the first 10 feet. For impervious surfaces like concrete or pavers, the code also calls for a minimum 2% slope away from the foundation across that same 10-foot zone. That's roughly a quarter inch of drop per foot.
A separate federal standard used in permitting contexts (24 CFR § 3285.203) reinforces this by requiring a minimum half-inch-per-foot slope away from the foundation for the first ten feet. If Yolanda is building a patio in her backyard, start by reviewing local patio placement rules and making sure the slope directs water away from the foundation. These aren't suggestions, they're the floor for what local inspectors will check. Your local municipality may have stricter rules on top of them, especially in areas with clay soils, high water tables, or known flood risk.
Even if your project doesn't technically require a permit (which depends heavily on your jurisdiction, patio size, and whether it's attached), you're still responsible for meeting these grading standards. And if you ever sell your home, a home inspector who finds a patio sloping toward the foundation is going to flag it. It's worth doing right the first time.
Water management: slope, drainage, and flashing
Water is the single biggest reason patio placement matters. If your patio drains toward the house instead of away from it, you're essentially building a funnel that sends every rainstorm straight toward your foundation. Over time that means damp basements, efflorescence on foundation walls, and in cold climates, freeze-thaw damage to both the foundation and the slab itself.
The slope requirement isn't hard to hit, but it requires intentional planning. A 2% slope means a 2-inch drop over 8 feet, or about a quarter inch per foot. If you're pouring concrete, this gets set during the form work stage. If you're laying pavers, it comes down to your base preparation and how carefully you screed the bedding layer. Either way, check your slope with a level and a tape measure before anything sets or gets compacted.
Where the patio meets the house, flashing matters more than most DIYers realize. If there's a door threshold, a ledger board, or siding that comes down close to your patio surface, water can wick behind those elements and into your wall assembly. Standard practice is to keep the patio surface at least an inch below the door threshold and to ensure any gap between the patio and siding is either flashed properly or sealed with a flexible, paintable sealant that can move with seasonal changes. If your siding terminates close to your finished patio height, that's a conversation to have with a contractor or inspector before you pour.
For concrete patios specifically, the gap between the slab and the foundation wall should be sealed after the isolation joint is installed. An unsealed gap becomes a direct water pathway down the face of the foundation. Use a backer rod and a flexible polyurethane or polyurea caulk, not rigid mortar. The seal needs to flex as the slab moves, not crack.
The gap your patio needs for movement and safety
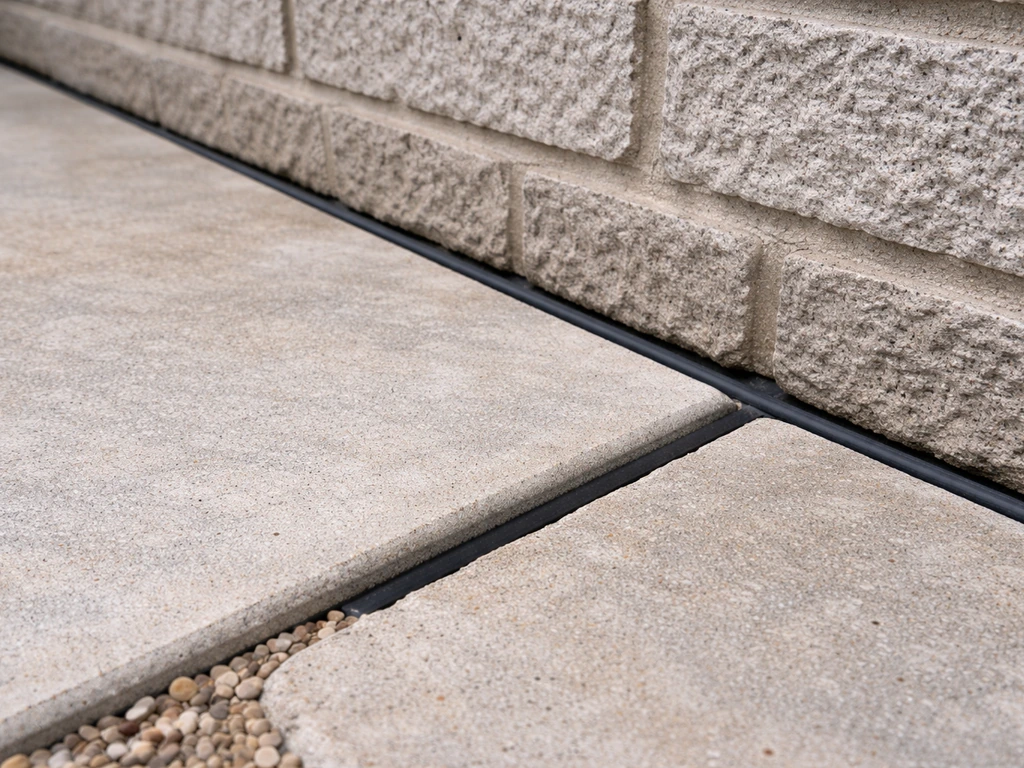
Concrete and masonry move. They expand in heat, contract in cold, and settle over time as the soil beneath them shifts. If your patio slab is poured tight against your foundation wall with no room to move, one of two things happens: the slab cracks, or it pushes against the foundation and transfers load to a wall that wasn't designed to receive it. This Concrete Network isolation joint guidance notes that an isolation or expansion joint with compressible filler helps slabs move independently when poured against a fixed element such as a house foundation wall, reducing cracking. Neither outcome is good.
The solution is an isolation joint, sometimes called an expansion joint. This is a full-depth strip of compressible material, typically asphalt-impregnated fiberboard or closed-cell foam, placed between the slab and the foundation wall before the concrete is poured. It allows each element to move independently. The rule of thumb from concrete professionals is that this joint should run the full depth of your slab, and for a standard 4-inch residential patio slab, that means a 4-inch deep joint.
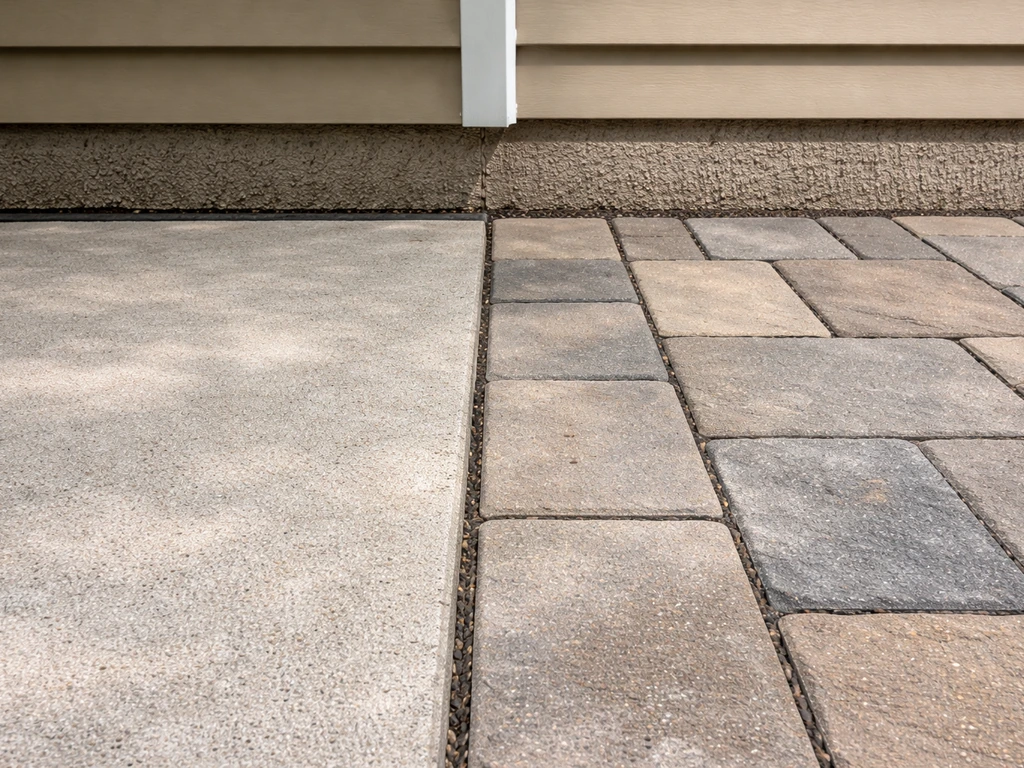
For pavers, the principle is the same but the execution is simpler. Manufacturer guidance commonly calls for a minimum half-inch gap between pavers and any wall, post, or penetration. That gap gives the pavers room to shift slightly without pushing into the structure. In freeze-thaw climates, this gap is even more important because the entire paver field can heave and resettle with the seasons, and if it's locked against the foundation wall, something has to give.
Settlement is the other factor. A new patio built on backfill near the foundation can settle unevenly in the first few years as the soil compacts. If the patio is hard against the foundation, that differential settlement creates a stress point. A gap and a flexible joint seal let the patio settle without dragging the foundation wall or cracking at the joint.
Weeds and vegetation are a secondary but real concern with any gap. A tight, well-sealed joint prevents weed seeds from finding a home between the slab and the foundation. If you leave an unsealed gap, expect weeds within a season or two. The fix is straightforward: backer rod, flexible caulk, and a periodic inspection every few years to reseal as the caulk ages.
When building a patio flush to the house actually causes problems
Most of the failure cases I've seen come down to a few predictable mistakes. Knowing these in advance lets you either avoid them or at least understand the risk before you commit to a design.
- Patio surface is too high relative to the door threshold: This traps water at the entry and can send it under the door or behind the sill. The patio surface should sit at least an inch below any door threshold.
- No isolation joint in a poured concrete slab: The slab cracks at the foundation wall within a few years, usually sooner in climates with hard freeze-thaw cycles. The crack then becomes a water pathway.
- Siding or stucco extends to within an inch of the patio surface: Water wicks up behind the siding, rots the sheathing, and can reach the framing before you notice anything from the inside.
- Patio on top of uncompacted backfill: Foundation perimeters are often filled with loose soil after construction. A patio poured over this without proper base preparation will settle unevenly and create a negative slope toward the house.
- Masonry patio against a masonry foundation with no joint: Two rigid systems with different thermal and load characteristics will eventually crack at the interface. This is especially common with older homes where the original patio was poured directly against a block or brick foundation.
- Patio trapping runoff against the foundation on sloped lots: If the surrounding grade drains toward the patio, the patio itself becomes a holding pond against the house. This is a drainage design problem that has to be solved at the base prep and grading stage, not patched later.
- Crawlspace homes with patios close to foundation vents: Blocking or partially covering foundation vents with a patio that goes right to the foundation wall restricts airflow and can increase moisture levels in the crawlspace.
Better layouts: practical alternatives to going flush
The good news is that a small separation from the house doesn't look bad, and in many cases it actually improves the design. Here are the approaches that work well in practice.
A deliberate gap with a planting strip
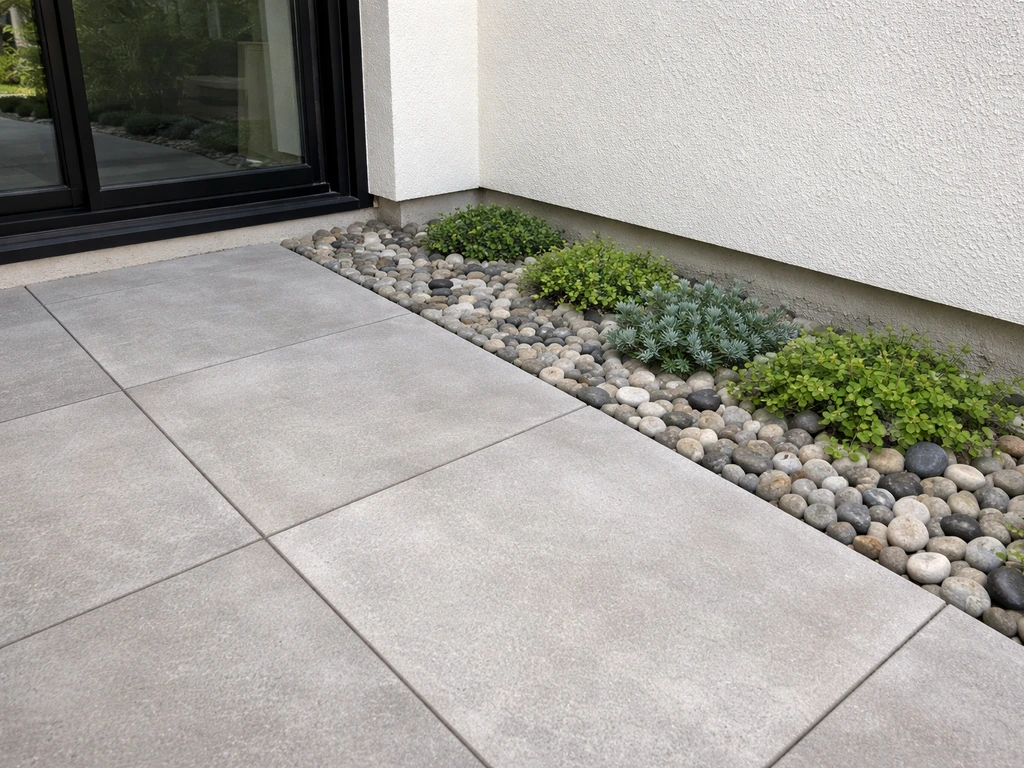
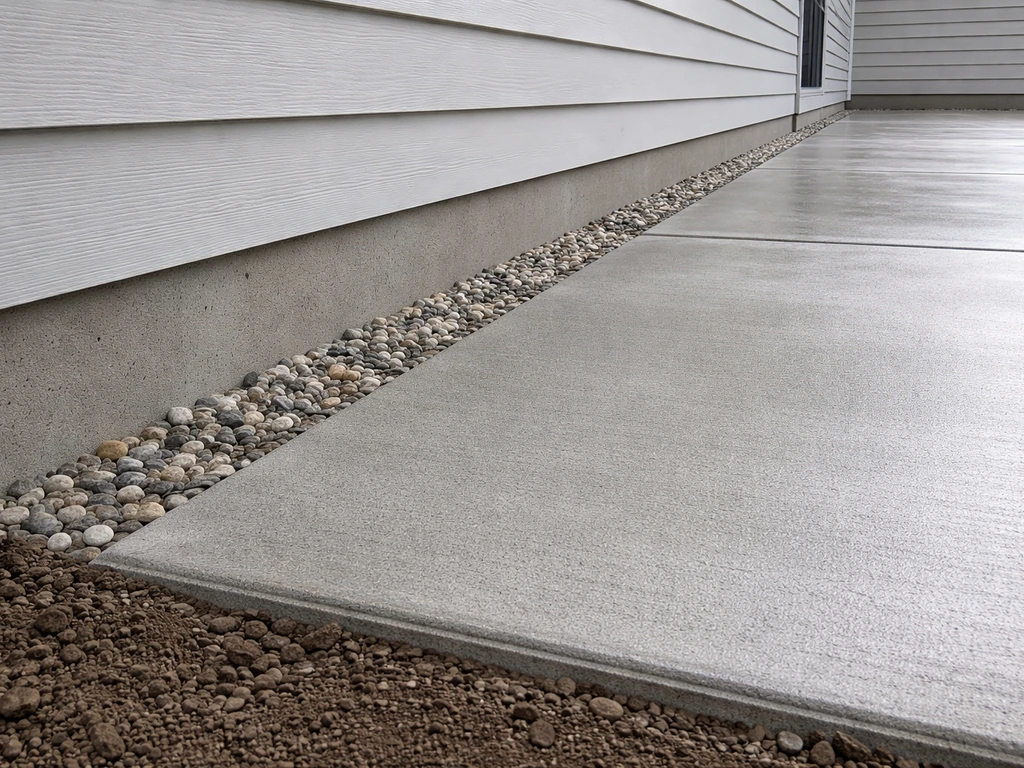
Leaving 12 to 24 inches between the edge of the patio and the foundation wall, then filling that space with gravel, river rock, or low-maintenance groundcover, solves multiple problems at once. It gives water a permeable surface to drain through, keeps the patio surface well clear of the foundation, and provides a clean visual separation between the structure and the hardscape. This is one of the most practical layouts for homes with a crawlspace or a finished basement below grade.
Paver edge systems with a sealed joint
If you want the patio to come close to the house without touching, a rigid edge restraint installed at the foundation wall with a half-inch to one-inch gap, then sealed with backer rod and flexible caulk, is a clean and durable solution. The edge restraint keeps the pavers from migrating toward the wall, and the sealed gap handles both movement and water. ICPI technical guidance specifically recommends edge restraints for freeze-thaw environments because they keep the paver field stable as it heaves and settles seasonally. ICPI tech-spec guidance in this Unilock Tech Spec 4 PDF notes that, for paver systems in freeze-thaw conditions, edge restraints should be designed to remain stationary while receiving impacts to help prevent shifting edge restraints for freeze-thaw environments.
Concrete with a properly detailed isolation joint
For poured concrete, the isolation joint approach with compressible fiberboard or foam, a backer rod, and flexible caulk at the top is the standard professional detail. It looks nearly flush from above but gives the slab full freedom to move. This is the right call when you need the patio surface to be continuous and close to the house, such as at a back door landing or a sliding door opening.
Different structure types worth considering
If your goal is a covered outdoor area directly adjacent to the house, a deck or a covered porch attached to the ledger board may actually handle the foundation interface better than a ground-level patio, because the ledger connection is engineered, flashed, and inspected as part of the permit process. If your goal is a covered outdoor area directly adjacent to the house, a deck or a covered porch attached to the ledger board may actually handle the foundation interface better than a ground-level patio, because the ledger connection is engineered, flashed, and inspected as part of the permit process carport with patio on top. Ground-level patios sometimes get built without the same scrutiny. If you're weighing options between structures, it's worth thinking about which approach gives you more design control over how water and movement are managed at the house connection.
Comparing patio edge approaches side by side
| Approach | Gap at House | Water Management | Movement Handling | Best For |
|---|---|---|---|---|
| Concrete with isolation joint + caulk | 1/2" to 1" | Sealed joint, must slope away | Full-depth compressible strip | Poured concrete, door landings |
| Pavers with edge restraint + sealed gap | 1/2" to 1" | Permeable joints help, seal at wall | Gap absorbs freeze-thaw movement | DIY paver projects, freeze-thaw climates |
| Planting strip buffer (12"–24") | 12" to 24" | Permeable gravel or plants drain water | No direct contact, no joint needed | Crawlspace homes, sloped lots |
| Flush with no joint (not recommended) | 0" | No designed drainage path | No accommodation for movement | Only with engineered waterproof system |
Cost, DIY reality, and what to check before you build
The good news on cost is that the proper details, isolation joints, edge restraints, and proper grading, don't add much to the project budget. A roll of half-inch asphalt-impregnated fiberboard for isolation joints runs about $15 to $30 for a 50-foot roll. Backer rod and a tube of polyurethane caulk add another $15 to $20. These are small costs that prevent expensive repairs down the road.
For a DIY poured concrete patio, the grading and isolation joint work is well within reach if you're comfortable with basic formwork. The trickiest part is getting consistent slope across the slab and keeping your forms true. Paver patios are somewhat more forgiving because you can adjust the base and individual units as you go. The edge restraint installation and the sealed gap at the house are simple steps that most DIYers skip and then regret.
Where you should bring in a contractor or at least a consult: if your lot slopes toward the house, if you have a known drainage or moisture problem in your basement or crawlspace already, if the patio footprint is large (over 500 square feet), or if you're unsure about your existing foundation waterproofing. A contractor can assess subsurface conditions, recommend the right base depth, and ensure your drainage actually works before you install anything permanent on top. A garage with patio on top can create added roof runoff and water-management challenges at the house connection.
Pre-build checklist: what to measure and confirm today
- Check existing grade: Does the ground currently slope away from the house at roughly a quarter inch per foot across the first 10 feet? If not, plan for base regrading before your patio base goes in.
- Measure door threshold height: Find the height of every door threshold that will be adjacent to the patio. Your finished patio surface should be at least 1 inch below each threshold.
- Note siding termination height: Measure how close the bottom of your siding, stucco, or cladding is to the ground. You need at least 4 to 6 inches of clearance above the finished patio surface for most siding types, or you'll need flashing.
- Check for existing waterproofing: Do you have a damp basement or crawlspace currently? If yes, address that before building a patio against the foundation. The patio won't fix it and may make it worse.
- Identify soil type: Clay soils retain water and expand when wet. Sandy or well-draining soils are more forgiving. Clay means you need extra attention to drainage and a thicker compacted gravel base.
- Check local permit requirements: Call your local building department or check online. Many jurisdictions require a permit for patios over a certain square footage or within a setback distance from the property line.
- Mark your utilities: Call 811 before any digging. Base preparation for a patio requires excavation, and buried lines are a real hazard.
- Plan your inspection: If a permit is required, factor in the inspection step. An inspector will check slope, setbacks, and in some cases the joint detail at the foundation.
One last thing worth checking: look at your roofline above the planned patio. If you are considering a patio on the second floor, make sure the water management details like slope, drainage, and flashing are still engineered for where runoff will go second floor patio. If your eave or gutter terminates directly above where your patio will sit, you may have concentrated roof runoff hitting the patio surface near the foundation. That's a design problem to solve with a longer downspout extension or a drainage channel before you finish the project, not after.
FAQ
Can I bridge the gap between the patio and the house with mortar or a rigid material to make it look flush?
For pavers, avoid using mortar or rigid grout to “lock” the joint to the foundation. Instead, keep the required half-inch to one-inch separation and use a flexible sealant only at the top edge, with an edge restraint where needed. This preserves movement as the paver base heaves and settles.
What if my patio height needs to be almost the same level as a door threshold or step?
A slight gap can still be practical if your drainage is correct, but the joint must be sealed in a way that prevents wicking into wall assemblies. If your patio sits high, you may need to adjust the patio height so the surface stays at least about an inch below the door threshold, then verify the slope still falls away over the first 10 feet.
How do I check the slope properly if I’m worried about “almost right” drainage?
If you do not hit the required fall early in the run, water can collect at the base even when the far end slopes away. Use a level and tape, measure drop at multiple points along the first 10 feet, and correct base preparation before compaction or concrete placement, not after the surface is set.
Is it ever acceptable for a patio to touch the foundation wall directly?
Yes, a patio can be right beside the foundation even without a small visible gap, but only if you provide a designed isolation joint and correct flashing and sealing details at the building interface. In most normal residential patios, “touching” without a movement joint is a recipe for cracking or load transfer.
What should I do if weeds start growing in the joint between the patio and the house?
Weeds are usually a sign the joint is not sealed, not just that the gap exists. Backer rod plus a paintable flexible caulk is the common fix, then plan on inspecting and refreshing the seal every few years because caulk loses elasticity with sun and temperature swings.
If my existing patio is sloped toward the house, can I fix it by sealing the gap and joint?
If the patio area is already built and the joint was sealed incorrectly, the practical next step is to remove the failed rigid material or rework the top seal rather than trying to add more sealant over it. For major sloping or water-routing issues, the base and drainage need to be corrected because patching the joint usually does not change where runoff goes.
What’s the best landscaping approach for the narrow separation area so it doesn’t create new drainage or moisture problems?
Consider keeping vegetation out of the immediate joint area because roots and soil build-up can compromise drainage and increase moisture exposure at the interface. Use gravel or low-maintenance groundcover away from the joint, and keep any top growth trimmed so it does not trap debris against the seal.
If my gutters drain above the patio area, do I still need the same gap and foundation slope?
Yes, but treat them as a different design problem. Concentrated roof runoff can overwhelm patio grading, even with a correct foundation slope. Plan longer downspout extensions, splash blocks, or a drainage channel to spread and direct water away before you finalize the patio surface.
Does the guidance change if I have a crawlspace or finished basement below the patio?
If you have a crawlspace or finished basement, pay extra attention to waterproofing continuity and interior moisture management, not just the exterior joint. Even small imperfections can matter because interior finishing can hide early dampness, so it is smart to verify exterior grading before you start and consider professional inspection if moisture has already appeared.
When should I stop DIY planning and get a contractor to review my patio-to-foundation plan?
A consult is especially worthwhile if you have clay soil, high groundwater, or known basement moisture history, because these conditions increase the consequences of small grading mistakes. Also consider help if your patio footprint is large (for example, over 500 square feet) since the risk of differential settlement and uneven slope increases with area.
Next Article
Building Code for Patios: Permits, Requirements, and Inspections
Get patio building code guidance on permits, setbacks, structural loads, safety, drainage, and inspection steps to avoid