You can absolutely build a patio yourself using materials from Home Depot, and for most homeowners, pavers are the best starting point: they're forgiving, look great, and don't require mixing concrete or renting a pump truck. That said, poured concrete and compacted gravel/stone are both legitimate DIY options depending on your budget, your tolerance for maintenance, and what you want the finished space to look like. This guide walks you through the full process from choosing your surface to finishing and sealing, with real numbers and a shopping list you can take straight to the store.
Home Depot DIY Patio Guide: Plans, Base, Install, Costs

Miles Hart
7 Jun 2026
Pick the right DIY patio type: pavers vs. concrete vs. gravel/stone
Before you buy anything, you need to pick a surface. Each of the three main DIY options has a different skill ceiling, cost range, and long-term behavior. Here's an honest side-by-side comparison to help you decide.
| Factor | Pavers | Poured Concrete | Gravel / Decomposed Granite |
|---|---|---|---|
| DIY skill level | Beginner to intermediate | Intermediate to advanced | Beginner |
| Typical material cost (per sq ft) | $3–$8+ | $1.50–$4 | $0.50–$2 |
| Drainage | Excellent (permeable joints) | Needs careful slope | Excellent (permeable) |
| Durability | 30+ years with maintenance | 20–30 years (crack risk) | 5–10 years before refresh |
| Repair ease | Replace individual pavers | Patch or replace slab section | Rake and add material |
| Maintenance | Reseal every 2–3 years, recheck joints | Reseal every 1–3 years | Rake, top-dress annually |
| Appearance options | Wide variety | Broom finish, stain, stamp | Natural, casual look |
| Heaving/settling risk | Low (flexible system) | Medium-high (rigid slab) | Low (loose material) |
Pavers are the most popular Home Depot DIY patio choice for good reason: the system is flexible, so a single settled paver can be lifted and releveled without ruining the whole patio. Poured concrete is cheaper per square foot but demands more precision during forming, pouring, and curing, and a mistake is expensive to fix. Gravel or decomposed granite is the easiest and cheapest to install, but it's a casual-use surface that shifts underfoot and needs annual maintenance. If your main goal is a clean, durable outdoor living space that adds visible value to your home, pavers or concrete are the better call.
Quick note on scope: a patio is a ground-level hardscape surface. If you're thinking about adding a roof over it, that becomes a covered patio project with its own structural and permit requirements. If you want to do it yourself enclosed patio kits instead, the planning is similar but the added roof or enclosure brings extra structural and permit considerations covered patio project. Covered patio plans are a useful next step if you want to add a roof over your DIY patio. And if you want an elevated platform, that's a deck. Both of those are related decisions worth comparing separately before you commit to a patio build. If you're looking for do-it-yourself decks and patios, use the same attention to site prep, drainage, and compaction to keep the finished space stable do it yourself decks and patios.
Site assessment: measurements, layout, slope, and drainage
Walk your planned patio area before you do anything else. You're checking for four things: size, slope, drainage patterns, and obstructions. Take a tape measure and mark out your footprint with stakes and string. A standard patio for a table and chairs is roughly 12x12 feet (144 sq ft), but 16x20 or larger is more comfortable for entertaining. Write down the actual dimensions you want, then add 10% to your material estimates for cuts and waste.
Slope is critical. Your finished patio surface must pitch away from the house to prevent water from working its way under your foundation or pooling on the surface. Home Depot's paver installation guidance calls for about 1 inch of drop for every 8 feet of patio length away from the house. For a concrete slab, the target is 1/8 to 1/4 inch of drop per foot. These aren't suggestions, they're the difference between a patio that lasts and one that's a puddle every time it rains. Use a long level and a tape measure to check your existing grade before you dig.
Look at where water currently goes when it rains. If your yard already drains poorly near your planned patio, you may need to add a channel drain at the outer edge or plan for a gravel drainage swale alongside the finished patio. Soil type matters too: clay soil holds water and shifts seasonally, which is exactly why a 4-inch compacted gravel base (rather than just sitting pavers on dirt) is non-negotiable. Check also for tree roots, underground irrigation lines, and existing concrete or utility access points within your footprint.
Budget and cost breakdown using typical Home Depot materials
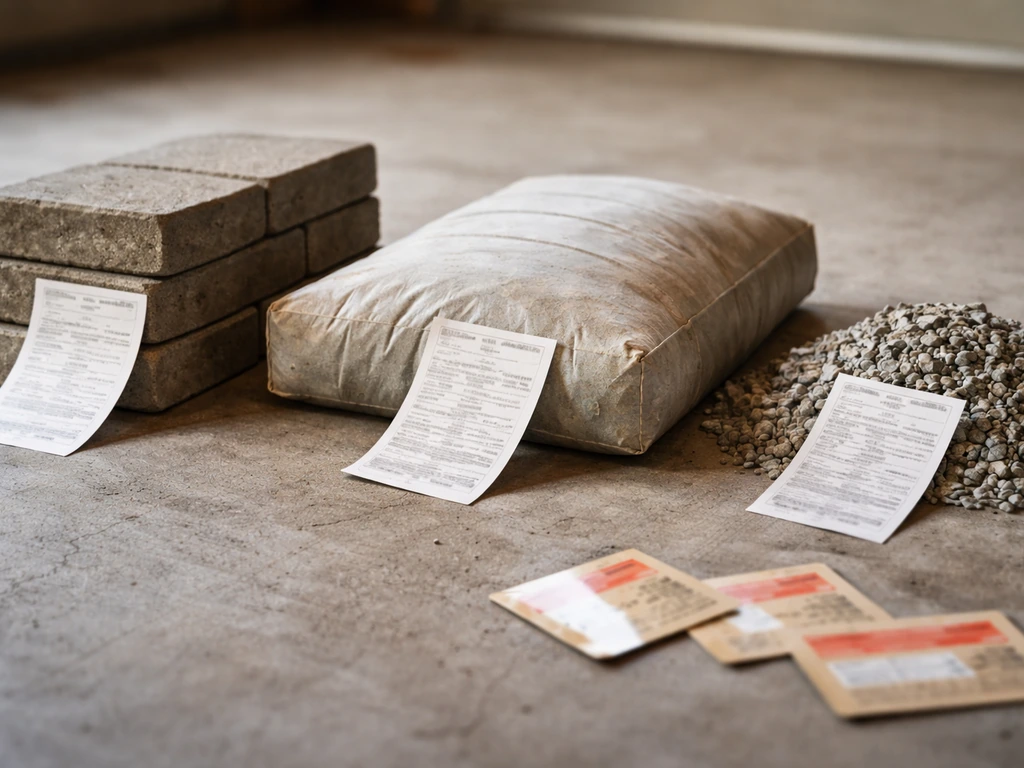
For a 12x12 patio (144 square feet), here's a realistic cost picture based on typical Home Depot material pricing. Labor is zero since you're doing it yourself, which is where the real savings come from.
| Material | Paver Patio | Concrete Patio | Gravel Patio |
|---|---|---|---|
| Surface material | $430–$1,150 (concrete pavers at $3–$8/sq ft) | $215–$575 (bags or ready-mix at $1.50–$4/sq ft) | $72–$290 (gravel/DG at $0.50–$2/sq ft) |
| Gravel base (4 in.) | $80–$130 | $80–$130 | $80–$130 |
| Sand layer (1 in.) | $30–$50 | Not required | Not required |
| Geotextile fabric | $25–$50 | $25–$50 | $25–$50 |
| Edge restraints | $40–$80 | Wood forms (~$30–$60) | Plastic or steel edging ($40–$80) |
| Polymeric jointing sand | $30–$60 | Not applicable | Not applicable |
| Concrete sealer / paver sealer | $40–$80 | $40–$80 | Not needed |
| Rebar / wire mesh (concrete only) | Not applicable | $30–$70 | Not applicable |
| Total estimated materials | $675–$1,600 | $420–$965 | $237–$550 |
Tool rental adds to the budget. A plate compactor typically rents for $60–$90 per day at Home Depot Tool Rental, and you'll need it for any of these patio types. If you're pouring concrete, a concrete mixer rental runs $50–$75 per day for small pours, or you order a ready-mix truck for larger slabs. The rental costs are real, so factor them in before you compare DIY to hiring a contractor.
What drives cost up: choosing tumbled or natural stone pavers over standard concrete pavers, going larger than 200 square feet, adding a border or pattern that increases cut waste, and needing to haul in fill to correct a dramatically sloped site. What keeps cost down: sticking with standard 12x12 or 16x16 concrete pavers, keeping the shape rectangular (fewer cuts), and buying base gravel in bulk rather than bags.
Tools and shopping checklist for a complete job (including the extras people forget)
Here's the full list organized by category. The 'extras' column is where most first-timers end up making a second trip to the store, so read it carefully before you check out.
Tools (buy or rent)

- Plate compactor (rent from Home Depot Tool Rental)
- Concrete mixer or wheelbarrow (rent or buy)
- Hand tamper (for smaller areas or edges)
- Sod cutter or flat spade shovel (for excavation)
- Garden rake and screed board (2x4 works)
- Rubber mallet
- Long level (4-foot minimum) and string line with line level
- Tape measure and marking paint or chalk line
- Circular saw with diamond blade (for cutting pavers or concrete forms)
- Mason's line and stakes
- Broom (for jointing sand and concrete finishing)
- Safety glasses, work gloves, long sleeves, and a dust/respirator mask rated for silica dust
Materials shopping list (paver patio focus, with notes for concrete/gravel)
- Pavers of your choice (calculate sq ft + 10% for cuts and breakage)
- Crushed gravel or road base (figure 4 inches deep across your full area, plus 10%)
- Paver sand / coarse sand (1 inch deep across your area)
- Geotextile landscape fabric (enough to cover full excavation footprint)
- Plastic or steel paver edge restraints with spikes (measure perimeter)
- Polymeric jointing sand (check product coverage chart for your joint width and paver thickness)
- Paver sealer (check coverage on the label; apply after jointing sand cures)
- Extra spikes and edge restraint connectors (always buy more than you think)
- Marking paint or flour for layout
- Concrete: wire mesh or rebar, wood form boards, form release agent, concrete mix or ready-mix order
- Gravel only: extra compactable gravel or decomposed granite for the surface layer, steel edging
The extras people consistently forget: extra edge restraint spikes (you always need more), a second bag of jointing sand for touch-ups, concrete form release spray if pouring, and enough sealer for two coats. Buy these before you start, not mid-project.
Prep work: excavation, base layers, compaction, and geotextile
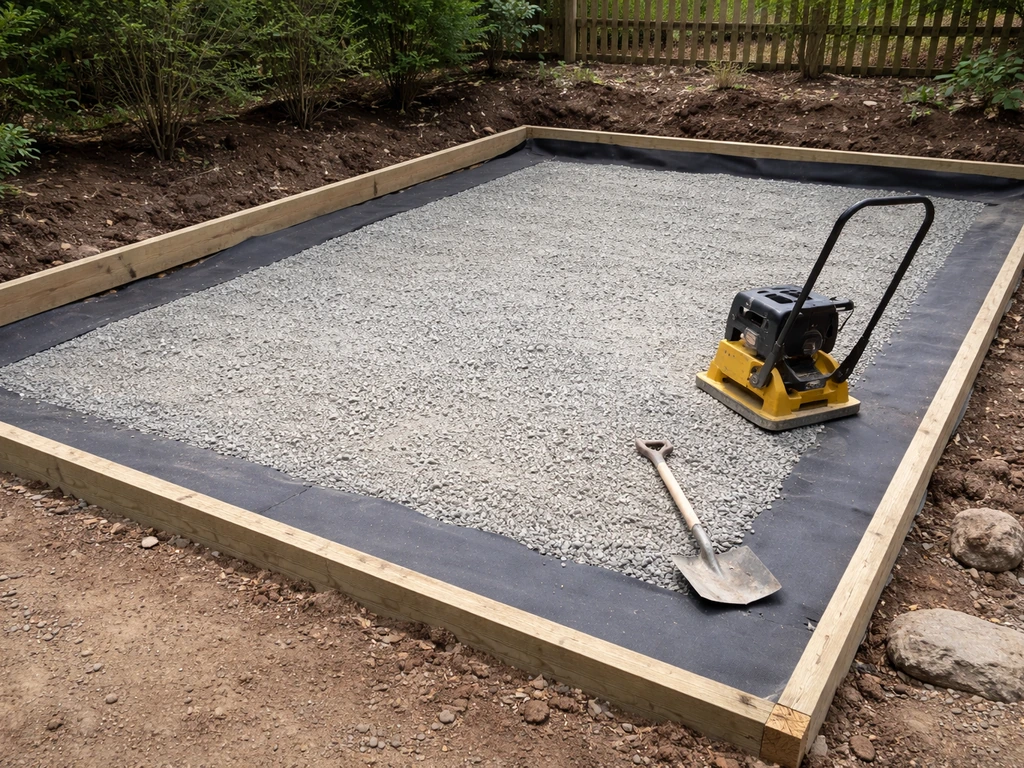
This is the most important part of the entire project. A beautiful patio laid on a bad base will settle, heave, and crack within two or three seasons. Do not cut corners here.
Before you touch a shovel, call 811 (the national dig-safe hotline). Mark your proposed excavation area with stakes, flags, or spray paint first so utility locators can mark the correct area. In most states, you need to call at least two full business days before you dig. This is the law, not a suggestion, and hitting an underground line is dangerous and expensive.
- Mark your patio outline using stakes and mason's line, then spray paint or flour the edges for reference during digging.
- Excavate to the right depth: for pavers, you need about 5 inches total (4-inch gravel base plus 1-inch sand layer) plus the paver thickness, which is typically 2–2.5 inches, so dig about 7–8 inches down. For a concrete slab, excavate about 8 inches deep (4 inches of gravel base plus 4 inches of concrete). For gravel/DG, dig 4–6 inches down for the base layer plus your surface depth.
- Build in your drainage slope as you excavate: slope the bottom of the excavation away from the house at your target rate so the entire base layer follows that pitch.
- Lay geotextile landscape fabric over the full excavated area, overlapping seams by at least 6 inches. This separates your gravel base from the native soil below so fines don't migrate up and destabilize the base over time.
- Pour in your crushed gravel or road base in 2-inch lifts. Compact each lift with the plate compactor before adding the next. Do not dump all 4 inches in at once and compact it once, you won't get adequate density that way.
- For pavers: after the gravel base is compacted, add your 1-inch sand layer and screed it flat using a 2x4 and guide pipes. Do not compact the sand after screeding; it stays loose to allow fine adjustment as you set pavers.
- Check your slope with a level and tape measure at multiple points before moving to installation.
Install step-by-step for your chosen patio surface
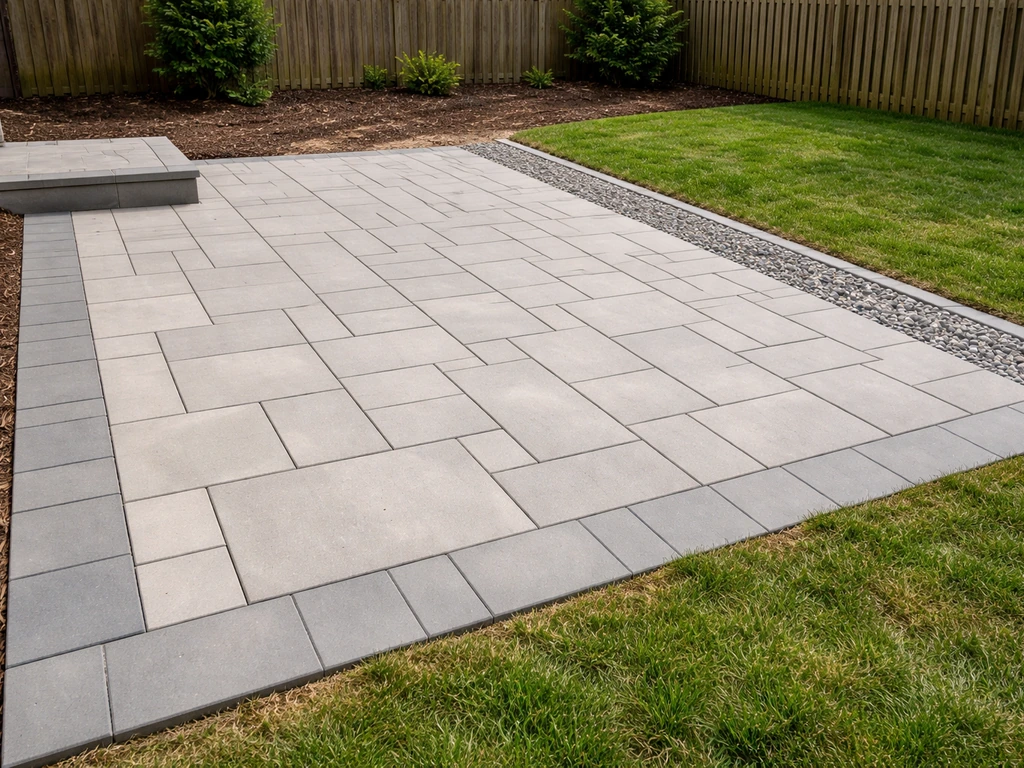
Paver installation
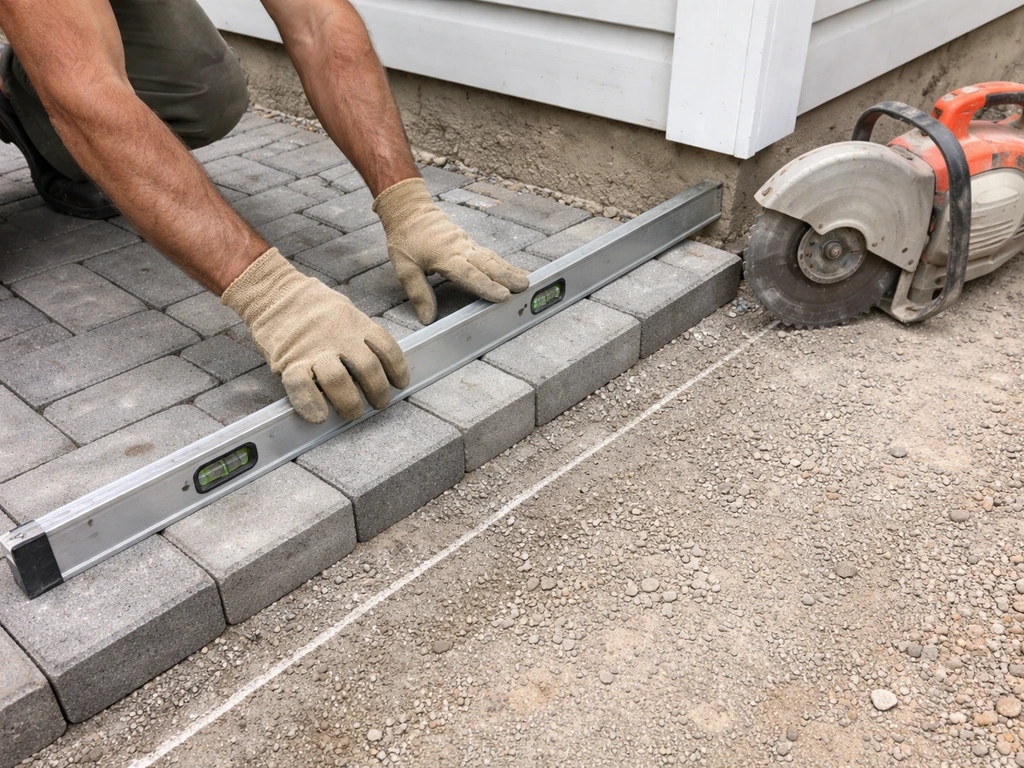
Start laying pavers from the corner closest to the house and work outward, so the pavers are naturally sloping away as you go. This keeps your drainage slope consistent and avoids awkward cuts at the most visible edge. Set each paver by hand, pressing it down firmly into the sand without twisting. Use a rubber mallet to tap pavers level with their neighbors, checking frequently with your level. Leave consistent joint gaps (typically 1/4 inch for standard concrete pavers) as you go.
Cut pavers at the edges using a circular saw with a diamond blade or rent a paver splitter from the tool rental desk. Always cut outside the final layout area and test fit before placing. Once all pavers are set, install your edge restraints around the full perimeter, driving spikes through the restraint and into the gravel base every 12 inches. If a restraint feels wobbly, add more sand underneath or use a rubber mallet to drive the spike deeper. Run the plate compactor over the finished paver surface to bed the pavers into the sand.
Poured concrete installation
Build your wood forms first, staked firmly at the correct height and slope. Use 2x4 lumber for a 4-inch slab. Apply form release agent to the inside faces so the forms strip cleanly after curing. Dampen the gravel base lightly before pouring to prevent the base from pulling moisture out of the fresh concrete too quickly. Place wire mesh or rebar in the center of the slab thickness (use small stones or rebar chairs to hold it up off the base), then pour your concrete and screed it level with the top of the forms.
For slabs larger than about 10x10 feet, cut control joints to a depth of about one-quarter of the slab thickness using a grooving tool while the concrete is still workable. Control joints give the slab a place to crack invisibly as it shrinks and moves with temperature changes. Finish the surface with a broom dragged across the concrete to create a slip-resistant texture. Cover the slab with plastic sheeting or burlap and keep it moist during curing. Concrete reaches about 70% of its compressive strength after roughly seven days at temperatures above 50°F, and cures best at 70°F or warmer. Don't load it with furniture or heavy weight until it's fully cured, typically 28 days for full strength.
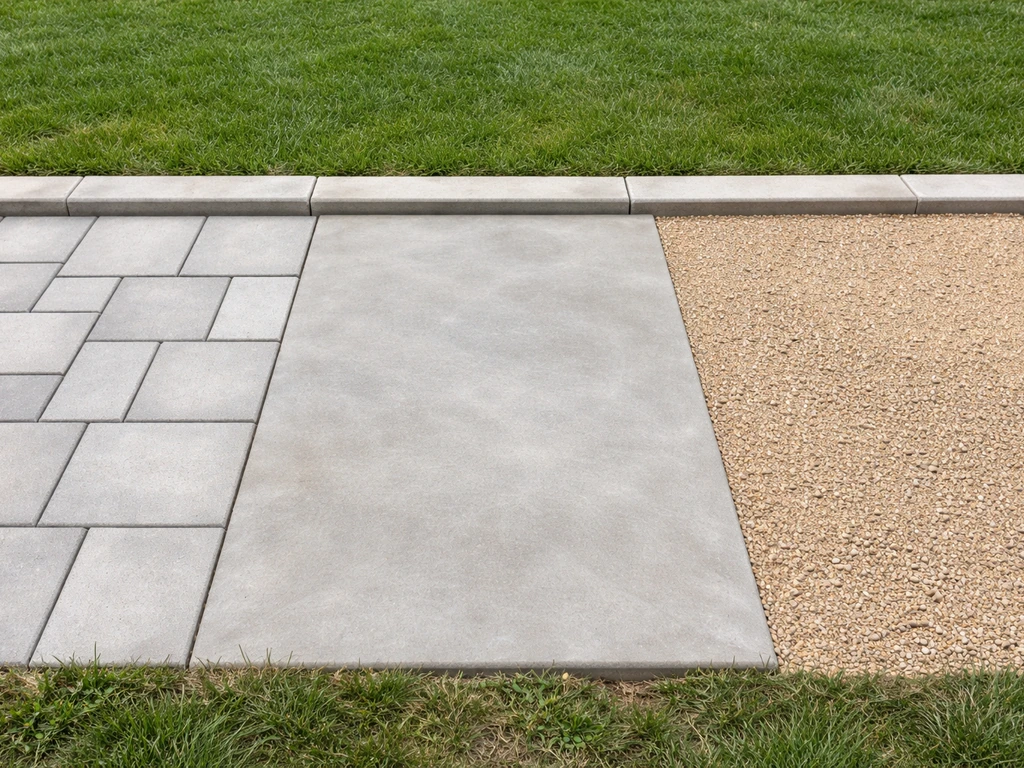
Gravel or decomposed granite installation
After compacting your base gravel, install your steel or plastic edging around the perimeter, securing it with spikes every 12–18 inches. Pour your surface material (gravel, crushed stone, or decomposed granite) to a depth of 2–3 inches. Rake it level, then make one or two passes with the plate compactor to help it settle and firm up. Decomposed granite compacts into a harder surface than loose gravel and is easier to walk on. Check your slope with a level, rake out any high or low spots, and compact again.
Finishing, sealing, jointing, and maintenance to prevent problems
Jointing sand for pavers
After the plate compactor has settled your pavers, sweep polymeric jointing sand across the entire surface and work it into the joints with a broom. Blow off excess sand with a leaf blower set to low, then lightly mist the surface with water to activate the polymer binder. Polymeric sand reduces weed growth in joints and helps lock pavers in place. Home Depot’s PermaSand polymer jointing sand lists reduced weed growth as a benefit for paver joints Polymeric sand reduces weed growth in joints. Check the product label for coverage: a typical 50-lb bag covers a specific area based on your joint width and paver thickness. Plan for one light touch-up application of jointing sand in the first year as it settles.
Sealing your patio surface
For pavers, wait at least 30 days after installation before sealing to allow the polymeric sand to fully cure and any efflorescence to appear and be cleaned off. Apply paver sealer with a low-pressure sprayer or roller, working in sections. When applying a second coat, roll it perpendicular to your first coat for even coverage, and wait until the first coat is tack-free before applying the second. Reseal every 2–3 years depending on traffic and sun exposure.
For concrete, wait 24–48 hours minimum before applying sealer, and make sure the surface is completely dry and free of efflorescence or contaminants. Follow the product's technical data sheet for mixing and application steps. Concrete sealers typically need reapplication every 1–3 years. Gravel patios don't require sealing but do need occasional raking and top-dressing with fresh material when they thin out.
Ongoing maintenance
- Pavers: check edge restraints annually and re-spike any that have shifted; re-sand joints where sand has washed out; reseal every 2–3 years; releveling a settled paver is as simple as pulling it up, adding sand, and resetting it
- Concrete: fill hairline cracks with concrete caulk before they widen; reseal regularly to prevent water infiltration and spalling (surface flaking); avoid deicing salts, which damage the surface finish
- Gravel: rake monthly in high-traffic areas; top-dress with fresh gravel or DG annually; check edging spikes after heavy rain and re-drive any that have worked loose
Permits, safety, and common DIY mistakes to avoid
Do you need a permit for a DIY patio?
In most jurisdictions, a ground-level patio on grade does not require a building permit, but there are common exceptions: patios over a certain size (often 200 square feet), patios attached to a structure, patios within setback zones near property lines or easements, and any project involving a covered roof structure above the patio. Check with your local building department before you start. If you are wondering whether Home Depot does patio installation, the best first step is to check their current installation and contractor options in your area does home depot do patio installation. The rules are different city by city, and the call takes five minutes. If you're also planning to enclose or cover your patio later, that structure almost certainly will require a permit. If you want more weather protection, do-it yourself patio enclosure kits can be an easier next step than starting a full structure from scratch enclose your patio later.
Safety basics
- Always call 811 and mark your excavation area before digging, regardless of how shallow you think you'll go
- Wear safety glasses, work gloves, and long sleeves when mixing or pouring concrete; fresh concrete is caustic and will burn skin
- Use a NIOSH-rated respirator mask when cutting pavers or mixing dry concrete to protect against silica dust
- Don't work alone when operating a plate compactor near trench edges or slopes
- Keep kids and pets off the excavation area until base layers are complete and compacted
Common mistakes and how to avoid them
- Skipping or skimping on the base: the most common reason patios fail. Four inches of compacted gravel is not optional, even for a small patio. Clay or sandy soil requires a full base every time.
- Not building in drainage slope: a flat patio is a puddle waiting to happen. Check your slope with a level at every stage, not just at the end.
- Laying pavers on uncompacted sand: screeding the sand is not the same as compacting it. The sand stays loose intentionally, but the gravel base beneath it must be fully compacted before you screed.
- Forgetting edge restraints: without them, pavers migrate outward over time and joints open up. Install restraints on all four sides before you walk away.
- Pouring concrete in the wrong conditions: below 50°F or above 90°F, concrete curing is compromised. Plan your pour for moderate temperatures and keep it moist.
- Using regular sand instead of polymeric jointing sand: regular sand washes out and supports weed growth. Polymeric sand is worth the extra cost.
- Not accounting for drainage around the patio: if you block an existing drainage path, water will find somewhere else to go, usually toward your foundation. Plan your patio shape and location to preserve natural drainage routes.
- Underbuying materials: always add 10% for pavers and base gravel. Running out mid-project and having to make a second store run while your pour is setting (for concrete) or your sand is exposed is avoidable.
Quick troubleshooting
| Problem | Likely cause | Fix |
|---|---|---|
| Pavers settling unevenly | Inadequate base compaction or base washout | Pull affected pavers, add and compact sand or gravel, reset pavers |
| Weeds growing through joints | Joints filled with regular sand or no jointing sand used | Clean joints, refill with polymeric jointing sand, mist to activate |
| Water pooling on patio | Insufficient drainage slope or blocked drainage path | Releveling or adding a channel drain at the low edge |
| Concrete cracking | Missing control joints, poor curing conditions, inadequate base | Fill cracks with concrete caulk; reseal; major cracks may need patching compound |
| Concrete surface spalling | Deicing salts, freeze-thaw without sealing, poor mix ratio | Remove loose material, apply concrete resurfacer, seal and stop using salt |
| Gravel migrating or thinning | No edging, high foot traffic, heavy rain | Re-drive edging spikes, top-dress with fresh material, compact again |
A DIY patio from Home Depot materials is one of the most accessible outdoor renovation projects you can take on. The skill ceiling is manageable, the material costs are transparent, and the result adds real, usable outdoor space. The key is respecting the prep work: a properly excavated, sloped, and compacted base is what separates a patio that lasts 20 years from one you're relaying in year three. If you get that part right, the rest of the project falls into place.
FAQ
Can I build a Home Depot DIY patio directly over existing grass or pavers?
Usually, no. You’ll still need excavation to reach a stable, compacted base (pavers need sand over compacted gravel, concrete needs a properly prepared subbase). If you keep existing material, you risk uneven settling, especially if the grade is sloped the wrong way or roots are present.
What’s the most common base mistake that ruins patios?
Skipping proper compaction or using too little compacted base. Even if the surface material looks level, an under-compacted gravel base can shift with freeze-thaw or seasonal moisture changes, causing pavers to rock or concrete to crack early.
Do I need geotextile fabric under pavers or gravel patios?
It’s not always required, but it can help in many yards by separating soil from base material and reducing long-term migration. If you use it, overlap seams and keep fabric taut to avoid wrinkles that can translate into uneven surface spots.
How do I choose the right patio thickness or base depth?
Match base depth to your chosen surface and local conditions. Pavers typically rely on compacted gravel plus sand bedding, while concrete depends on slab thickness and subbase support. If your site is soft or clay-heavy, err toward more base preparation rather than thicker surface only.
How do I handle a patio where the ground is uneven or slopes a lot?
You generally have two options: regrade and build up with fill, or step the patio in sections. Large corrections using fill require careful compaction in lifts, and dramatic slopes can increase cut waste and edge instability if you don’t reinforce drainage and retaining.
What if rain pools on the patio after I install it?
That usually means the drainage slope is off or the edge drainage path is blocked. Check the pitch away from the house, verify you didn’t create a low spot during bedding, and consider adding a channel drain or drainage swale at the outer edge where water actually collects.
Should I use polymeric jointing sand right away or wait?
For best results, apply after the pavers are fully set and level, and follow the curing wait before sealing. Also, polymeric sand needs correct moisture activation, if you over-wet or wash it out, joint locking can be less effective.
Is it okay to seal pavers immediately after installation?
No. Pavers generally need time for polymeric sand to fully cure and for any efflorescence to show and be removed. Sealing too early can trap salts or moisture and create blotchy discoloration.
How soon can I use the patio after installing concrete?
After the pour, avoid loading the slab until it has cured sufficiently, the typical guidance is around 7 days for partial strength and about 28 days for full strength, then wait longer if temperatures are cool or curing conditions were poor. Light foot traffic is usually fine earlier, but heavy furniture and grills should wait.
What’s the safest way to cut pavers for tight edges?
Test fit each cut by dry-laying, cut outside the final layout line when possible, then shave to match as needed. Using a diamond blade or splitter without test fitting commonly causes small gaps or edge pieces that don’t sit flush.
Do I need control joints for a small concrete patio?
Control joints are typically needed based on slab size and cracking risk, not just the square footage. If you plan anything over about 10x10 feet, include joints at the recommended depth to create a predictable cracking location rather than random fractures.
How do I know whether my patio needs a building permit?
Ground-level patios often fall under “no permit,” but exceptions are common, attached patios, larger patios (often around 200 sq ft), setback and easement areas, and any covered roof above it. Call your local building department before you dig because rules vary and retroactive issues can be costly.
Does Home Depot offer installation, or is this always DIY?
This guide focuses on building it yourself with materials, but Home Depot contractor options vary by location. If you want a quote, check the current contractor/installation availability for your zip code so you don’t assume DIY is the only path.
What should I do if I find underground irrigation lines or utility access points?
Stop and adjust the layout. Marked utility locations can guide exact avoidance distances, and moving the patio footprint is usually easier than trying to reroute utilities. If you hit something during excavation, don’t proceed, contact the proper utility or licensed contractor for the next step.
How do I estimate material quantities so I don’t run short?
Add about 10% to your surface area for cuts and waste, then budget extra for edge restraints and jointing sand touch-ups. The best time to confirm coverage is before you start, especially for sealer and polymeric sand since coverage can vary by paver type and joint width.
Next Article
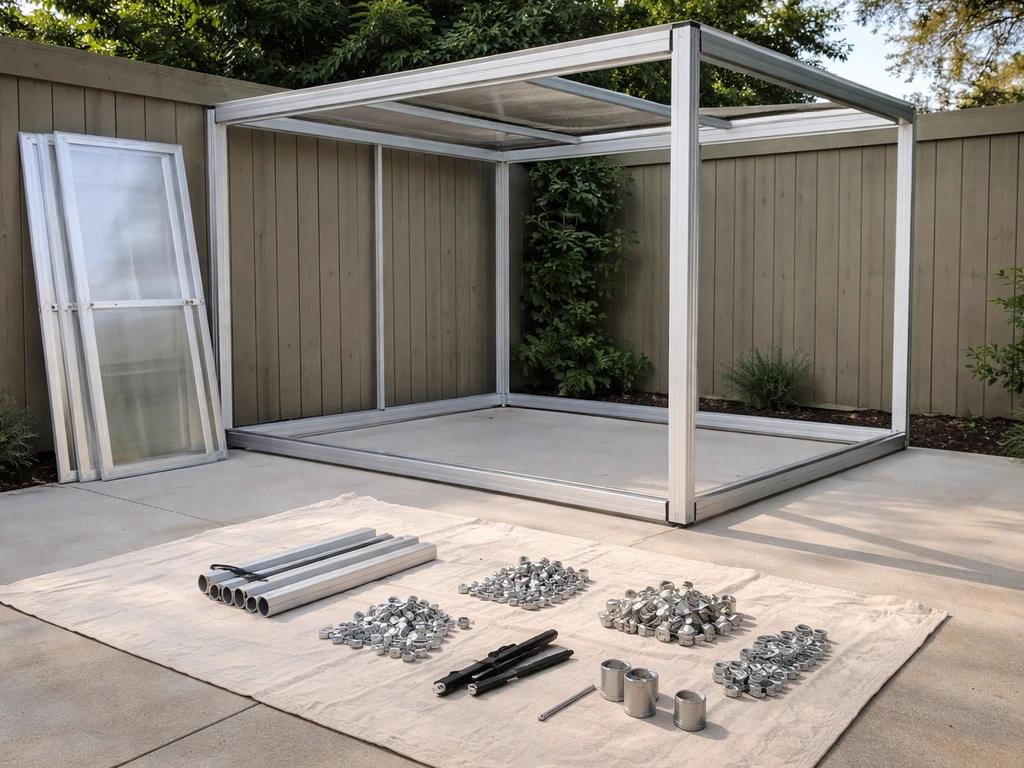
Do It Yourself Enclosed Patio Kits: A Step-by-Step Guide
Step-by-step DIY enclosed patio kits guide: what’s included, kit types, permits, installation, costs, and pitfalls.