The proper pitch for a patio is a minimum of 1/8 inch per foot (about 1% grade), but 1/4 inch per foot (about 2%) is the standard most contractors and building guides actually recommend. That 2% target gives you a reliable margin for drainage without feeling like you're walking on a ramp. If you're pouring a concrete patio or laying pavers right next to your house, that slope absolutely needs to run away from the foundation, and you need at least 10 feet of that fall before the grade can flatten out or change direction.
What Is the Proper Pitch for a Patio? Measurements

Miles Hart
7 Jun 2026
What patio pitch actually means and why it matters
Pitch, grade, slope: these words all mean the same thing in this context. It's the amount the surface drops over a given horizontal distance. A flat patio sounds appealing in theory, but in practice it's a recipe for puddles, algae growth, freeze-thaw cracking, and eventually uneven surfaces. Water has to go somewhere, and if your patio doesn't give it a direction to go, it just sits there.
Beyond just being annoying, standing water accelerates deterioration. On concrete, repeated freeze-thaw cycles push water into micro-cracks and widen them. On pavers, standing water saturates the bedding sand and destabilizes the base over time, which leads to sunken or rocking pavers. There's also a safety angle: a waterlogged patio surface is slippery, and low spots that pool and then freeze become trip hazards in winter. If you’re adding a railing for safety, make sure you size it correctly by understanding how high should a patio railing be for your setup. Getting the pitch right from the start saves you from a much more expensive fix later.
It's worth noting that patio pitch requirements are different from those for a deck or a covered porch roof. A deck surface has gaps between boards so water drains through the structure, while a patio roof or pergola has its own separate pitch requirements for shedding rain off the roofing material. For overhead roof surfaces, the same idea of managing drainage applies, but the details differ for a patio roof riser versus a skylift roof or pergola. When we're talking about patio pitch here, we mean the horizontal surface you walk on, not any overhead structure. Choosing the right patio ceilings materials can help you keep the structure weather-resistant and the drainage plan durable over time.
How to measure patio slope
Slope is expressed in two common ways: inches of drop per foot of run, or as a percentage grade. Both describe the same thing, just in different units. Here's how they convert:
| Slope Description | Inches Per Foot | Percent Grade | Practical Feel |
|---|---|---|---|
| Absolute minimum | 1/8 in per ft | ~1% | Barely perceptible, risky in practice |
| Recommended standard | 1/4 in per ft | ~2% | Slightly noticeable, reliable drainage |
| Steeper situations | 3/8–1/2 in per ft | ~3–4% | Visible slope, use on long runs or heavy runoff areas |
| Too steep for comfort | Over 1/2 in per ft | Over 4% | Uncomfortable to walk on, not typical for patios |
The formula is simple: percent grade = (rise divided by run) multiplied by 100. So a 1/4 inch drop over 12 inches works out to (0.25 / 12) x 100, which is about 2.08%, rounded to 2%. That's where the common shorthand '2% equals 1/4 inch per foot' comes from.
The string line method (what most DIYers use)
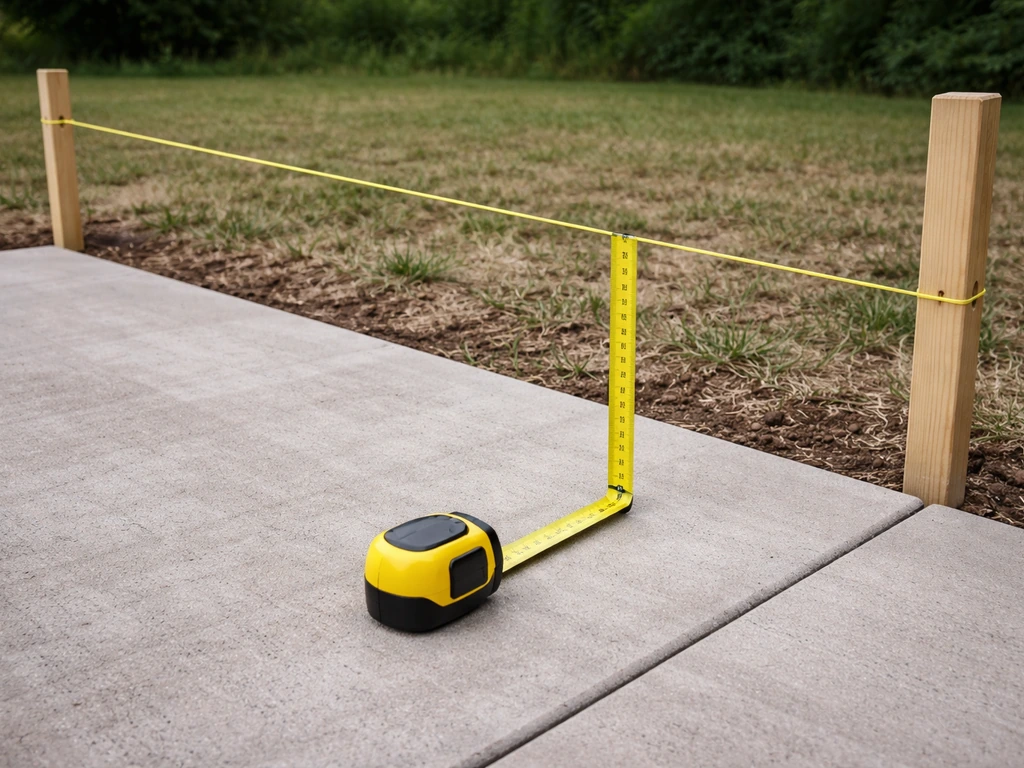
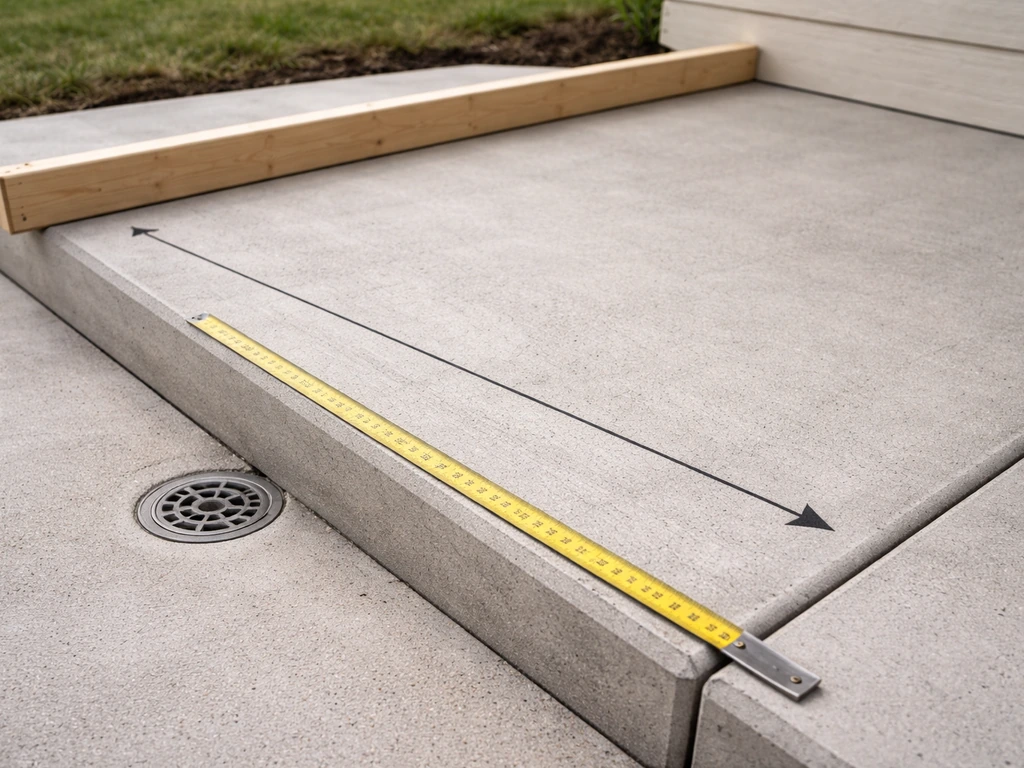
The most accessible way to measure existing slope or verify your grade during a new install is a string line and tape measure. Drive two stakes at opposite ends of the area you're measuring. Pull the string tight and level between them (use a line level clipped to the string). Then measure the vertical distance from the string down to the surface at several points along the run. If the string is level and the ground drops 3 inches over 12 feet of run, your grade is (3/12) x 100 = 25%, which is way too steep. You want that drop to be about 3 inches over a 12-foot run only if you're measuring from the house outward across a generous patio, not within a small section.
For larger patios or precision work, a laser level is the better tool. Rotary laser systems let you project a consistent reference plane across the entire site and measure off it at any point. Pros use these routinely for setting drainage grades on bigger projects. If you're renting tools for a weekend pour, renting a laser level for a day is worth it.
Recommended pitch by patio material
The right slope target depends a bit on what you're building with, because different materials have different tolerances for error and different drainage behaviors.
Poured concrete
For poured concrete patios, the ACI 302.1R guideline for exterior slabs puts the minimum slope at 1% (1/8 inch per foot), with 2% (1/4 inch per foot) strongly preferred. The reason 2% is preferred over 1% isn't just conservatism: concrete flatwork has tolerance variations. If you target 1% and your forms shift a tiny bit or the concrete settles slightly, you can end up with flat or even reverse-sloping sections. Targeting 2% gives you enough buffer that minor inconsistencies don't turn into drainage problems.
Sand-set pavers
Sand-set paver patios (concrete pavers, brick, or natural stone on a compacted base with sand bedding) work best with a finished surface slope of 1/8 to 1/4 inch per foot. Many installation guides, including those from Belgard and Rochester Concrete Products, land on 1/4 inch per foot as the practical minimum for directing water away from buildings. Many guides, including ACI 302.1R as summarized by Concrete Toolkit, describe a target minimum slope of 1% (1/8 in per ft) away from buildings, with 2% (1/4 in per ft) strongly preferred to help manage tolerances and reduce ponding risk 1/4 inch per foot as a practical minimum for directing water away from buildings. The key with pavers is that the slope needs to be built into the compacted subgrade and aggregate base, not just faked at the surface by tilting individual pavers. A properly sloped compacted base at 1 to 2% gives you the drainage direction, and the 1-inch bedding sand layer on top is screeded to a consistent thickness to match.
Stamped concrete and overlays
Stamped concrete and decorative overlays follow the same rules as standard poured concrete: 1/8 inch per foot minimum, 1/4 inch per foot recommended. One thing that catches people off guard with stamped concrete is that the texture patterns can visually hide whether water is draining correctly. Just because you can't see the slope doesn't mean it isn't (or isn't) there. Always verify with a level before the pour, not after.
Polymeric sand paver systems
If you're using polymeric sand to lock pavers (common for low-maintenance installs), slope requirements stay essentially the same. Polymeric sand doesn't change the drainage physics of the surface. Many product technical data sheets specify a minimum of 1/8 inch per linear foot away from structures and edges. If you don't have adequate slope, polymeric sand won't save you from pooling.
How pitch changes near the house
The area within 10 feet of your foundation is where slope really matters most. IRC R401.3 (the drainage provision in the International Residential Code) requires surface water to drain away from foundation walls. The standard interpretation is a minimum 2% slope (that 1/4 inch per foot standard) for hard surfaces within 10 feet of the house. If physical constraints prevent that, you're required to use drains or swales to achieve the same result.
In practice, this means your patio slope should be set so water at the house-side edge flows outward toward the yard, not back toward the foundation. This sounds obvious, but it's one of the most common mistakes on DIY installs. If your yard naturally slopes toward the house, you have a harder problem: you either need to build up the far edge of the patio, install a perimeter drain, or run a swale around the side of the patio to intercept water before it reaches the slab.
Another consideration is roof runoff. If your patio sits under a roof overhang or a gutter discharges anywhere near the patio edge, you're dealing with concentrated water loads, not just gentle rainfall. Make sure gutters discharge well beyond the patio edge or into a downspout extension that carries water clear of the paved area. A properly pitched patio can still be overwhelmed if a gutter dumps several gallons per minute directly onto a corner of the slab.
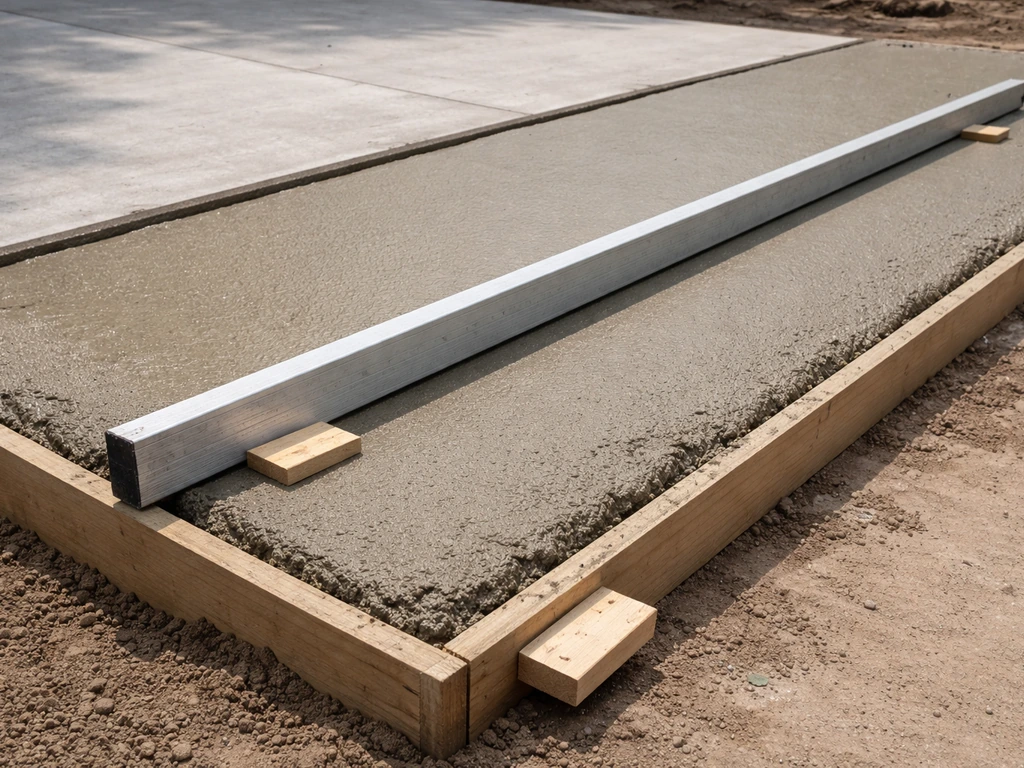
How to set your patio grades correctly
Whether you're pouring concrete or laying pavers, the process for setting grades correctly is essentially the same: establish a reference, set your slope into the base layers, and verify it at each stage before you're locked in.
- Establish your datum point. Pick a fixed reference elevation, usually the threshold of the door leading to the patio or the top of the existing foundation. This is your starting height.
- Calculate your target drop. For a 12-foot-wide patio at 2% slope, you need a 3-inch drop from the house side to the outer edge (0.25 in x 12 ft = 3 in). Write this down before you dig.
- Drive stakes at both ends of each layout line. For a rectangular patio, you'll want stakes at each corner plus any intermediate points for large areas.
- Set string lines at the calculated slope. Tie the string at your datum height at the house side, then drop it the calculated amount at the outer stake. Use a line level to confirm the string itself isn't sagging.
- Excavate to the required depth. For sand-set pavers, a typical excavation is 6 to 8 inches below finished grade to allow for 4 to 6 inches of compacted aggregate base, 1 inch of bedding sand, and the paver thickness. For concrete, you need 4 inches of slab depth minimum, plus your base.
- Compact the subgrade at the correct slope. This is the critical step people skip: the subgrade itself should slope 1 to 2% in the correct direction. Don't rely on the base material or bedding sand to create the slope.
- Add and compact aggregate base material. Add in lifts of no more than 4 inches at a time, compacting each layer. Check your slope reference string after each lift.
- Screed bedding sand (for pavers) or set forms (for concrete). For pavers, screed the 1-inch sand layer to a consistent depth, maintaining the slope that's already in the base. For concrete, set your forms at the calculated heights to achieve your target slope.
- Verify before you pour or lay. Do a final string-line check across the entire area. Fix any high or low spots now. Once concrete is poured or pavers are locked with polymeric sand, corrections get expensive fast.
For DIY projects, a long level (4-foot minimum), a tape measure, stakes, and mason's line will get you there. For larger patios over 200 square feet, or if the existing yard grade is complex, renting a laser level for a day is a genuinely good investment. Pros use rotary laser systems for exactly this kind of work because they project a consistent reference plane over the whole area at once, which is much faster and more accurate than stringing multiple reference lines.
Common patio drainage mistakes and how to fix them
Most drainage problems on patios come from a handful of repeating mistakes. Here's what to watch for, and what to do about each one.
- Installing the patio completely flat. This is probably the single most common error on DIY projects. A flat patio looks fine on day one and becomes a puddle farm within a season. Fix: if the slab is concrete and still in good shape, a surface overlay with built-in slope can sometimes solve it. If it's pavers, a full re-lay with corrected base slope is the proper fix.
- Slope reversing toward the house. Sometimes the yard grade near the foundation tricks the installer into unintentionally pitching the patio back toward the wall. Fix: excavate deeper at the house side or build up the outer edge; add a perimeter drain if regrading isn't feasible.
- Getting the slope right at the surface but not the base. If your compacted subgrade is flat but your bedding sand is angled to create slope, the sand will eventually migrate and you'll lose the slope over time. Fix: always establish slope at the subgrade level, not by manipulating the bedding layer.
- Inadequate base depth leading to settlement. If the compacted base isn't thick enough or wasn't compacted in lifts, it settles unevenly and creates low spots even on a correctly graded surface. Fix: for pavers, re-lifting and resetting the settled section with proper base compaction. For concrete, settlement usually requires mudjacking or full replacement.
- Ignoring roof runoff concentration points. A gutter downspout at the corner of the patio edge dumps a disproportionate volume of water in one spot, overwhelming what the slope can handle. Fix: extend the downspout beyond the patio edge or add a splash block and drain channel.
- Setting slope in only one direction on a large or odd-shaped patio. Long rectangular patios often need slope across both the width and the length to drain correctly, especially if water can't exit at the far end. Fix: plan a 'high corner to low corner' drainage path, not just straight front-to-back.
Quick troubleshooting checklist for standing water and regrade decisions
If you've got an existing patio that's pooling water, here's how to diagnose the problem before deciding on a fix. In the same way you measure and plan patio slope, you can also figure out how high a patio table should be for comfortable seating how high is a patio table. Work through this list in order.
- Map where the water pools. Walk the patio right after a rain and mark or photograph the low spots. You need to know where the problem is concentrated before you can pick the right solution.
- Check the slope direction. Use a long level and tape measure or a string line to verify which way the surface is actually draining. Confirm whether the slope runs away from the house or (problem) toward it.
- Measure the actual slope. Use the string-line method described above to calculate your current grade in inches per foot. If it's under 1/8 inch per foot, your surface is functionally flat and drainage improvement will require regrading or drains.
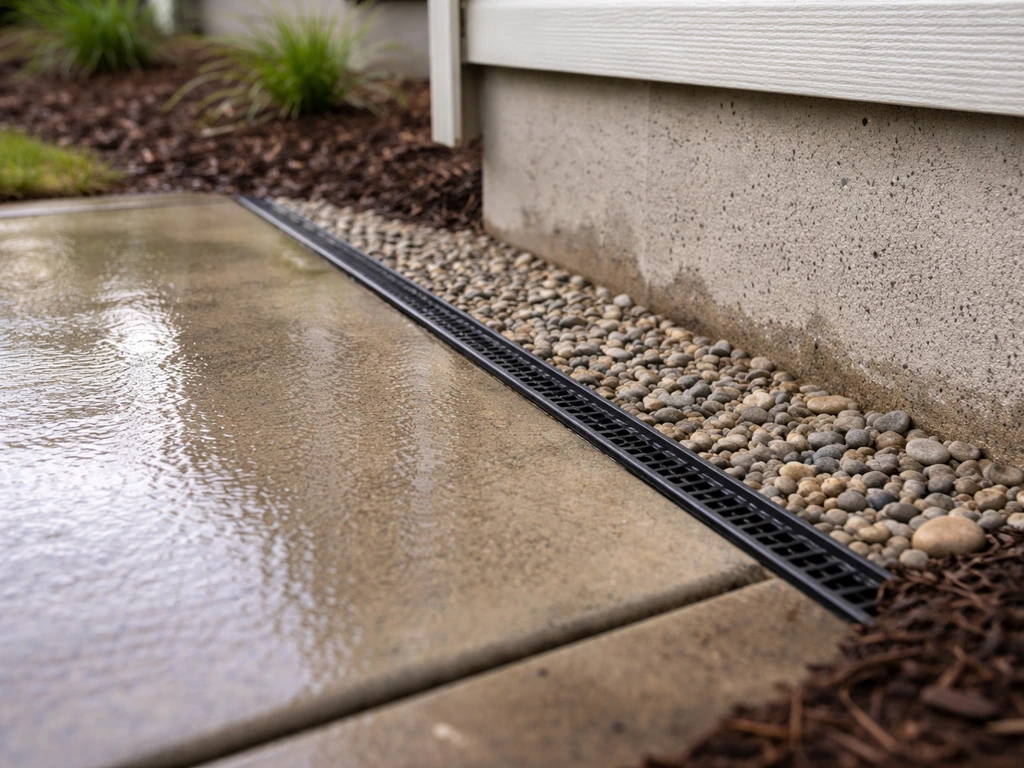
- Look for exit paths. Where does water go when it does drain? If the outer edge of the patio has no exit (blocked by a raised garden bed, a step, or an uphill grade beyond the edge), the water has nowhere to go even if your slope is correct. You may need a channel drain at the low edge.
- Check for base settlement. On paver patios, press on any pavers near the low spots. If they rock or feel soft, base settlement is contributing. The fix is re-laying with corrected base, not just resetting surface pavers.
- Decide on your fix. Minor slope improvement on pavers: re-lay affected sections with corrected base slope. Concrete with minor low spots: surface overlay with self-leveling compound or new topping slab with built-in slope. Systemic drainage issue: add a linear drain or channel drain at the low edge. Slope reversing toward foundation: full regrade or perimeter drain with proper daylight outlet.
- Verify the fix before closing up. After any correction, run a hose on the surface and confirm water flows in the right direction and exits the patio completely.
One note on expectations: no patio drainage system is perfect during an extreme downpour. The goal is to prevent chronic standing water, not to keep the surface bone dry during a 2-inch-per-hour rainstorm. If your patio drains within 15 to 30 minutes after a normal rain, it's performing correctly. If puddles are sitting there hours later or are still present the next morning, you have a drainage problem worth fixing.
FAQ
If my patio space is awkward, how do I tell which direction the pitch should go?
Aim the slope away from the foundation, and keep the flattest part of the patio out of the “within 10 feet of the house” zone. A good way to confirm this is to measure the elevation at the house-edge, then compare it to points at the yard side, you want a consistent outward drop, not just a low spot at one corner.
Can a patio pitch “change direction” in the middle of the slab or paver area?
Yes, but the slope change needs to happen using the base build-up, not by randomly tilting individual pavers. For example, you can create a small crown or a hinge line, but both sections still must drain away from the house, and the transition must not create a local low spot that will hold water.
How many times should I check slope during a DIY patio pour or paver install?
For concrete, verify before and after placement using a screed reference, because concrete can shift slightly as it’s finished and cured. In paver installs, also check base and bedding levels at multiple points, since a “mostly level” paver surface can hide an under-sloped base that will settle and start rocking later.
What if the yard grade already slopes toward my house, how should I set patio pitch?
Focus on the drainage within 10 feet of the foundation, and then use the next-most-likely water path for the rest of the patio. If the yard has a low basin, you may need a larger overall drop or an added drain line so runoff doesn’t back up against the patio edge.
How do I measure pitch correctly if my patio is not a straight rectangle?
Measure the actual “run” distance between the two points you’re comparing (house-side edge to yard-side edge, or corner to corner if using a diagonal). Mixing up horizontal run with the patio’s length on a slope or measuring along the wrong line is a common reason people end up with much flatter grade than intended.
What should I do if I can’t reach 1/8 inch per foot slope because of site constraints?
A small outward slope is typically better than trying to “chase” perfect smoothness, because correcting grade often requires adjusting the base height. If you find you cannot achieve at least 1/8 inch per foot minimum, plan for a drainage solution (perimeter drain, trench drain, or swale) rather than relying on sealers or patching.
Will polymeric sand prevent pooling if my pavers are slightly off-slope?
Slope matters even with polymeric sand, because pooling is controlled by the subgrade and base geometry. Polymeric sand mainly locks pavers against movement, it doesn’t prevent water from saturating the bedding or base when the surface has low areas.
How do gutters and roof runoff change patio pitch requirements?
Treat roof runoff as a separate design constraint. Make sure gutter downspouts discharge beyond the patio edge (or via extensions into landscaping at a safe distance), and consider a drain at the discharge point, because concentrated flow can scour bedding and overwhelm a standard patio grade.
How can I verify drainage after installation if the surface texture hides low spots?
Different surfaces can require different “go/no-go” thresholds. For example, textured stamped concrete can conceal surface low spots, and surfaces with heavy furniture or built-ins can create localized holding areas, so verify drainage at multiple points after the finish and during curing or bedding stabilization.
What are clear signs my patio drainage is failing, and it’s not just a one-time storm?
Yes. If you see standing water that remains 4+ hours after a moderate rain, or water that’s still visible the next morning in multiple areas, it usually indicates chronic low grade or a base drainage failure. Make the fix early, because repeated freeze-thaw or base saturation tends to worsen unevenness over time.
Is a string line enough for checking patio slope, or should I use a laser level?
If you only rely on a string line, you can miss subtle variations across a large or complex patio. A laser level helps you confirm the reference plane, then you can spot-check multiple locations for the intended drop, especially near house edges and corners where pooling often starts.
Next Article
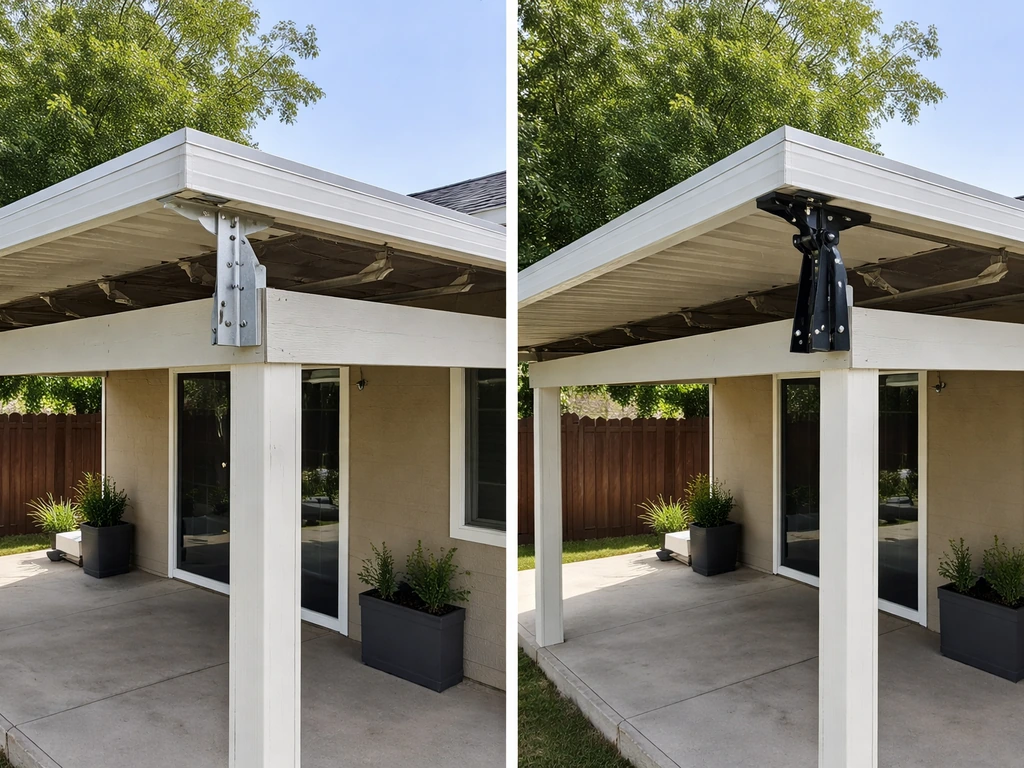
Patio Roof Riser vs Skylift: Cost, Drainage, and Fit Guide
Compare patio roof riser vs Skylift for raising outdoor covers: cost, drainage, fit, DIY risk, and installation tips.