The most common patio enclosure examples are screened porches, three-season sunrooms, four-season sunrooms, pergola enclosures with side panels, and retractable screen systems. Each one suits a different combination of climate, budget, and intended use, and the differences between them are bigger than most people expect before they start getting quotes. Since price is such a big part of the decision, you should compare installed costs across enclosure types before you request quotes is patio enclosures expensive.
Examples of Patio Enclosures: Types, Costs, and How to Choose

Miles Hart
19 May 2026
Patio enclosure types with real examples
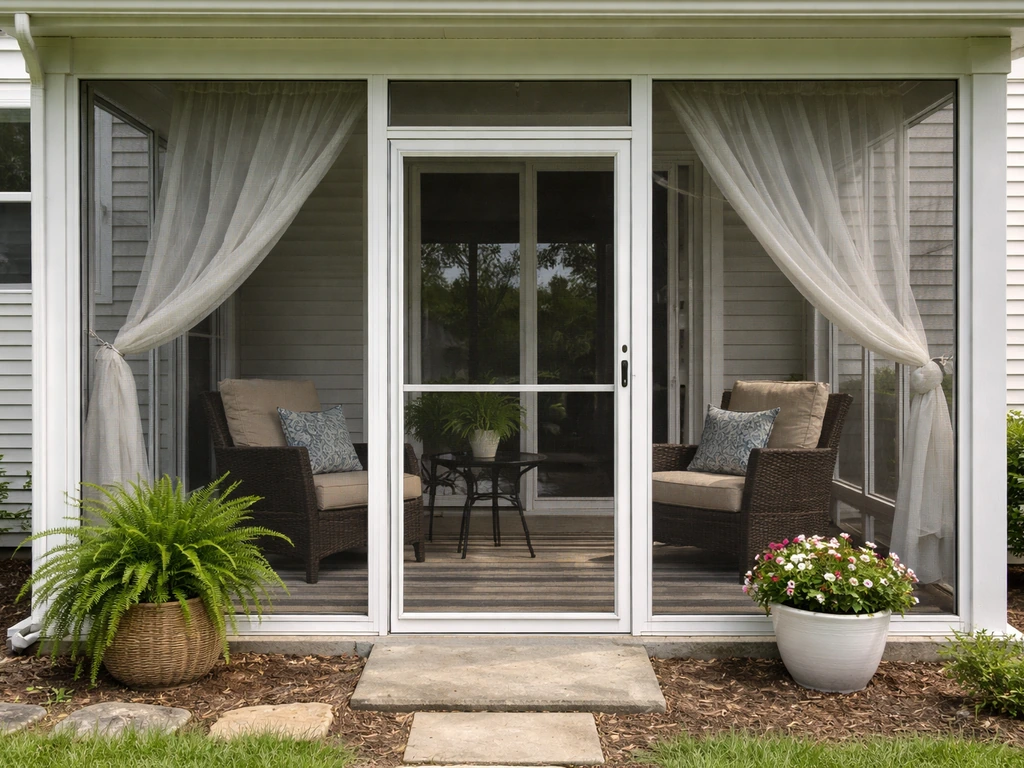
Screened porch
A screened porch is the most popular starting point for homeowners who want bug control and airflow without turning their outdoor space into a room. The typical build uses a low knee wall (either open baluster-style for maximum airflow and views, or a solid wall for more privacy) with screened panels above it, topped by a shed or low-slope gable roof.
If you already have a covered patio or porch, screening it in is the fastest and cheapest path: screening an existing covered structure runs $2,000 to $5,000 on average, or $10 to $25 per square foot. Who owns patio enclosures can vary by project type, but it often comes down to whether you bought a custom system, installed it yourself, or it was built as part of your home quotes.
For more guidance, check out patio enclosure reviews to compare real-world build quality and customer satisfaction across popular options screening it in. Building a new screened porch from the ground up costs $60 to $150 per square foot depending on scope. These are year-round structures in mild climates and spring-through-fall spaces in cold regions.
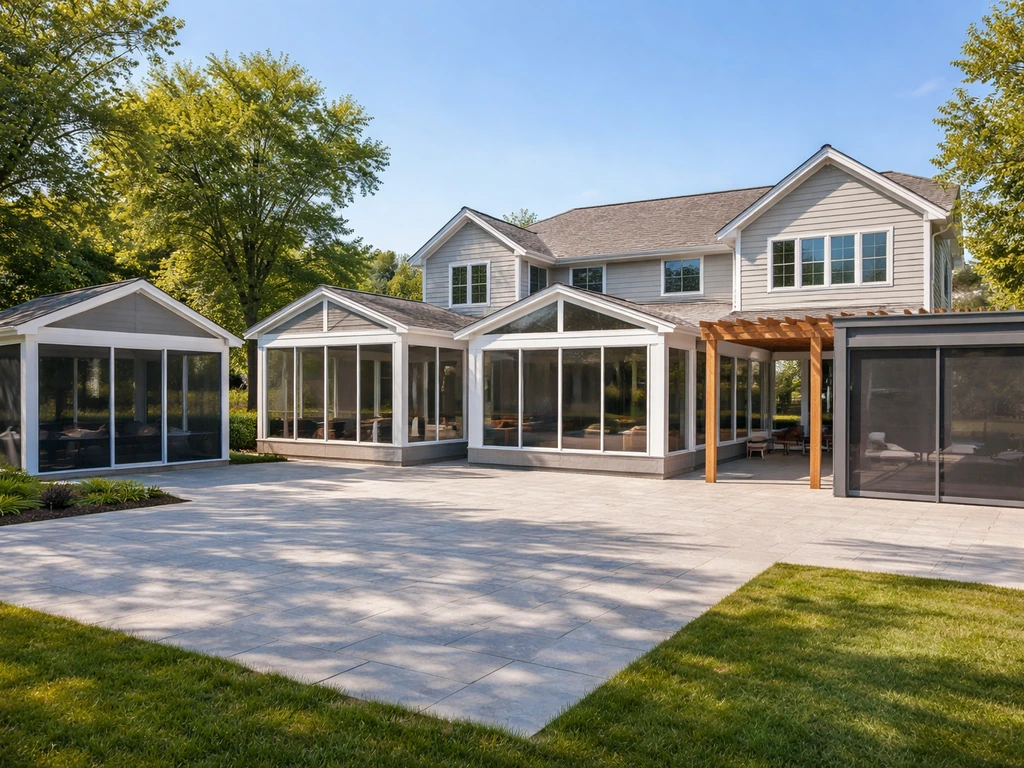
Three-season sunroom
A three-season sunroom steps up from a screened porch by using glazed panels instead of screens, typically aluminum-framed with single or double-pane glass or polycarbonate. The wall systems are usually slim (2 to 3 inches thick) and uninsulated, which keeps costs down but means the room gets cold in winter and hot in summer without active temperature control. Usability is roughly spring through fall in most climates. Installed costs run $80 to $230 per square foot, or roughly $75 to $250 per square foot depending on the source. A 200-square-foot three-season room typically lands in the $15,000 to $46,000 range installed, making it a significant project but a meaningful jump in comfort and weather protection over a screen porch.
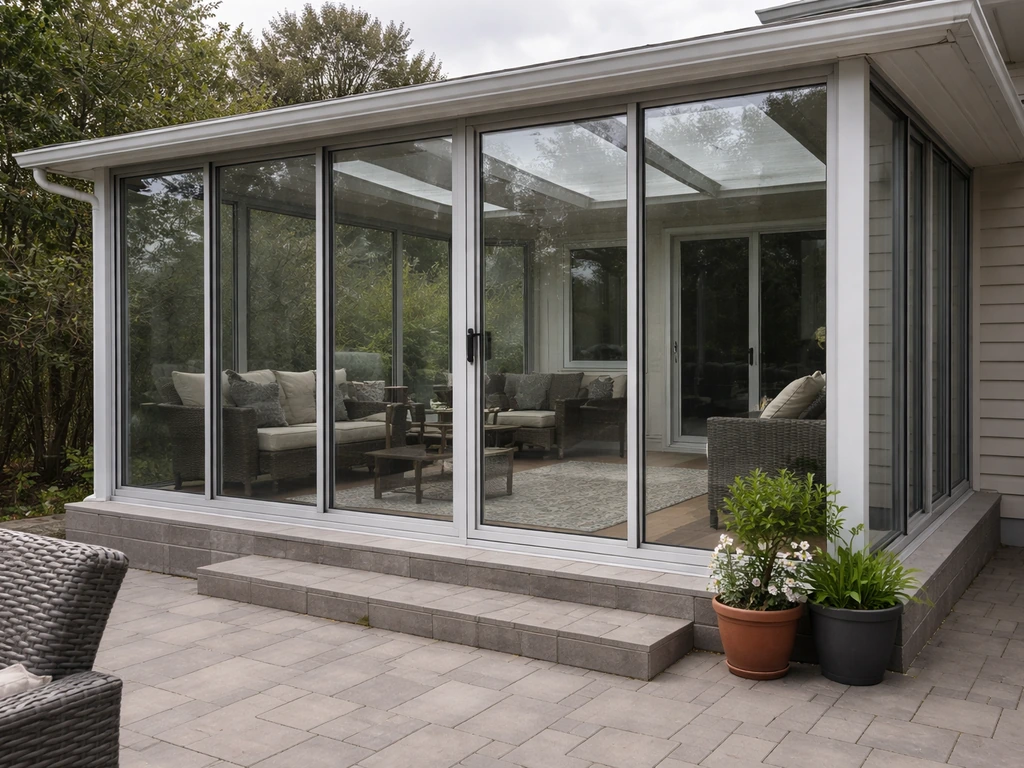
Four-season sunroom
A four-season sunroom is essentially a fully conditioned room addition built on an insulated foundation. It requires R-13 minimum wall insulation (or better), Low-E thermal glass (typically triple-pane in cold climates, with R-values in the R4 to R6 range for the glass alone), and HVAC integration either through an extension of your existing system or a dedicated mini-split. These rooms are usable year-round in any climate.
The cost reflects that ambition: $200 to $400 per square foot on the moderate end, and $220 to $450 per square foot at the high end. A 200-square-foot four-season room commonly runs $40,000 to $90,000 installed. The trade-off is timeline (typically 8 to 16 weeks for a custom build) and the fact that you'll almost always need separate electrical, HVAC, and structural permits.
Pergola enclosure with side panels
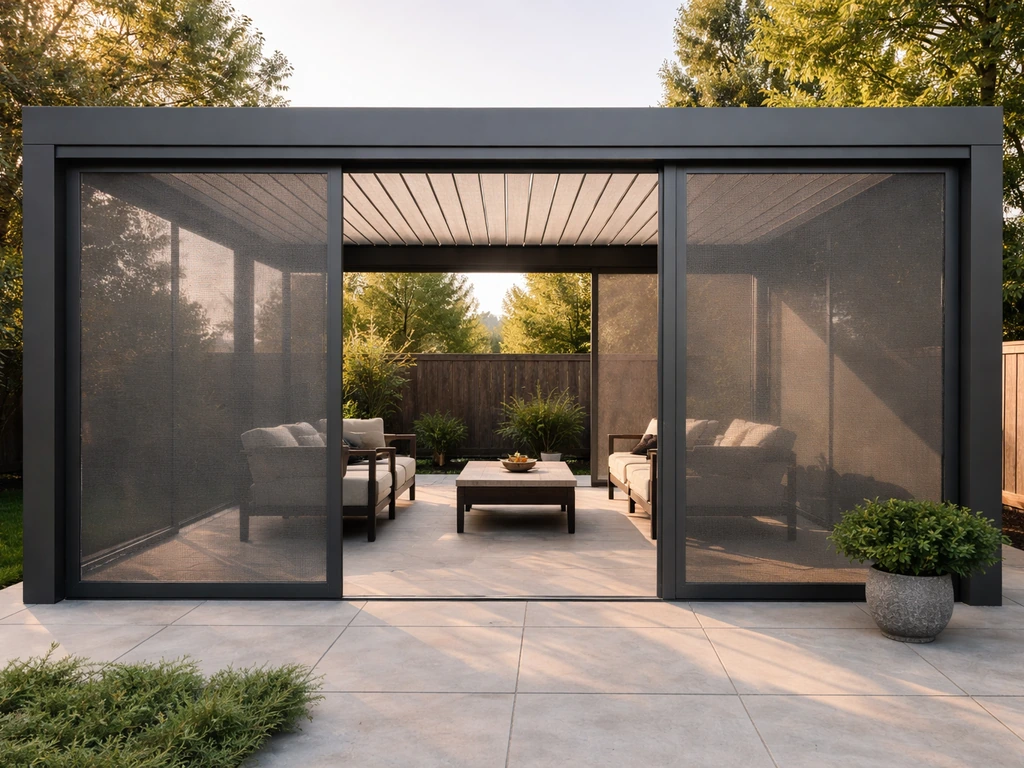
A pergola enclosure combines an existing or new pergola structure with retractable or fixed side panel screens, fabric, or louvered aluminum panels. The roof itself can be a solid panel system, polycarbonate, or fabric, while the sides address wind, insects, and privacy. This is a genuinely versatile option: a solid pergola roof blocks sun and rain more completely than a louvered system but reduces natural airflow.
The side panels add privacy and seasonal weather protection without committing to a permanent enclosed room. Pergola enclosures are particularly popular for hot-tub patios and outdoor dining spaces where you want flexible open/closed control. Costs vary widely depending on whether you're adding to an existing pergola (side panels can be $500 to $3,000 per panel installed) or building from scratch (a full pergola enclosure system can run $15,000 to $60,000 or more for premium motorized systems).
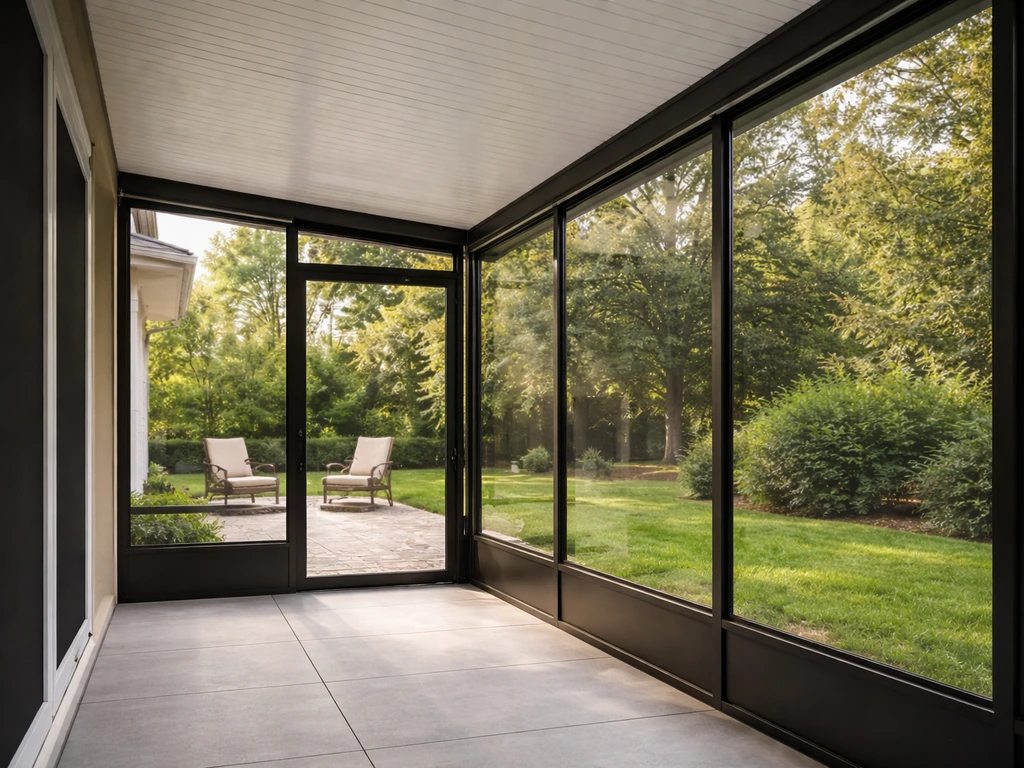
Retractable screen system
Retractable patio screen systems use a track-and-retention mechanism to roll large screen panels down from a housing unit mounted overhead or to the side of an opening. The track keeps the screen taut against wind and rain, and quality systems are genuinely weather-tight against wind, light rain, and insects when fully deployed. The main appeal is flexibility: the screens disappear when not needed, preserving open views and airflow.
These systems are positioned as passive-mechanical (no motorization required for basic versions, though motorized options exist). Installed costs for a retractable screen system covering a typical patio opening run $3,000 to $12,000 depending on the size and whether the system is motorized. They're not a replacement for a fully enclosed room but are excellent for bug control and partial weather protection without permanent construction.
Which enclosure fits your situation
The right enclosure depends on four overlapping factors: your climate, your budget, your intended use, and how much privacy you actually need. Here's how those factors map to real choices.
| Scenario | Best fit | Why |
|---|---|---|
| Hot, humid climate, bug problem | Screened porch or retractable screen system | Maximum airflow with insect control; no heat buildup from glass |
| Mild climate, want dining room feel | Three-season sunroom or pergola enclosure | Weather protection without full HVAC cost |
| Cold climate, want year-round use | Four-season sunroom | Only option that handles winter temperatures comfortably |
| Privacy from neighbors is priority | Solid knee-wall screened porch or pergola with side panels | Lower sightlines block views from adjacent yards |
| Hot tub or spa enclosure | Pergola with side panels or three-season sunroom | Humidity management and flexible open/closed operation |
| Minimal disruption, renter or smaller budget | Retractable screen system | No permanent construction, can be removed |
| Maximum home value addition | Four-season sunroom or fully permitted screened porch | Conditioned square footage adds to appraised value more reliably |
Materials compared: screens, glass, vinyl/aluminum, and polycarbonate
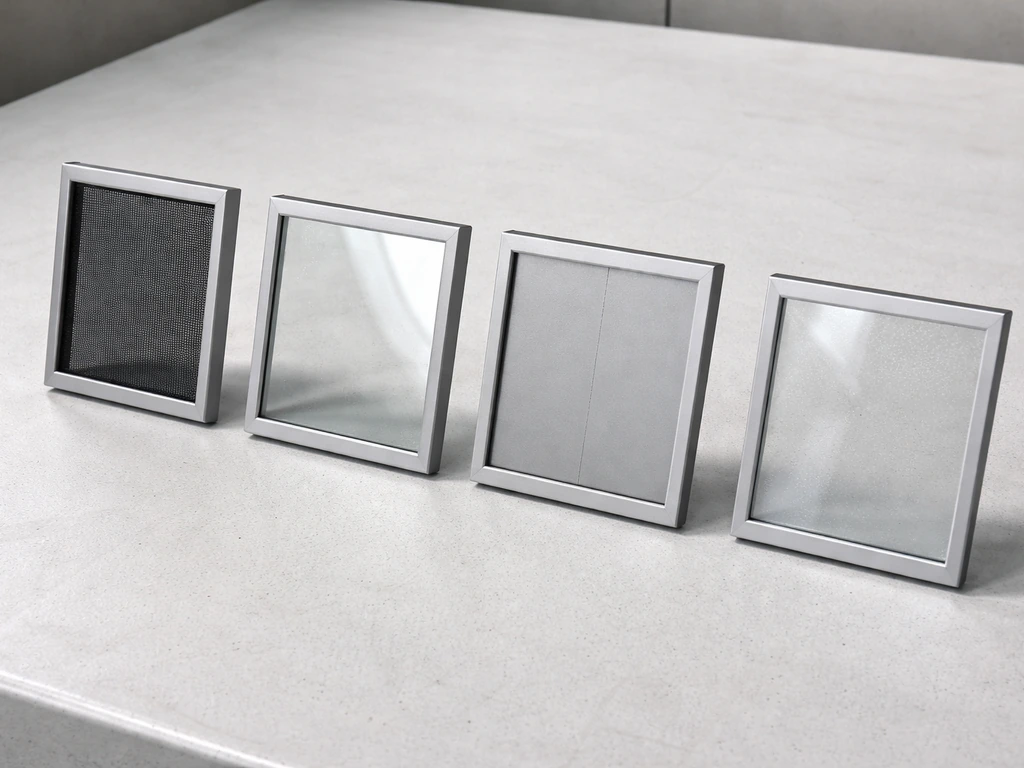
The material system you choose affects cost, insulation, light quality, maintenance, and how long the enclosure lasts. Here's an honest side-by-side.
| Material | Insulation | Light transmission | Cost tier | Best use | Main drawback |
|---|---|---|---|---|---|
| Fiberglass/aluminum screen | None | High (no obstruction) | Lowest | Bug control, airflow | No weather or thermal protection |
| Single-pane glass | Poor (R1 or less) | Very high, clear | Low-mid | Three-season rooms | Heat gain in summer, cold in winter |
| Double/Low-E glass | Moderate (R2-R3) | High, with solar control | Mid | Three-season and entry four-season | Heavier framing required |
| Triple-pane Low-E glass | Good (R4-R6) | Good, slight tint | High | Four-season sunrooms | Cost, weight, complex framing |
| Multiwall polycarbonate (6mm/10mm) | Moderate-good (better than single glass) | Diffused/translucent | Mid | Patio covers, pergola roofs | Not optically clear, can yellow over time without UV coating |
| Vinyl/aluminum frame panels | Varies by glass package | Depends on glazing | Mid-high | Three/four-season rooms | Aluminum conducts cold without thermal break |
| Fabric/shade panels | None | Variable | Low | Pergola side panels, partial shade | Not weatherproof, limited lifespan |
On polycarbonate specifically: multiwall polycarbonate (6mm and 10mm are the standard thicknesses for patio covers) has meaningfully better insulating value than single-wall or corrugated alternatives. It's a legitimate roofing choice for pergola covers and three-season enclosures, but you need to verify the sheet has UV protection on the exposed side. Without a UV-resistant surface treatment, polycarbonate yellows and becomes brittle. Good manufacturer warranties are tied specifically to using the UV-protected face correctly during installation.
On aluminum framing: standard aluminum conducts cold and heat aggressively. For any enclosure you intend to use in temperatures below about 50°F, insist on thermally broken aluminum frames. The thermal break is a plastic or foam barrier inside the frame that interrupts the metal-to-metal conduction path. It's the difference between a frame that frosts up in winter and one that doesn't.
Realistic costs, timelines, and DIY vs professional installs
| Enclosure type | Typical cost range | Typical timeline | DIY realistic? |
|---|---|---|---|
| Screen existing porch | $2,000–$5,000 | 1–3 days | Yes, for flat surfaces with standard openings |
| New screened porch (ground up) | $60–$150/sq ft | 2–6 weeks | Partial (framing and roofing usually need a pro) |
| Three-season sunroom (kit system) | $80–$230/sq ft | 1–4 weeks | Possible with kit systems; foundation work needs a pro |
| Four-season sunroom (custom) | $200–$450/sq ft | 8–16 weeks | No — requires structural, HVAC, electrical permits |
| Pergola with side panels (add-on) | $500–$3,000/panel | 1–2 days per panel | Yes, for retractable/fabric panels on existing pergola |
| Full pergola enclosure system | $15,000–$60,000+ | 2–6 weeks | Depends on system; motorized systems need professional install |
| Retractable screen system | $3,000–$12,000 | 1–3 days | Possible for basic systems; motorized versions need a pro |
The most reliable DIY projects in this category are screening an existing covered porch (if it already has a roof and framing) and adding retractable fabric or screen side panels to an existing pergola. Patios can vary a lot in price depending on how enclosed they are and what materials and permits are involved are patios expensive. Everything that involves tying into a roofline, pouring a new foundation, or running electrical and HVAC should have a licensed contractor involved.
Mistakes in roof tie-ins are expensive: if you mismatch the slope when connecting a shed roof to an existing pitched roof, you can end up with drainage problems and significantly more roofing area than you planned. NSA terminology data sheet defines roof pitch as the slope of a roof panel measured in inches of vertical increase per 12 inches of horizontal travel [mismatch the slope](https://www. nationalsunroom. org/SDS_103TerminologyFinal.
pdf).
Design details that make or break the result
Airflow and ventilation
This is where a lot of enclosures disappoint owners in year two. A screened porch with a solid knee wall and no operable panels can feel stuffy on warm days because there's no low-level air intake to create convective airflow. The same problem hits three-season sunrooms that are sealed tight: condensation builds up because you've removed ventilation paths without adding a dehumidifier or operable windows. Ventilation is the primary control lever for condensation, and sealing gaps without providing new ventilation paths makes the problem worse, not better.
Lighting
Natural light is usually the main reason people build enclosures, but the roofline geometry dramatically affects how much you get. A shed roof that ties into a house eave can leave the interior quite dark compared to a gable configuration with clearstory panels. If you're using polycarbonate or tinted glass on any overhead panels, test the light transmission in person before committing. For artificial lighting, plan electrical rough-in during the structural phase, adding circuits after the walls are enclosed is significantly more expensive.
Heating and insulation
For three-season rooms, a plug-in space heater or a wall-mounted infrared heater is usually enough to extend use a few weeks into fall. For four-season use, you need a real heating strategy: either extending your home's duct system (which requires a Manual J load calculation to verify your existing system has capacity) or a dedicated mini-split, which is the more common and often simpler choice. A mini-split for a 200-square-foot sunroom typically runs $2,000 to $4,500 installed depending on your region. Don't undersize it, heat loss through glass walls is much higher than through insulated walls, and a U-factor comparison between glazing options is worth doing before you finalize your glass package.
Views and knee wall height
The knee wall height on a screened porch is one of the most underappreciated design decisions. A 36-inch solid knee wall gives privacy from ground-level views but can block the sightline to a garden or yard when seated. An open baluster knee wall preserves the view and maximizes airflow but gives less privacy and less wind protection. Walk through your space at seated height (about 44 inches from the floor) and mark where you want the view to start before setting the wall height.
Permits, structure, waterproofing, and safety
Nearly every patio enclosure that attaches to a house or involves a new roof requires a permit. The threshold varies by jurisdiction, but as a general rule: if it has a roof, it needs a permit. Conditioned spaces (anything heated or cooled by connection to your home's HVAC, or with a fixed opening into a conditioned room) typically require separate trade permits for electrical and mechanical work. Some jurisdictions require structural engineering review for any enclosed space attached to the house.
- Structural loading: porch floor systems should be designed for a minimum 40 psf live load and 10 psf dead load — if your existing deck or patio slab wasn't built to that spec, it may need reinforcement before you enclose it
- Roof drainage: your enclosure roof needs to discharge water at a specified offset from the foundation; confirm the discharge point with your contractor before the roof is framed
- Safety glazing: building codes require tempered or laminated safety glass in doors, adjacent-to-door panels, and any glazing at guard/railing height; standard glass is not code-compliant in these locations
- Egress: any conditioned room addition needs at least one egress door or window meeting IRC minimums (typically a 5.7 square foot clear opening, minimum 24 inches high and 20 inches wide)
- Roof pitch: code and manufacturer minimums for glazing systems often specify a minimum slope (measured in inches of rise per 12 inches of horizontal run); confirm your planned pitch meets both requirements before ordering panels
- Condensation management: plan ventilation paths (operable windows, vents) into the design from the start, especially for fully glazed enclosures
On safety glazing: the requirement for tempered glass in specific locations (patio doors, adjacent panels, guard/railing contexts) is not optional and not something to value-engineer out. Tempered glass shatters into small, less-injurious fragments rather than large shards, that's the entire point of the requirement. If a contractor proposes standard annealed glass in a door or low-height panel location, ask specifically about code compliance before accepting the bid.
How to pick your enclosure: a practical shortlisting process
- Measure your existing space: note the exact dimensions of your patio or deck, the eave height of your house at the tie-in point, and the roof pitch of the adjacent roofline. These three numbers will immediately affect what enclosure types are feasible and what they'll cost.
- Define your 'must have' conditions: write down the temperature range you want to use the space in, whether insects are your primary problem or weather/privacy is, and whether you want a permanent room or flexible open/closed operation. This single step rules out half the options immediately.
- Check your local permit requirements before getting quotes: call your building department or check their website for the permit threshold in your jurisdiction. Knowing this upfront prevents surprises mid-project and lets you compare bids on equal terms.
- Get at least three bids and ask each contractor to specify: the roof pitch they're designing to, the glazing U-factor or R-value, whether the framing uses thermally broken aluminum (if applicable), the foundation or slab requirement, and what permits they'll pull.
- Compare material systems side by side: use the table in this article to anchor your comparison. For any glazed option, ask for the U-factor of the proposed glass package — a U-factor of 0.30 or below is a reasonable target for a three-season room; four-season rooms should aim for 0.22 or below.
- Price the HVAC and electrical separately: for any enclosed or semi-enclosed space, get a separate HVAC quote before finalizing the enclosure budget. It's a common source of budget surprises, especially for four-season conversions.
- Ask for permit history: a reputable contractor should be able to show you comparable permitted projects they've completed in your municipality. If they're vague about permits, that's a red flag.
- Plan for drainage and condensation from day one: before construction starts, confirm the roof drainage discharge point, and for any glazed enclosure, confirm there are operable ventilation panels in the design.
One practical note worth adding: if you're evaluating specific patio enclosure companies or their systems, or weighing the cost of a professionally installed system versus a custom contractor build, it's worth digging into what those companies actually include in their quoted price, how their warranty handles condensation and glazing issues, and what their installation timeline looks like in your region. If you are comparing patio enclosure companies and products, a quick patio enclosures vs champion check can help you spot the differences in quality, warranty, and fit for your goals. The difference between a good and a frustrating enclosure project often comes down to those details rather than the enclosure type itself.
FAQ
What are the most common leak or insect-entry points in patio enclosures?
For screened porches and retractable systems, prioritize insect-tight details at the bottom edge (dense screen material, proper skirt or threshold seal, and no gaps around posts). For sunrooms, the weak points are typically the glazing-to-frame seals and any transitions where the roof ties into the house wall, so ask how they handle flashing and gasket continuity, especially during heavy rain.
How should I choose an enclosure for a hot-tub patio or outdoor dining area?
If you plan to use the space near a hot-tub, grill, or frequent cooking, choose a system with materials rated for moisture and heat exposure, and discuss ventilation. Retractable screens help with airflow, but a sealed three-season enclosure can trap humidity, so confirm whether you need a ceiling fan, dehumidifier approach, or operable vents to avoid persistent condensation.
Can a three-season sunroom be upgraded to four-season use later?
Yes, but expect trade-offs. For cold climates, four-season sunrooms generally perform best because they combine insulated walls, better glazing, and HVAC integration, while three-season rooms may require supplemental heat and will still feel chilly near large glass areas. If you want to use it in winter, ask for a clear heating plan (mini-split size or duct capacity) rather than assuming the enclosure alone will keep it comfortable.
What should I verify to avoid accidentally buying a “four-season” enclosure that is not truly efficient?
Look for thermally broken frames, Low-E glazing, and real insulation on the enclosure itself, not just the roof. Also ask whether the foundation is insulated and whether the HVAC design includes heat loss from glazing, floor, and any doors. Without these, you can end up with a room that looks “four-season” but still has cold drafts and heavy condensation.
How much wind and light rain can retractable patio screens handle?
For retractable systems, wind performance matters most when screens are partially deployed. Ask the manufacturer’s guidance for maximum wind speeds and whether the system has a wind-rated retention setup and appropriate housing position. Also confirm how the screen is stowed to reduce sagging and keep the track aligned after seasonal expansion.
Why does condensation happen even when I choose double-pane glass?
Condensation is usually a ventilation and vapor-control problem. If you only add glazing without adding operable vents or a dehumidifier strategy, condensation commonly forms on the coldest surfaces. Ask installers what they recommend for airflow paths (operable panels, louver vents, or controlled dehumidification) and how they prevent water accumulation near framing members.
What should I ask my contractor about permits before work starts?
A permit depends on whether the structure changes conditioned status, adds a roof, or alters structural elements, but a practical rule is that any roof attachment, new electrical, or any framed extension almost always triggers review. Ask your contractor to name the exact permits they will pull and what scope those permits cover, because “we’ll handle it” is not the same as having documented trade permits.
How do I choose the right knee wall height for privacy without blocking my view?
Do a seated “view and privacy” test, then decide whether you want a knee wall with fixed height, or operable privacy. If you need privacy at times but want airflow and views most of the day, ask about adjustable or removable side panels, partial-height guards, or hybrid designs rather than committing to a fully solid wall that can make the space feel enclosed.
What questions should I ask about roof tie-ins and drainage to prevent water damage?
Yes, and it’s easy to get wrong. If an enclosure ties into your roofline, confirm the drainage approach (step flashing, drip edges, and how the new roof intersects the old). Also ask whether they will keep roof area changes within the scope, because slope mismatches can create redirected water paths and extra roofing materials beyond what you expected.
When should I plan lighting and HVAC so I do not pay more later?
Budget for a separate electrical and mechanical plan as early as the enclosure design phase. If you add HVAC or lighting after the walls are closed, costs rise because you may need surface-mounted raceways or opening time for rewiring. Ask for a rough-in plan now, including outlets, switches, and any dedicated circuit needs for mini-splits or dehumidifiers.
Next Article
Patio Enclosure Reviews: How to Compare and Choose
Patio enclosure reviews guide to compare buyers, materials, install, weather performance, costs, and vendor trust fast.