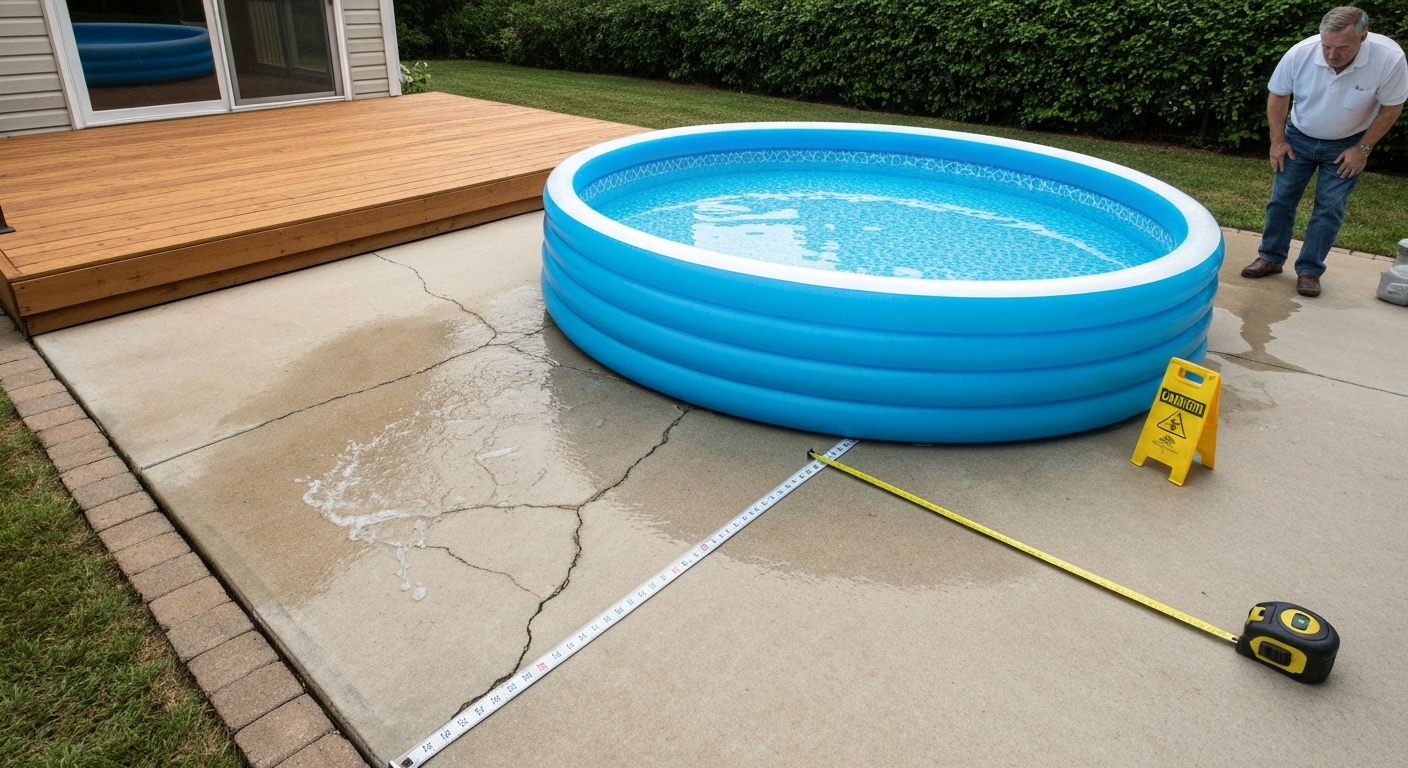
Yes, you can put a trampoline on a patio in many situations, but it depends heavily on what your patio is made of, whether it's at ground level or elevated, and which type of trampoline you're placing. A standard concrete slab patio at grade is usually the most forgiving option, provided the slab is in good condition and you take steps to protect the surface and spread the load. Elevated patios, roof decks, and poorly-compacted paver setups introduce real structural risk that you need to evaluate before anything gets assembled. And regardless of surface, most trampoline manufacturers explicitly warn against placing equipment over hard surfaces because fall injuries on concrete or pavers are far more severe than falls onto grass.
Can You Put a Trampoline on a Patio? Safety & Checklist

Miles Hart
9 Aug 2026
How trampolines load patios: static vs. dynamic loads
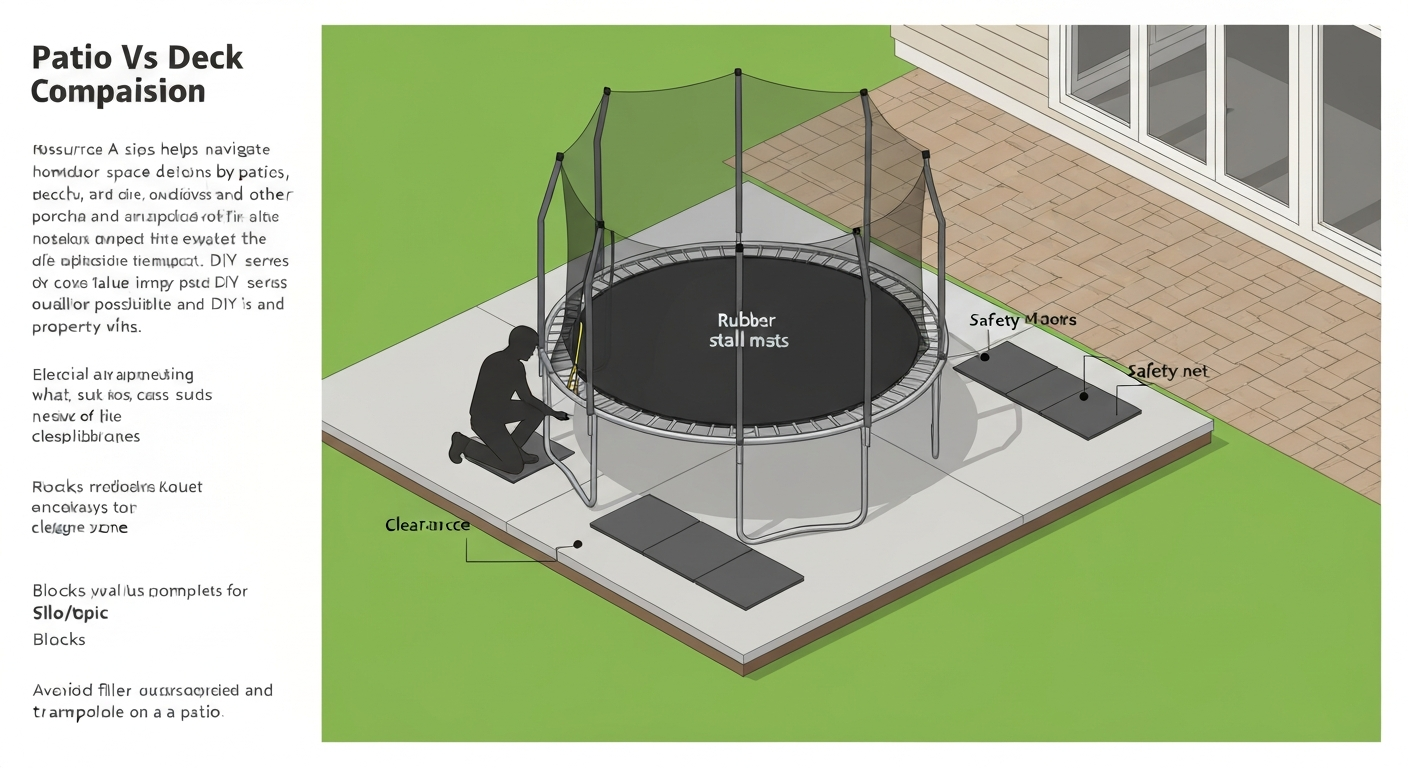
When you set a trampoline on a patio, you're not just placing a static object. There are two very different forces at work, and only understanding both gives you a realistic picture of what your patio surface is actually experiencing.
The static load is simply the combined weight of the trampoline frame, mat, springs, and any users standing still on it. A standard 14-foot backyard trampoline typically weighs 200 to 350 lbs on its own. Spread across four to six legs, each leg contact point might carry 50 to 100 lbs at rest. That's not an unusual concentrated load for a patio surface to handle.
The dynamic load is the real concern. When someone bounces, the frame absorbs and transfers impact forces that can be several times the jumper's body weight. Peer-reviewed biomechanics and finite element research has measured peak reaction forces during trampoline use at roughly 2,900 to 3,400 newtons per limb for a 70 kg (154 lb) person, equating to roughly 5 to 7 times bodyweight in short-duration spikes. Aggressive maneuvers can push transient peak accelerations even higher. Those repeated impact pulses are transmitted directly through the legs into your patio surface.
For a concrete slab, the relevant failure modes aren't just about average bearing pressure (load divided by contact area). What you really need to consider is punching shear, which is whether the concrete directly under a concentrated leg load will punch through locally, and flexural cracking, which is whether the slab bends and cracks between support points. Concrete slab capacity checks for concentrated point loads require slab thickness, effective depth to reinforcement, concrete strength, and the ACI critical shear perimeter, see Point-load-on-slab calculator and ACI check notes (Calcs.com) for calculators and ACI‑based check notes. ACI 318 engineering guidance addresses both of these, and the answers depend on slab thickness, reinforcement, and concrete strength, not just the weight on top. For pavers and flagstone, the concern shifts to whether the base is compacted well enough to prevent settlement or rocking under repeated dynamic loading.
Patio types and special concerns
Concrete slab
A poured concrete slab is generally the most suitable patio surface for a trampoline, assuming it's in decent shape. A typical residential slab is 4 inches thick, sometimes reinforced with rebar or wire mesh. In good condition, a 4-inch slab on a stable subgrade can handle the concentrated loads from trampoline legs, especially if you use load-spreading pads (more on that below). Cracked, heaved, or spalling slabs are a different story. Before placing any heavy equipment, inspect for cracks wider than about 1/4 inch, significant settlement, or sections that rock underfoot. Any of those warrant repair or a professional look before you proceed.
Pavers
Paver patios sit on a compacted aggregate base, typically 4 to 6 inches of crushed stone topped with 1 inch of bedding sand. The pavers themselves don't span loads the way a monolithic slab does; each paver is essentially a small independent tile. Repeated dynamic loading from trampoline legs can cause pavers to sink, rock, or shift over time, especially if the base wasn't compacted properly to begin with or if the paver under a leg is spanning a soft spot. A paver that rocks when you step on it is a red flag. You can do a quick field check by pressing down on each paver in the trampoline's footprint area and watching for movement. Settlement under trampoline legs is a real risk on pavers even when the base was fine at installation, because the dynamic loads are different from typical foot traffic.
Flagstone
Natural flagstone set in mortar over a concrete base behaves similarly to a slab and is generally reasonably stable for trampoline leg loads. Dry-laid flagstone (set in sand or soil without mortar) is more vulnerable, similar to pavers. The stones are also irregular in thickness, which means some contact points may be more prone to cracking under concentrated dynamic loads. Inspect for existing cracks in individual stones and check that no stones shift when you step on them firmly.
Compacted gravel
Compacted gravel is more forgiving in some ways because it can absorb and redistribute loads, but it also shifts and ruts under repeated concentrated point loads from trampoline legs. Over a season of heavy use, leg positions will sink and create uneven contact, which can make the trampoline unstable and cause leg tubes to bend. It's not ideal, but if the gravel base is deep (4 or more inches over a stable subgrade) and well-compacted, it can work with proper leg pads. Plan to check and repack leg positions a few times per season.
Roof patios and elevated decks
This is where the answer changes significantly. A rooftop patio or elevated deck introduces two separate concerns: structural capacity and fall hazard. Per standard residential code (IRC) and ASCE 7 engineering practice, a typical residential deck is designed for 40 psf live load. Occupied rooftop terraces may be designed for the same or more. But a trampoline concentrates dynamic loads at specific points rather than distributing them evenly, and the 40 psf design load assumes live load is spread across the full area. Additionally, if a user falls off the trampoline on an elevated surface, the consequences are dramatically different than falling on a ground-level patio. I'd strongly recommend against placing a trampoline on any elevated deck or rooftop patio without a structural engineer reviewing the framing specifically for the trampoline's leg positions and dynamic load inputs. The cost of that review (typically $300 to $600) is minor compared to the liability and injury risk.
Trampoline types and how they change patio requirements
| Type | Load pattern | Patio suitability | Key concern |
|---|---|---|---|
| Above-ground frame (standard) | Concentrated at 4–8 leg points | Concrete slab (good); pavers/gravel (possible with prep) | Dynamic point loads; surface damage; fall onto hard surface |
| In-ground (recessed) | Distributed around pit perimeter/frame | Requires excavation; not placed on existing patio surface | Major groundwork needed; not a patio placement scenario |
| Inflatable bounce trampoline | Distributed over large footprint area | Most patio-friendly; low concentrated load | Wind anchoring; surface abrasion; inflation stability |
A standard above-ground frame trampoline is what most homeowners are thinking about when they ask this question. These have 4 to 8 tubular steel legs with small rubber-footed tips, and all the dynamic bouncing load gets channeled through those small contact points. That concentration is what drives the surface protection and load-spreading measures below.
In-ground trampolines require excavating a pit to recess the jumping surface flush with the ground. You can't drop one of these onto an existing patio. The relevant question for in-ground setups is whether you can excavate adjacent to or through an existing patio, which is a different project entirely.
Inflatable trampolines and bounce structures are the most patio-compatible because the air-filled base distributes load across a large footprint, reducing point load concentration significantly. The main concerns for inflatable units on a patio are wind anchoring (they're light and can act as a sail), surface abrasion on the patio material, and making sure the blower unit doesn't overheat on a hot concrete surface. Sibling topics on this site cover inflatable pools on patios in more detail, and many of the same placement and anchoring considerations apply.
Patio inspection and simple load checks you can do yourself
Before you assemble anything, spend 15 minutes doing a proper walkthrough of the area where the trampoline legs will sit. This doesn't require tools or engineering knowledge, just observation and a few simple tests.
- Walk the full footprint area and note any cracking, spalling, settlement, or heaving in the slab or pavers. Mark problem areas with chalk.
- Step firmly on each paver or flagstone in the trampoline's planned leg positions. Any rocking, tilting, or soft feel under foot indicates base problems that need repair before proceeding.
- Check the slab edge (or any visible cut or step) to estimate slab thickness. A 4-inch or thicker slab in good condition is generally acceptable for above-ground frame trampolines at grade.
- Look for drainage patterns: standing water under or near the trampoline footprint will erode compacted bases over time and accelerate settlement.
- If you have a paver patio, use a screwdriver or metal rod to probe the joints around planned leg positions. Loose, sandy joints or probe penetration of more than 2 to 3 inches with light hand pressure suggests inadequate base compaction.
- For concrete slabs, use a rebar locator (a basic magnetic stud finder works roughly for near-surface rebar) to check whether reinforcement is present near leg positions. Unreinforced concrete carries far less point load capacity.
- If you find cracks wider than 1/4 inch, significant settlement differentials (one area is noticeably lower than adjacent sections), or pavers that shift more than slightly, consult a concrete contractor or hardscape professional before proceeding. Do not rely on visual inspection alone for elevated patios or roof decks.
If you want a more rigorous check, a contractor can perform a dynamic cone penetrometer (DCP) test to measure subbase compaction beneath pavers, or can drill a small core in a concrete slab to confirm thickness and reinforcement depth. See the Test Procedures Manual (includes DCP / compaction test procedures), sample materials/test procedures manual for standard procedures and industry practice covering DCP/compaction tests, coring, GPR, and rebar‑locator methods Test Procedures Manual (includes DCP / compaction test procedures) — sample materials/test procedures manual. GPR (ground-penetrating radar) scanning gives a non-destructive full picture of what's inside a concrete slab. These tests typically cost $100 to $400 depending on scope, and they're worth it if your patio is older, shows any distress, or you're placing a large trampoline with frequent adult use.
Protecting patio surfaces and spreading concentrated loads
Even on a solid concrete slab, bare trampoline legs can scratch, chip, and stain the surface over time. More importantly, spreading the leg load over a larger area reduces peak contact pressure on the slab, which is the right engineering instinct regardless of whether the slab is technically adequate for the point load.
- Rubber leg pads or trampoline feet covers: most manufacturers sell these as accessories. They protect the surface from scratching and provide a small amount of load spreading. A good starting point for any patio installation.
- Rubber stall mats or gym mats (3/4 inch to 1 inch thick, 4x6 feet): placing one under each leg cluster spreads the contact area significantly and absorbs some of the dynamic shock before it reaches the slab. These cost $30 to $50 each and are widely available.
- Plywood sheets (3/4 inch CDX or better) under each leg: plywood distributes point loads effectively across a wider slab area by acting as a small spreader plate. Place rubber feet or a rubber mat between the plywood and the patio to prevent sliding.
- Steel or HDPE spreader plates: engineered solutions used in commercial settings, overkill for residential but worth mentioning for anyone placing a large trampoline on a questionable slab.
- Timber sleepers (pressure-treated 4x4 or 4x6): laying two or three sleepers across the trampoline footprint and resting the legs on the sleepers turns what would be point loads into line loads distributed along the sleeper length. Effective for paver patios where individual paver settlement is the concern.
For paver patios specifically, I'd also suggest removing the pavers at each leg position and packing additional compacted gravel directly under that spot before resetting the pavers with leg pads on top. It's a 30-minute job per leg position and significantly reduces settlement risk over time.
One honest trade-off to acknowledge: none of these surface protection measures eliminate the fall injury risk from a hard patio surface. They protect your patio from the trampoline; they don't protect a fallen user from the patio. The safety guidance on clearance zones below is separate from surface protection and is arguably more important.
Anchoring and wind safety
A trampoline on a patio is more susceptible to being lifted by wind than one anchored into lawn soil, because you typically can't drive ground stakes through concrete or pavers. A standard 14-foot trampoline can act as a large sail in even moderate wind. At 30 to 40 mph, an unanchored trampoline can overturn or travel, damaging property, the patio surface, and anyone nearby.
Anchoring options for hard surfaces
- Concrete anchor bolts: if you own your home, drilling into the concrete slab and installing expansion bolts with anchor straps is the most secure method. This is permanent and requires drilling, but it provides genuine wind resistance. Anchor kits designed for concrete are sold by trampoline manufacturers and hardware stores for $40 to $80.
- Weighted sandbags or ballast blocks: sandbags placed over each leg or around the base perimeter add resistance to wind lift without permanent modification. Each sandbag should weigh at least 30 to 40 lbs to be effective; lighter options are largely decorative. This works best as a supplement to another method.
- Ratchet strap anchoring to a fence, wall, or post: running straps from the trampoline frame to adjacent fixed structures adds horizontal and vertical restraint. The fixed attachment point must itself be solidly anchored.
- Manufacturer wind stake kits used through anchor plates: some manufacturers sell kits where you bolt a plate to the slab using concrete screws (Tapcons), then attach the stake kit to the plate. A reasonable middle ground between permanent drilling and no anchoring.
When is anchoring not enough? If your patio is fully exposed and you're in a region with frequent high winds (hurricane-prone areas, open plains, exposed hilltops), no surface-mount anchoring system is a substitute for taking the trampoline down before a storm. Manufacturer instructions for most brands, including Springfree, explicitly state that the trampoline should be disassembled or fully secured before high-wind events. If your patio is in an exposed location with no wind break from structures or trees, reconsider whether the patio is the right location entirely, or commit to a bring-in protocol before storms.
Clearance, fall zones, and user safety on a patio
This section is arguably the most important, because placing a trampoline on a hard surface creates a fundamentally different injury risk profile than placing it on grass. A fall from a trampoline onto a patio surface, even from a low height, can cause serious fractures and head injuries. The CPSC's playground safety guidance, which is widely referenced for consumer trampoline installations, explicitly warns against placing trampolines over or adjacent to hard surfaces without adequate shock-absorbing fall zones.
Clearance distances
Springfree's installation manual, as one documented example, specifies that the 5-meter (roughly 16.5 feet) clearance zone around the trampoline should not include concrete, asphalt, brick, or other hard surfaces. That's a large exclusion zone. In practice, most backyard patios are not large enough to provide that clearance on all sides within the patio boundary itself. What this means practically is that at minimum, the clearance zone in any direction a user might fall should extend to a softer surface, or the entire patio footprint around the trampoline should have shock-absorbing matting installed.
If your patio edges onto a lawn area, positioning the trampoline so that falls are more likely to land on the grass side is a reasonable compromise. If the trampoline is fully surrounded by hard patio surface, the fall risk is significant and should be mitigated with thick interlocking rubber tiles or a perimeter of shock-absorbing rubber mulch panels, not just standard rubber mats.
Enclosures, user limits, and supervision
- A safety enclosure net is mandatory for any patio installation, full stop. On a patio there is no soft landing if a user exits the trampoline. Consumer enclosure systems should meet ASTM F2225 standards; check that the enclosure you're using is rated for the frame size and that poles and attachments are intact before each use.
- Enforce one user at a time, regardless of what your trampoline's weight capacity says. Single-user operation dramatically reduces the most dangerous collision and launch scenarios. Manufacturer manuals from Skywalker and Springfree both specify single-user operation.
- Check your model's maximum user weight rating before use. Example: some Skywalker 15-foot models list a 275 lb maximum user weight. Exceeding this limit increases stress on the frame and springs beyond what the manufacturer tested.
- Supervise children on patio-installed trampolines more actively than you would on a lawn setup. The consequence of any fall or exit from the trampoline is higher, so adult supervision should be treated as non-negotiable.
- Remove the trampoline ladder when not in active use to prevent unsupervised access by young children, especially since a fall from the platform height onto a patio is more dangerous than a fall from the same height onto grass.
Permits, HOA rules, and insurance considerations
Most jurisdictions do not require a permit to place a freestanding trampoline on a ground-level patio, since it's treated as portable outdoor equipment rather than a structure. However, if you're anchoring into a concrete slab or if the trampoline is in an HOA community, you may need approval. HOA communities frequently restrict trampolines by visibility, size, or proximity to property lines, so check your CC&Rs before purchasing.
The insurance angle is more nuanced. Trampolines are an attractive nuisance, meaning your homeowner's insurance liability coverage may be affected if a guest or neighbor's child is injured. Some insurers exclude trampoline-related injuries entirely or require a rider. Contact your insurer before installation to confirm your coverage. If you have an umbrella policy, verify it covers trampoline incidents as well.
For elevated patios or roof decks, a permit is far more likely to be required if you're making any structural modifications, and a structural engineer's letter confirming the deck can handle the trampoline loads may be needed both for permit approval and to maintain insurance coverage. Don't skip this step on elevated surfaces.
Cost and DIY vs. professional reinforcement
For a standard concrete slab patio in good condition, the prep work is genuinely DIY-friendly and inexpensive. Can you finance a patio, see our guide on financing a patio for options on loans, payment plans, and budgeting for repair or reinforcement work. Rubber stall mats run $30 to $50 each; a set of four for a standard trampoline costs $120 to $200. Concrete anchor bolt kits are $40 to $80. Interlocking rubber safety tiles for the perimeter clearance zone run $2 to $5 per square foot depending on thickness; covering a 10-foot perimeter on two sides of a standard trampoline might cost $200 to $500. Total DIY surface prep and safety investment for a ground-level concrete slab: roughly $400 to $800.
Professional reinforcement scenarios arise mainly with pavers, damaged slabs, or elevated decks. Repacking and releveling a paver patio under trampoline leg positions is typically $200 to $600 as a contractor job. Concrete crack repair or partial slab replacement runs $500 to $2,000+ depending on scope. A structural engineer assessment for an elevated deck specifically for trampoline load review typically costs $300 to $600 for a site visit and written report. If the deck needs framing reinforcement after review, that project cost varies widely ($1,000 to $5,000+) based on what's needed.
It's worth comparing these costs against the alternative of placing the trampoline on an adjacent lawn area, which costs essentially nothing in surface prep and eliminates most of the hard-surface safety concerns. If your property has a usable lawn option, that's the path most manufacturers intend and the one that carries the lowest liability and injury risk.
Patio vs. lawn vs. deck: which makes sense for your setup
| Location | Structural risk | Fall injury risk | Anchoring options | Prep cost | Best for |
|---|---|---|---|---|---|
| Concrete slab patio (grade) | Low to moderate (inspect first) | High if no matting/net | Anchor bolts, sandbags | $200–$800 DIY | Homeowners with good slab, safety matting, and enclosure |
| Paver patio | Moderate (settlement risk) | High if no matting/net | Limited (no stake anchoring) | $400–$1,200 with base work | Only with solid base verification and load spreading |
| Lawn | Low | Low (soft landing) | Ground stakes (easy) | Minimal | Most setups; manufacturer-recommended default |
| Elevated deck | High (engineer review needed) | Very high | Frame bolting only | $600–$5,000+ with engineer | Not recommended without professional structural review |
| Roof patio/terrace | High (engineer review needed) | Extreme (fall from height) | Custom only | $1,000+ with engineer | Generally not recommended |
The honest recommendation is this: if you have a lawn, use it. If your only usable outdoor space is a patio, a concrete slab at grade is workable with the right preparation, safety matting, a quality enclosure, and single-user discipline. Pavers require more verification and prep work. Elevated decks and roof terraces need professional structural review before you proceed, no exceptions.
Decision checklist before you set up
- Confirm your patio is at ground level. If it's elevated or a roof deck, get a structural engineer review before anything else.
- Inspect the slab or paver surface for cracks, settlement, rocking, or drainage issues. Fix problems before placing the trampoline.
- Measure your usable patio space. You need the trampoline footprint plus ideally a clearance zone extending toward a softer surface on at least the most likely fall sides.
- Purchase and install rubber leg pads or stall mats at each leg position before assembly.
- Choose and install a safety enclosure that meets ASTM F2225 and is rated for your trampoline's diameter.
- Anchor the trampoline to the slab using concrete anchor bolts or weighted ballast; don't leave it freestanding on a patio.
- Check your HOA rules and contact your homeowner's insurance carrier before the trampoline is in use.
- Establish and enforce one-user-at-a-time and adult supervision rules, and remove the ladder when the trampoline is not actively supervised.
- Plan for storm protocol: either anchor more securely or disassemble and store before high-wind events.
- Re-inspect leg positions and base stability at the start of each season and after any significant weather event.
Similar weight-on-patio questions come up regularly for hot tubs, pools, and sheds. If you're weighing whether your patio structure can support a hot tub (which involves several thousand pounds of static water weight distributed across a small footprint), that analysis follows many of the same principles covered here, with even stricter load requirements. For a detailed checklist and structural guidance, see will my patio support a hot tub. The same goes for questions about placing sheds or inflatable pools on patio surfaces, where the load type and anchoring challenges differ but the inspection and surface-prep logic is closely related. If you need specific guidance about sheds, see the related discussion titled "can you put a shed on a patio". For guidance specific to pools, see our article on whether you can put a pool on your patio (can i put a pool on my patio).
FAQ
Quick answer: can you put a trampoline on a patio?
Short answer: sometimes — but it depends. A trampoline can be placed on a patio if the patio and its substructure can safely support the static weight and the much larger dynamic/impact forces produced during jumping, and if fall‑surface, clearance, anchoring, and local rules are satisfied. If you cannot verify load capacity and impact forces for your specific patio (especially elevated/deck patios or thin slabs/pavers), consult a structural engineer before installing.
What are the main safety and structural issues to consider before placing a trampoline on a patio?
Key issues: (1) Load capacity — both static weight and highly amplified dynamic/impact reactions; (2) concentrated loads and punching‑shear risk for slabs or thin pavers; (3) surface hardness and injury risk from falls; (4) anchoring and wind uplift forces; (5) clearance and entrapment/fall zones; and (6) permits / HOA / insurance / liability. Manufacturer warnings and CPSC guidance generally discourage installing trampolines where a fall would land on concrete or other hard surfaces unless appropriate shock‑absorbing surfacing is provided.
How do I do a step‑by‑step inspection and simple checks for patio suitability?
1) Visually inspect for cracks, settlement, deflection, displaced pavers or 'rocking' units. 2) Determine patio type: monolithic concrete slab, pavers on base, flagstone, compacted gravel, or elevated/roof patio over living space. 3) Measure slab thickness at an exposed edge or have a small core drilled for accuracy; locate reinforcement with a rebar detector or GPR if needed. 4) Check drainage and base compaction (loose pavers or soft base are warning signs). 5) Do a simple load‑sense test: have a heavy adult jump in a small area and look for new cracks, movement or sudden deflection — stop immediately if anything shifts. 6) If any uncertainty about structure, slab thickness, reinforcement, or if patio is elevated over living space, stop and hire a structural engineer or testing firm for a formal assessment.
How do I estimate static and dynamic loads to compare with patio capacity?
Static: sum the trampoline plus maximum intended user weight(s). Dynamic: trampolines produce short‑duration peaks several times a jumper’s weight (literature shows peak reaction forces multiple times bodyweight). Use conservative impact amplification (or manufacturer data) when checking. Structural checks for slabs must consider concentrated reactions, punching shear and bending based on slab thickness, reinforcement and concrete strength — these require engineering calculation. If you can’t perform those checks confidently, get a structural engineer to assess.
How does patio type change the risk and requirements?
- Concrete slab on grade: generally the most promising if slab thickness, reinforcement and subgrade are adequate, but requires punching‑shear and flexural checks for concentrated dynamic loads. - Pavers/flagstone on sand or thin base: higher risk — individual units can rock or crack and subbase may rut under repeated impacts; need stronger base or structural reinforcement. - Compacted gravel: usually unsuitable unless thick, well‑compacted structural slab is added. - Elevated or roof patios / balconies: highest concern — many exterior decks/balconies are only designed for 40 psf (or 60 psf for some jurisdictions) and may not tolerate concentrated or dynamic trampoline loads; consult an engineer and likely reinforce framing. - In‑ground: reduces fall‑surface issues but still needs subsoil and slab/edge checks for concentrated loads.
How do trampoline types affect what patio work is needed?
- Above‑ground framed trampolines (typical steel frame with springs): concentrate loads at feet and frame; require patio checks for point loads and dynamic impacts. - In‑ground trampolines: spread load into surrounding soil and require excavation/edge support; better for clearance but still need subgrade assessment. - Inflatable trampolines (bounce houses): typically spread load more evenly but can still suffer wind uplift and require anchoring; often inappropriate on hard patios without ballast/anchoring and protective surfacing. Manufacturer instructions and user‑weight limits must be followed for any type.
Next Article
Can You Put Inflatable Pool on Patio? Safety, Loads, Setup
Can you put an inflatable pool on a patio? Safety rules, weight examples, 10-step setup checklist, permits & alterna