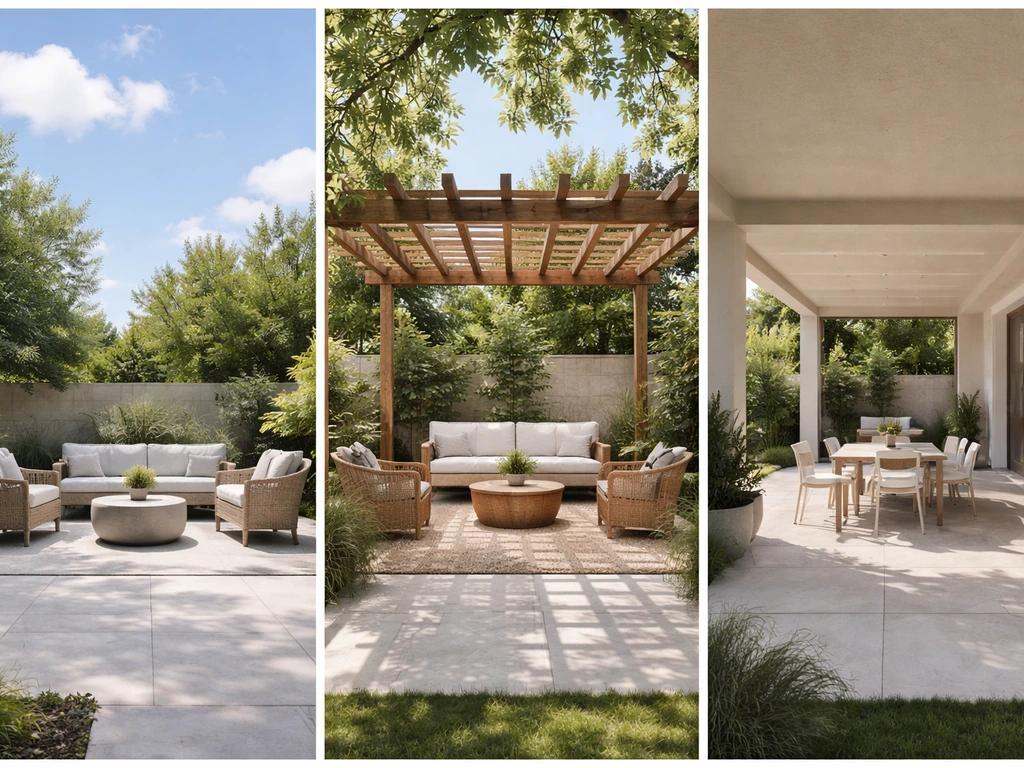
Yes, you can build a pergola on an existing patio in most cases. The real question is how you anchor it safely based on what your patio is made of, what loads the structure needs to handle, and whether your municipality requires a permit. Poured concrete is the easiest substrate to work with. Pavers and tiles are trickier but very doable. The main things that stop people are shallow or missing footings, skipping the permit step, and underestimating wind load in their area.
Can a Pergola Be Built on a Patio? A Practical Guide

Miles Hart
6 Jul 2026
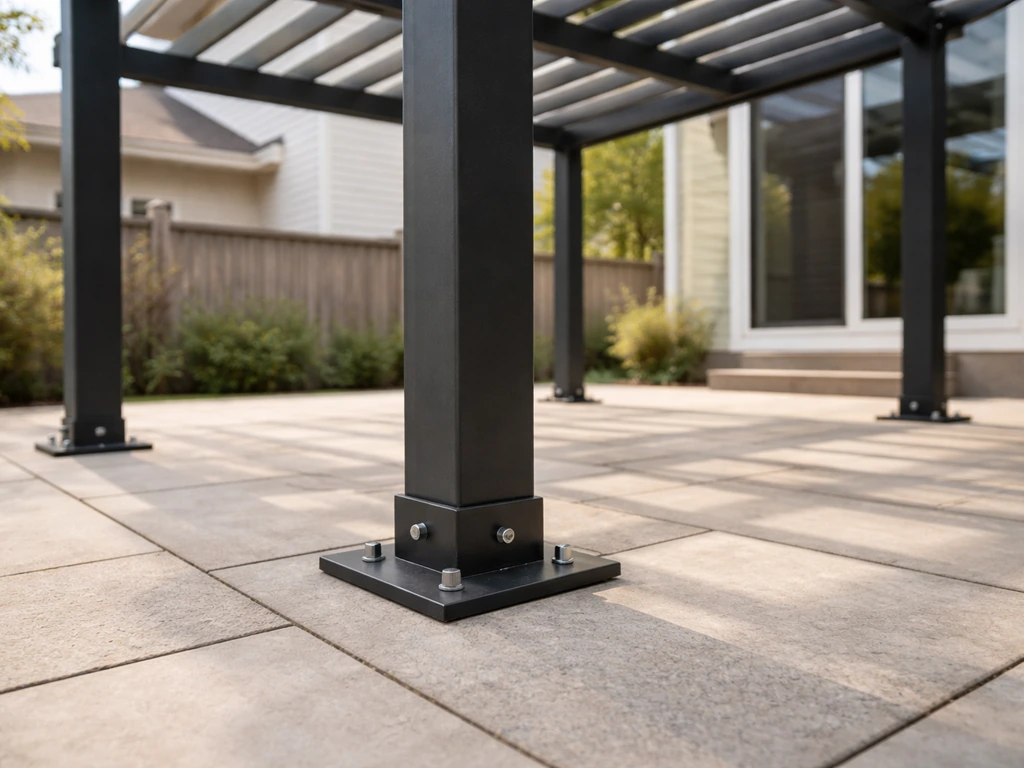
What your patio surface actually means for anchoring
The surface under your pergola posts is the single biggest variable in how you build. Here is what each common type means in practice.
Poured concrete
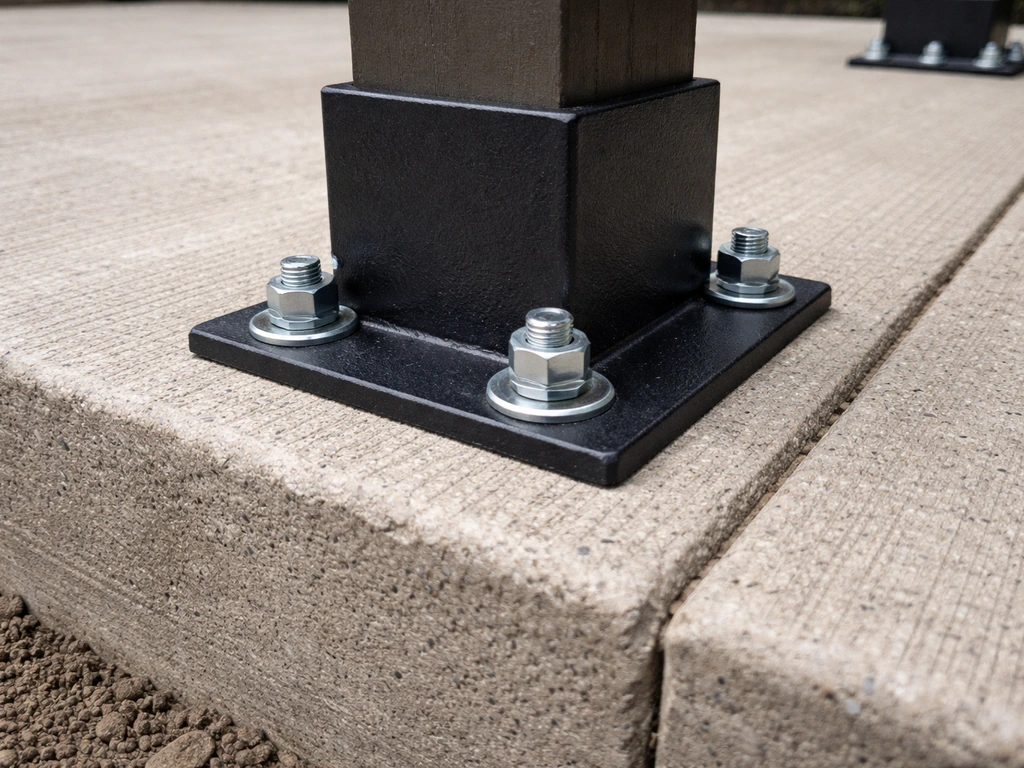
This is the most straightforward scenario. A standard residential concrete patio is 3.5 to 4 inches thick, which is enough to accept a surface-mount post base anchored with 5/8-inch concrete anchors. Pergola kit manufacturers like Pergola Depot specify exactly this setup for their surface-mount installs: a 6x6 galvanized steel post base drilled into the slab. You do not need to break through the slab at all unless your wind or snow loads require deeper footings. The key check is slab condition. Cracked, spalling, or frost-heaved concrete is a problem. Anchors set into compromised concrete can pull out under lateral load. If your slab has significant cracking or soft spots, plan on either patching and re-drilling or pouring new footings through the slab.
Pavers and patio blocks
Pavers sit on a sand or gravel base, which means you cannot just drill into them and expect the anchor to hold. The two approaches that actually work are: remove the pavers at each post location and pour a concrete footing flush to the surface, then reinstall the surrounding pavers around the base plate, or place the post base on a small concrete pad poured over the base area. Either way, you are creating a concrete anchor point under or through the pavers. Some homeowners try to skip this and bolt a heavy base plate onto the pavers themselves using weight distribution, but that is not code-compliant for a permanent structure and will shift over time. Budget for some paver removal and patching at each post location.
Tile and composite surfaces
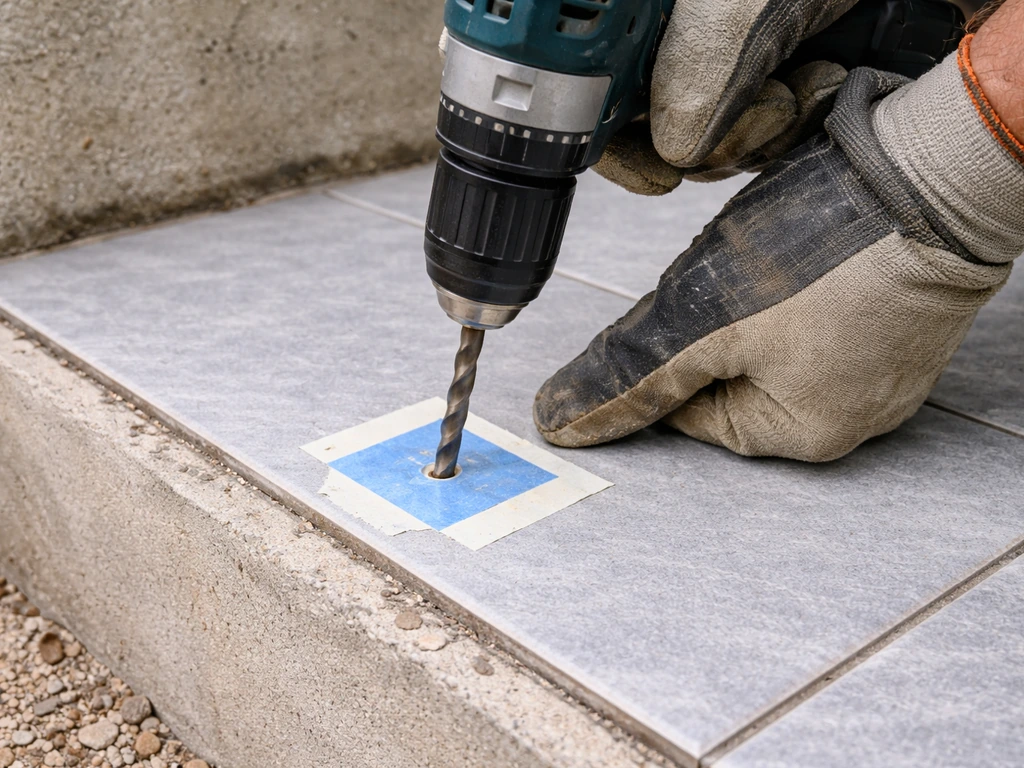
Tile over concrete is essentially the same as plain concrete for anchoring purposes, with one extra step: you need to drill through the tile carefully with a masonry bit before hitting the slab, and seal around the post base flange to prevent water intrusion under the tile edge. Composite deck boards or wood decking over a frame is a different situation entirely. In that case, the pergola post loads need to transfer through the decking into the structural frame underneath, which means you are really anchoring to the deck joists or beam, not the surface boards. That often requires sistering a doubled joist or adding a blocking section under each post location.
Freestanding vs attached: where do the posts go?
The layout decision comes down to whether you want the pergola to be entirely self-supporting or whether one side will attach to your house wall. Both are common and both work, but they have different engineering and permit implications.
Freestanding pergola over a patio
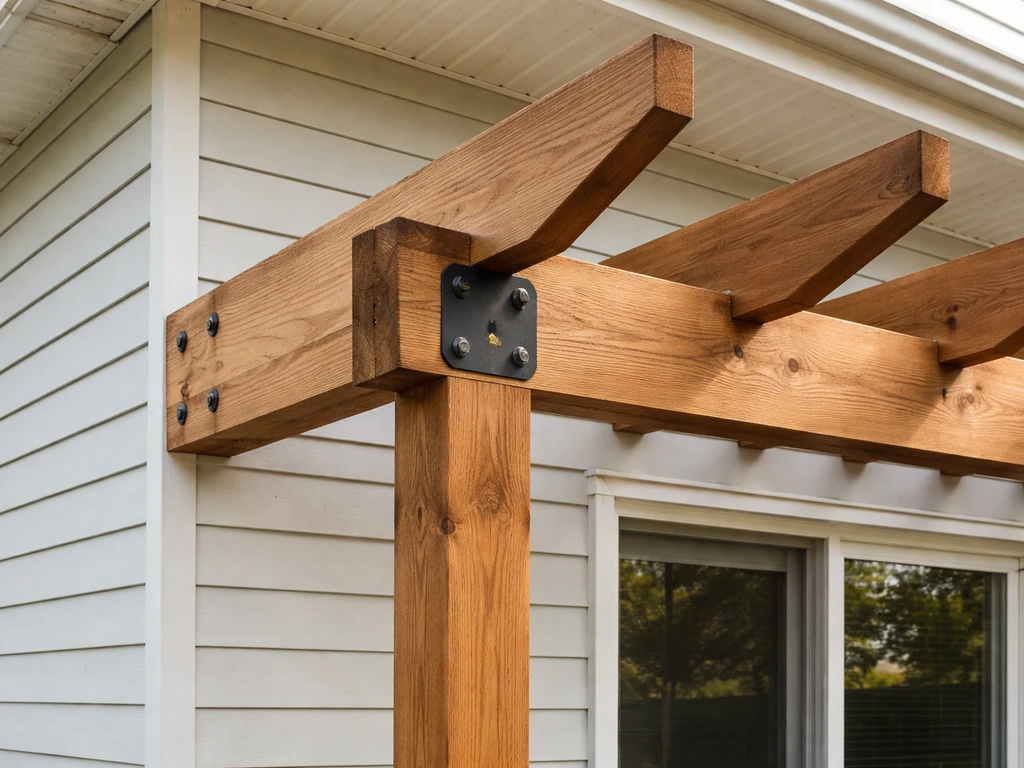
A freestanding pergola has four or more posts carrying all the load independently. This is simpler from a code standpoint in many jurisdictions because it does not penetrate the building envelope. Post locations are flexible, so you can position them to avoid furniture chokepoints or existing patio features. The tradeoff is that all four posts need proper anchoring and the structure needs bracing or cross-ties to resist racking from wind. For most residential patios in the 12x16 to 20x20 foot range, a four-post freestanding pergola is the most common and practical choice.
Attached (ledger-mounted) pergola
An attached pergola uses a ledger board bolted to the house wall to support one end of the rafters, with posts only on the outer edge. This reduces the number of posts on the patio surface and gives a cleaner look, but it introduces real complexity. Per IBC Section 1604. IBC Appendix I provides conditions for patio covers on a concrete slab on grade without footings in frost-depth-zero areas, provided the slab meets Chapter 19 requirements and other limits such as slab thickness and column loading IBC Appendix I conditions for slabs on grade in frost-depth-zero areas. 8.3, attached structures need to be positively anchored to the primary structure and designed for both vertical and lateral loads. That means the ledger must be bolted into the house framing, not just the sheathing or siding, and the connection needs to be flashed properly to prevent water infiltration. Most building departments scrutinize ledger connections carefully, and this is the detail that fails inspections most often. If your house has stucco, EIFS, or engineered wood siding, ledger attachment is significantly more complicated.
Post placement and furniture flow
Before you finalize post locations, walk your patio with tape measure in hand. A dining table typically needs at least 36 inches of clearance on all sides for chair pull-out. A grill needs a 3-foot clear zone. Mark your post locations with chalk or stakes and physically walk the space. The most common mistake is placing posts exactly at the patio corners without accounting for the fact that post bases add 4 to 6 inches of footprint and base plates can be tripping hazards near traffic paths. Inset the posts 6 to 12 inches from the patio edge where possible.
Permits, setbacks, and when to call a pro
The permit question is genuinely variable by location, but here is a reliable rule of thumb: if the structure is permanent, attached to the house, over a certain square footage (often 200 sq ft but sometimes as low as 120), or in an HOA, you almost certainly need a permit. Even purely freestanding pergolas over patios require permits in many jurisdictions. The permit process for a simple freestanding pergola is usually straightforward, takes 1 to 3 weeks, and costs $50 to $200 in most areas. Skipping it risks fines, required teardown, or complications when you sell the house.
Setbacks are the other code issue that bites people. Most residential zones require structures to be set back 5 to 10 feet from property lines and sometimes from easements. A pergola that feels centered on your backyard patio might actually violate the rear setback if your lot is small. Pull your property survey or check your county GIS map before you commit to a layout. If you are in a corner lot or have a side setback issue, you may need to shift the whole structure or apply for a variance.
You need a licensed contractor or structural engineer when: the pergola will be attached to the house with a ledger, your area has high wind or snow loads (more on that below), the existing patio slab is in poor condition, or the building department requires stamped drawings. For a straightforward freestanding pergola on a sound concrete patio in a low-wind zone, an experienced DIYer can handle the build, but the permit application still needs to match local code requirements.
Footings, drainage, and wind: the safety checklist
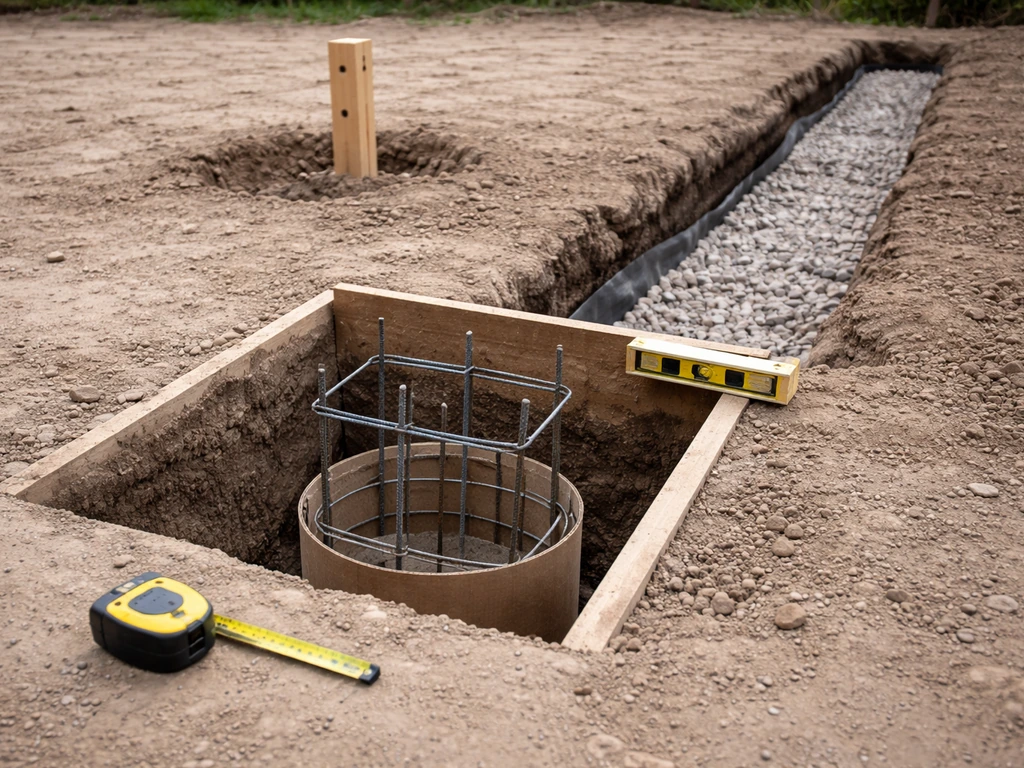
This is the section most DIY guides skip over too fast, and it is where pergolas fail or become unsafe. IRC Appendix H patio covers must be designed to sustain the dead load plus a minimum vertical live load of at least 10 psf (with snow loads used where they exceed that minimum). Work through each of these before you buy materials.
- Frost depth: In areas with freezing winters, footings must extend below the frost line (typically 12 to 48 inches depending on your climate zone) or the posts will heave and shift. IBC Appendix I does allow supporting patio covers on a concrete slab on grade without separate footings, but only in frost-depth-zero areas and only when the slab is at least 3.5 inches thick and column loads do not exceed 750 pounds per column. If you are in a freeze zone, you need deeper footings.
- Live load and dead load: IRC Appendix H requires patio covers to handle at minimum a 10 psf vertical live load. In snow country, the governing snow load (which often exceeds 10 psf) applies instead. A typical open-lattice pergola is light, but if you add fans, lights, a shade sail, or a solid roof panel kit, the dead load climbs fast. Calculate or have someone calculate the combined load before sizing your beams.
- Wind load: IRC Appendix H includes wind speed design tables for patio covers. Check the ultimate design wind speed (Vult) for your county. Coastal areas and the Great Plains can see Vult values of 130 mph or higher, which requires significantly heavier hardware and connection details than a low-wind zone.
- Post base hardware: For surface-mounted posts, use hot-dipped galvanized or stainless steel post bases rated for the post size and load. In coastal areas, use stainless only. The 5/8-inch concrete anchor spec common in pergola kit instructions is a minimum for light residential loads. In high-wind areas, your engineer may specify larger anchors or epoxy-set anchors.
- Drainage: Where post bases sit on the slab, water can pool around the base flange and wick into the post end grain. Use standoff post bases that hold the post bottom 1 to 2 inches above the slab surface. This single detail significantly extends post life.
- Drainage at pavers: If you cut out pavers for footings, make sure the new concrete footing is sloped or flush so water does not pool. Pavers generally drain well through the joints, but a footing patch that is slightly proud of the surface will create a puddle.
- Slab penetration: If drilling through a concrete slab for deeper footings, ensure you are not cutting rebar or post-tension cables. On larger commercial-style slabs, get an X-ray or GPR scan first. For typical residential slabs this is usually not an issue, but it is worth asking the original contractor or checking any original drawings if you have them.
The DIY build path: what to measure, what to buy, and how it goes together
If your situation clears the checklist above, a straightforward freestanding pergola over a concrete patio is a realistic weekend-plus project for someone comfortable with basic carpentry. Here is the practical sequence.
Measurements to take before anything else
- Patio dimensions (length x width) and any irregular edges or steps
- Distance from patio edge to property lines and house wall
- Overhead clearance (any eaves, gutters, utility lines, or second-floor windows above the patio)
- Slab thickness (drill a small test hole at an inconspicuous edge spot if unknown)
- Post spacing you want: most pergola designs use 8 to 12 foot spans between posts for 4x4 or 6x6 lumber at residential scale
Material choices
For a wood pergola, pressure-treated lumber is the most economical and holds up outdoors. Cedar and redwood are naturally rot-resistant and look better but cost more. For a 16x16 foot pergola, typical materials include four 6x6 posts at the height you want (usually 8 to 10 feet), two or three doubled 2x10 or 2x12 beams across the top, and 2x6 or 2x8 rafters spaced 12 to 18 inches apart. Aluminum and vinyl pergola kits are also common and worth considering if you want lower long-term maintenance. Kit systems from brands like Pergola Depot come with all hardware including the post bases and concrete anchors, which simplifies the materials list significantly.
Build sequence at a high level
- Lay out post locations with stakes and string lines. Check for square using the 3-4-5 method or by measuring diagonals (they should be equal).
- Mark and drill concrete anchor holes at each post base location using a hammer drill and masonry bit sized for your anchor bolts.
- Set the post bases with the specified hardware (typically 5/8-inch wedge or sleeve anchors for surface-mount installs). Torque to manufacturer spec.
- Set posts in the bases, plumb each one carefully with a level, and brace temporarily with diagonal 2x4s screwed to stakes in the ground.
- Install beams across the tops of the posts using structural connectors or notched beam seats. Double-check level across all beam tops before fastening permanently.
- Install rafters across the beams at your chosen spacing. Bird's-mouth cuts or metal rafter ties connect them at the beam.
- Add any decorative end cuts, cross-bracing, or lattice if desired.
- Install post caps and any finish hardware. Remove temporary bracing only after the full frame is connected.
- Schedule your final inspection if a permit was pulled.
A two-person crew with basic tools (hammer drill, circular saw, level, socket set) can typically complete a 16x16 freestanding pergola on an existing concrete patio in two full days of work, not counting permit wait time or material delivery. The most time-consuming part is usually the layout and leveling, not the actual assembly.
Common gotchas to watch for
- Unlevel slab: Most residential patios slope slightly away from the house for drainage, typically 1/8 to 1/4 inch per foot. Your post bases need to accommodate this, either by shimming the base plate or using adjustable standoff bases. Do not assume the slab is level.
- Post placement on pavers: Even with concrete footings poured under the paver locations, the surrounding pavers may settle unevenly over time. Check and re-level post bases seasonally for the first couple of years.
- Walkway clearance: Posts at the patio edge can block side-yard access. The IBC requires a minimum 36-inch clear walkway width. Measure before you set post locations.
- Anchoring into weak or thin material: If someone poured a 2-inch overlay slab on top of an existing cracked slab, that overlay will not hold anchors reliably. Probe for delamination by tapping with a hammer. Hollow sounds mean the overlay is separating.
- Gutter and eave conflicts for attached versions: If you are attaching to the house, the ledger often needs to go above the gutter line or the gutter needs to be relocated. Plan for this before you start cutting into the house.
Costs, time, and how this compares to other covered patio options
A DIY wood pergola on an existing patio runs roughly $1,500 to $4,000 in materials for a 16x16 foot structure, depending on lumber species and hardware quality. A kit pergola from a reputable supplier in the same size range runs $2,500 to $6,000 for the kit itself, with the labor savings of pre-cut and pre-drilled components. Hiring a contractor to build a custom pergola on your patio typically runs $5,000 to $15,000 for the same footprint, with high variability based on design complexity and regional labor costs. If you are also considering a patio cover, comparing patio cover vs pergola upfront can help you choose the right level of shade and structure.
Time investment for a DIY build is typically one to three weekends including layout, anchoring, and assembly, plus the permit wait if required. If you are comparing a pergola versus a patio cover, focus on how much overhead shade you need and whether you want an open or fully covered look covered patio options. Contractor timelines are usually one to three days of actual construction once scheduled, but scheduling lag can be weeks or months depending on your market.
| Option | Typical Cost Range | Shade Coverage | Permit Likelihood | DIY Difficulty | Best For |
|---|---|---|---|---|---|
| DIY wood pergola on patio | $1,500–$4,000 materials | Partial (open lattice) | Often required | Moderate | Budget-conscious, hands-on homeowners |
| Pergola kit (aluminum/vinyl) on patio | $2,500–$6,000 kit only | Partial to moderate | Often required | Low to moderate | Homeowners wanting faster, lower-maintenance build |
| Contractor-built custom pergola | $5,000–$15,000 installed | Partial to moderate | Often required | N/A | Complex designs, high-wind areas, attached builds |
| Solid patio cover (roof panel system) | $8,000–$20,000 installed | Full | Usually required | Low to moderate for kits | Maximum weather protection over existing patio |
| Attached covered patio addition | $15,000–$40,000+ | Full | Required | Not recommended for DIY | Full outdoor room, high home value addition |
The pergola is not the only option once you start comparing. If you want full rain protection, an open-lattice pergola will not deliver that. Solid roof panel systems and roofed patio covers (which overlap with what some people mean when they compare pergola vs covered patio options) cost more but give you weatherproof coverage. The pergola wins on cost, visual openness, and DIY accessibility. It loses on weather protection and sometimes on resale appeal compared to a proper roofed structure.
Your next steps for evaluating your specific patio today
Start with three quick checks before you spend any money or time on design. If you are comparing pergola options to a patio cover, the total cost usually comes down to structure size, materials, and how you plan to anchor it cost of pergola vs patio cover. First, measure your patio and mark your desired post locations to make sure the layout fits your furniture and clears your property lines. Second, check your local municipality's permit portal or call the building department to confirm whether a pergola of your planned size requires a permit and what setbacks apply in your zone. Third, inspect your slab or paver surface at each post location for cracks, soft spots, or delamination. If all three of those come back clean, you have a straightforward project ahead of you. If any of them raises a red flag, you will know exactly what to address before you commit to a design.
FAQ
Can a pergola be built on a patio without it being connected to my house?
Often, yes, but you need to confirm what the building department treats as “attached” in your area. If your pergola is freestanding and does not fasten to the house, many jurisdictions allow it with a simpler permit, even if it sits close to the wall. If you add roof beams that connect to the house, a ledger board, or any bracing that ties into the structure, it typically shifts into attached-structure rules, which usually means stronger engineering requirements and different inspection steps.
Do I need a permit if my pergola is small or freestanding?
In many places, you cannot rely on “it’s small” arguments. Permits can still be required based on total coverage area, attachment (if any), roof or beam configurations, and whether your lot is in an HOA. If you want fewer hurdles, choose a freestanding layout, keep it within allowed setbacks, and bring kit specs to the permit counter so the plan reviewers can match the hardware and anchorage details.
Can I anchor pergola posts directly into pavers without removing them?
Not if you’re planning a permanent structure. Bolting a heavy post base to pavers on top is a common mistake because the sand or gravel under pavers shifts and the base can loosen under wind and lateral forces. The safer approach is to create a concrete anchor point at each post location, either by pouring a footing through the paver area or installing a properly sized pad beneath the base plate.
What if my patio surface is wood decking or composite boards, not concrete?
If your patio is on a deck or a raised platform, the anchoring strategy changes. Surface boards usually cannot carry concentrated post loads safely, so you must route loads into the structural framing (joists and beams) underneath, often with blocking or sistered members at each post location. If you have a slab-on-grade patio, anchoring into the slab is typically the straightforward route.
Do pergola posts need to be buried, or is slab anchoring enough?
“Post depth” depends on required footing depth for local frost conditions and on whether your wind or snow loads demand deeper anchorage. A post base mounted to a typical residential slab can be acceptable in many low-load cases, but if your slab condition is poor or your design calls for greater loads, you may need to pour new footings through the slab or use an engineered layout that meets local load requirements.
What’s the most common reason attached pergolas fail inspections?
Yes, the inspection risk is highest with ledger attachments, even when the rest of the pergola is built correctly. Plan for a connection that goes into structural framing (not just sheathing), proper flashing details to prevent water intrusion, and hardware sized for uplift and lateral loads. If your house siding is stucco or EIFS, expect additional scrutiny because incorrect layering can cause hidden water damage.
How do I make sure my pergola won’t violate setback requirements?
Setbacks are often measured from property lines and sometimes from easements, not from your patio edge or fence line. A pergola that “fits” aesthetically can still violate a required setback when you account for post bases that extend beyond the beam line. Use your survey or GIS map to confirm the exact allowed zone, then adjust the full layout before you commit to drilling.
How do I choose post locations so the pergola doesn’t interfere with seating or walkways?
At a minimum, confirm the patio layout clears furniture and daily movement. Post bases can create tripping hazards near walk paths, and rafters can encroach on usable clearance when you’re seated. A practical approach is to stake or mark final post footprints first, then test-chair pull-out clearance and grill or seating clearances before finalizing the anchor points.
What should I do if my concrete patio has cracks where the posts will go?
Even if your slab is mostly solid, cracked or spalled concrete can cause anchor pullout. If you see active cracking, soft spots, or surface delamination near planned post locations, stop and plan remediation before installing anchors. Depending on conditions, you may need patching and re-drilling, or you may need to pour deeper new footings through the slab to meet load demands.
Can a pergola be designed to protect the patio from rain?
Weather protection changes the answer. A standard pergola with open rafters is for shade and airflow, not rain containment. If you want rain shielding, consider roofed panel systems or a covered patio approach instead, or add approved side screens or gutter-compatible roof elements designed to handle water flow and loads.
Next Article
Difference Between Pergola and Patio Cover vs Patio: What’s Best?
Compare pergolas, patio covers, and open patios by shade, protection, airflow, materials, cost, and when to choose each.