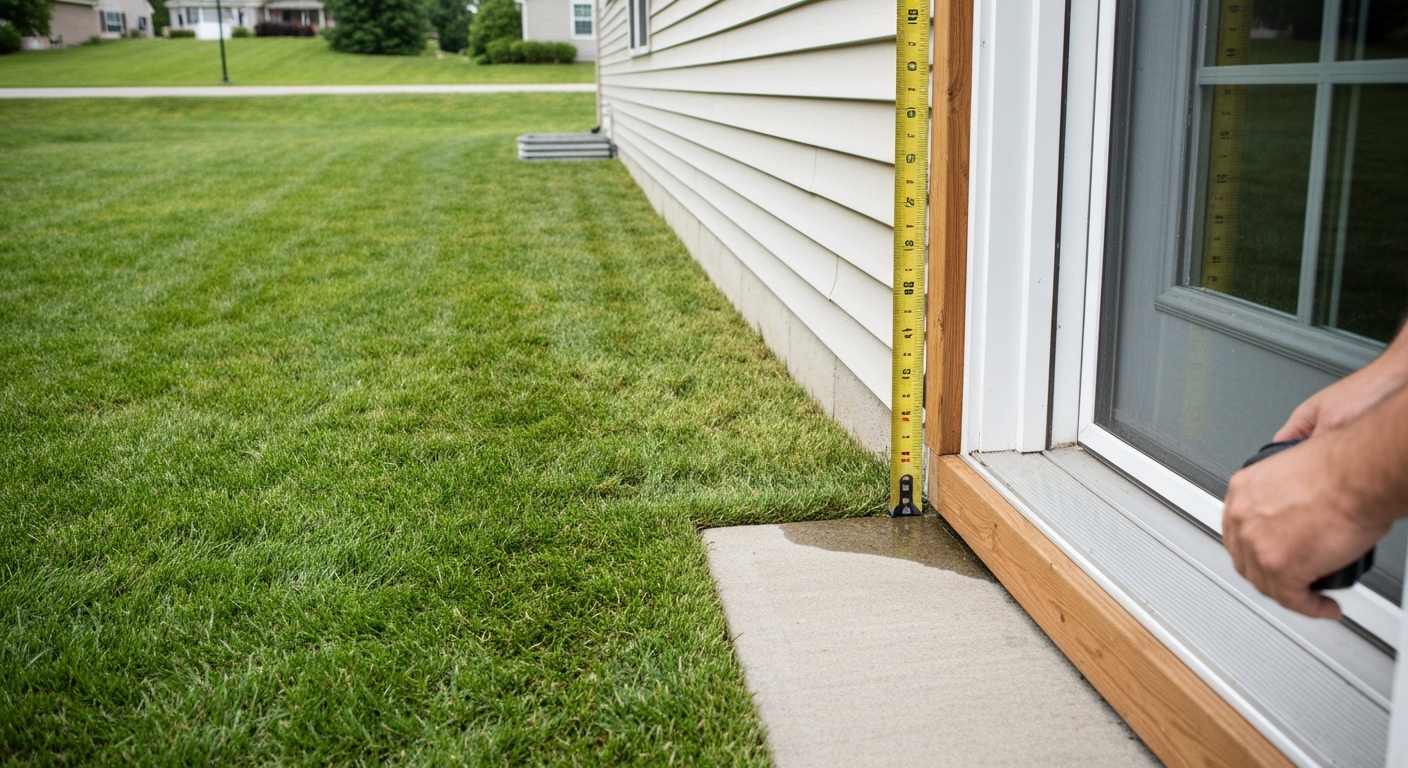
For most patios, you want the surface sitting about 1 to 2 inches below the interior floor level and sloping away from the house at roughly 1/8 to 1/4 inch per foot. There is no universal code-mandated horizontal setback that says a patio must be X feet from the wall, but there are clearance rules that affect how close your slab or pavers can get to the siding and foundation. If you are also wondering how close to the fence you can build, check your local setback rules because patio distance requirements often differ by property line and zoning. The practical sweet spot most builders land on: keep the patio surface at least 6 inches below the siding (vertical clearance), leave a small physical gap of 1/4 to 3/4 inch between the patio edge and the foundation wall, and make sure every inch of that surface drains away from the house.
How Far Should a Patio Be From the House? Setbacks

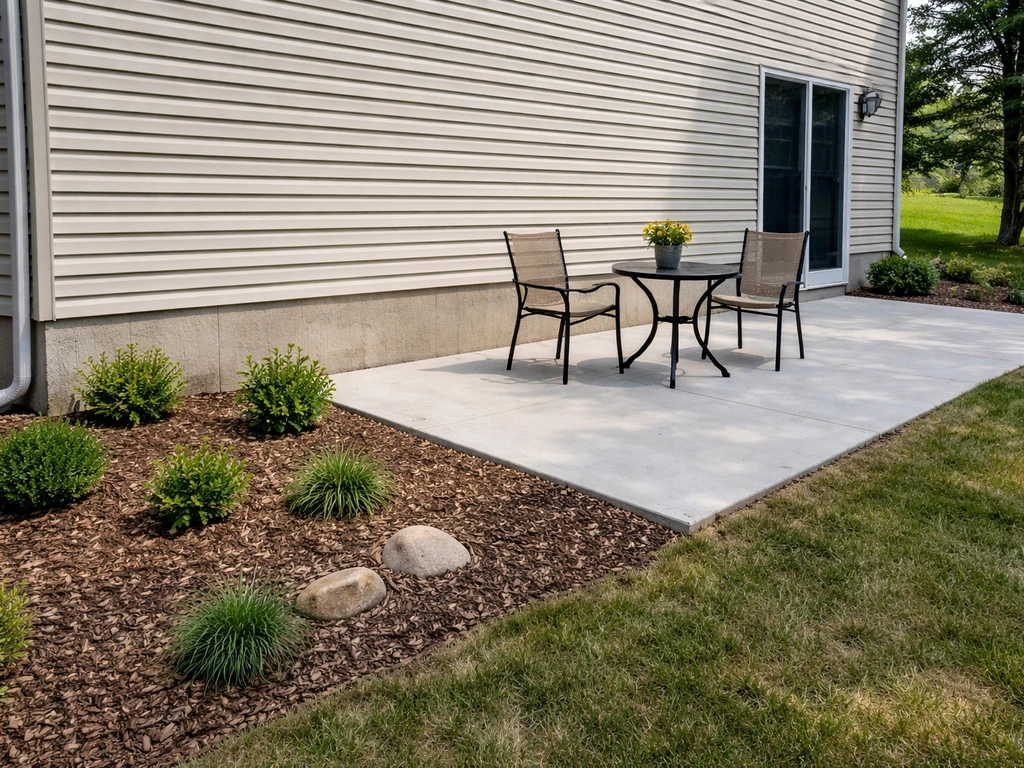
Typical spacing ranges at a glance
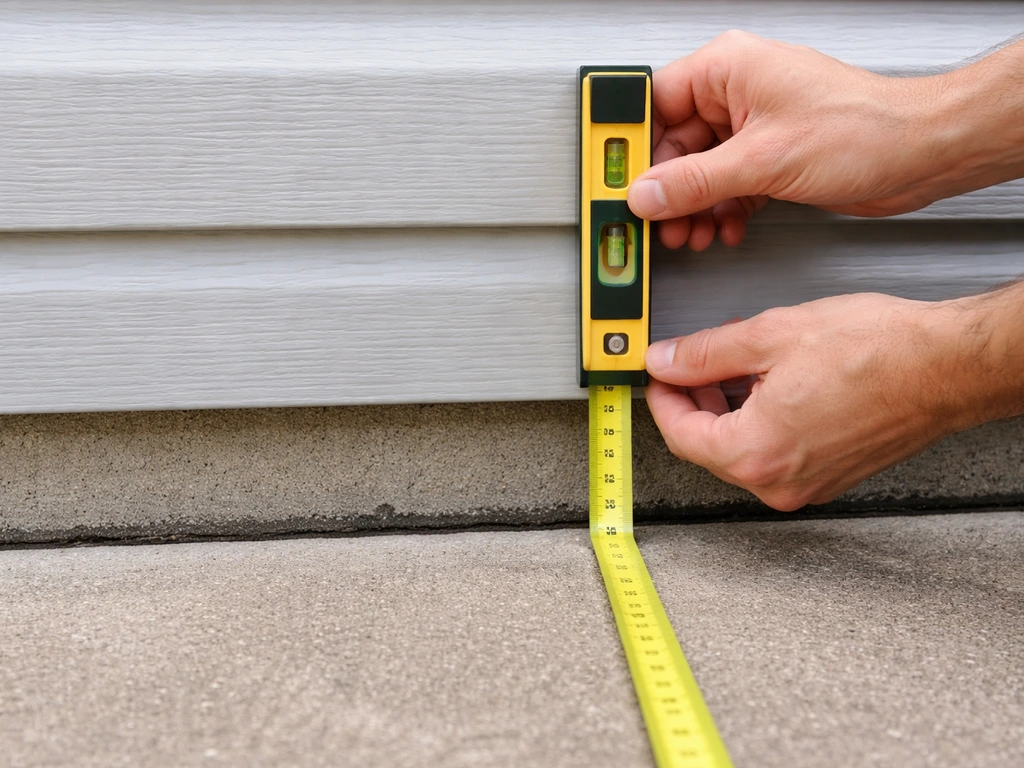
These numbers come up consistently across code documents, manufacturer guidelines, and builder best practices. Think of them as your baseline before you factor in your specific site conditions.
| Measurement | Recommended Range | Why It Matters |
|---|---|---|
| Siding bottom to patio surface (vertical) | 6 inches minimum | Prevents moisture wicking into siding and framing; required by IRC R703.3.1 for many cladding types |
| Wood siding to patio/porch slab (vertical) | 2 inches minimum per NYC code, 6–8 inches preferred | Wood siding is especially vulnerable; some jurisdictions require 8 inches from earth, 2 inches from covered slabs |
| Physical gap between patio edge and foundation wall (horizontal) | 1/4 to 3/4 inch gap, filled with backer rod or coarse gravel | Allows for thermal expansion/movement and gives water a path out rather than pooling against the foundation |
| Patio slope away from house | 1/8 to 1/4 inch drop per foot of run | Ensures surface water drains away, not toward the foundation |
| Patio surface vs. interior floor level | 1 to 2 inches below interior floor | Keeps threshold dry and reduces risk of water migrating inside during heavy rain |
Why the distance actually matters
The reason this question exists is water. Every time it rains, your patio becomes a collection surface, and the house is sitting right next to it. If the patio is too high, too flat, or pressed tight against the siding without any gap, you are essentially directing water toward your foundation and wall framing every single storm. That is how rot, efflorescence, mold, and cracked foundations start.
Siding clearance matters because most claddings, whether vinyl, fiber cement, engineered wood, or traditional wood, depend on a drainage plane behind them. That plane only works if water can exit at the bottom. If a slab is sitting 1 inch below the bottom edge of your siding, water running down that drainage plane has nowhere to go. It pools, it saturates the bottom plate, and over a few years you end up with rot in places that are expensive to fix. The APA (a wood products research group) specifically calls out 6 inches of clearance from siding bottom to grade as the minimum to keep that drainage path functional. Building Science Corporation recommends maintaining at least about 6 inches of clearance from the bottom of siding to grade to keep the drainage path functional 6 inches of clearance from siding bottom to grade.
Foundation contact is a separate concern. Soil and organic material held against a foundation wall by a patio edge can trap moisture, create freeze-thaw pressure, and in some climates accelerate concrete spalling. Leaving even a 1/4 to 3/4 inch gap and filling it with coarse gravel or a foam backer rod gives water a path out and accommodates the natural seasonal movement of both the slab and the foundation. It sounds minor, but homeowners who pour concrete slabs flush against the foundation often end up with cracked corners within a few seasons.
Airflow is a quieter factor, but it matters too. A patio that sits high against the wall reduces ventilation at the base of the exterior wall system. Combined with trapped moisture, that creates exactly the conditions mold and wood-destroying insects prefer. Keeping the surface lower and slightly separated gives the wall base a chance to dry between rain events.
What local code actually says (and how to check)

Here is the honest reality: the International Residential Code (IRC) does not state that a patio must be 3 feet or 5 feet from your house. What it does regulate is the clearance between siding and adjacent horizontal surfaces. IRC R703.3.1 requires at least 1/2 inch clearance between certain polymeric claddings and adjacent surfaces like slabs, decks, and roofs, plus at least 6 inches from the ground. Local jurisdictions often adopt stricter versions of this.
The Los Angeles County regional code program is a good example of how local rules layer on top of baseline IRC language. Their patio cover documents reference minimum setbacks of 6 feet 8 inches or 7 feet for unenclosed patio covers, with notes that setbacks may vary by zone. That kind of variance is everywhere. What applies in a dense suburb of Chicago is not what applies in a rural county in Tennessee.
If you are adding a patio that is just a ground-level slab or paver surface with no roof, many jurisdictions do not require a permit at all, but that does not mean drainage and grading rules disappear. If you are adding a covered patio, an attached pergola, or anything with a roof structure, you almost certainly need a permit, and setbacks from property lines and the house itself become formal requirements. The related question of how close to the property line you can build ties directly into this, so it is worth checking both your house setback rules and your property line setbacks at the same time.
- Call or visit your local building department and ask specifically about patio slab permits, drainage requirements, and siding clearance rules for your cladding type.
- Look up your property's zoning classification online (most county GIS portals show this) and pull up the accessory structure setback table for that zone.
- If you have a covered patio or plan to attach anything to the house, ask whether a structural permit is required and whether you need engineered drawings.
- Check your homeowner association (HOA) rules separately, since HOAs often have stricter surface material and setback rules than the municipality.
- If your lot has slopes or is near a drainage easement, ask the building department whether a grading plan is required before you excavate.
How patio type changes the spacing rules
Poured concrete slab
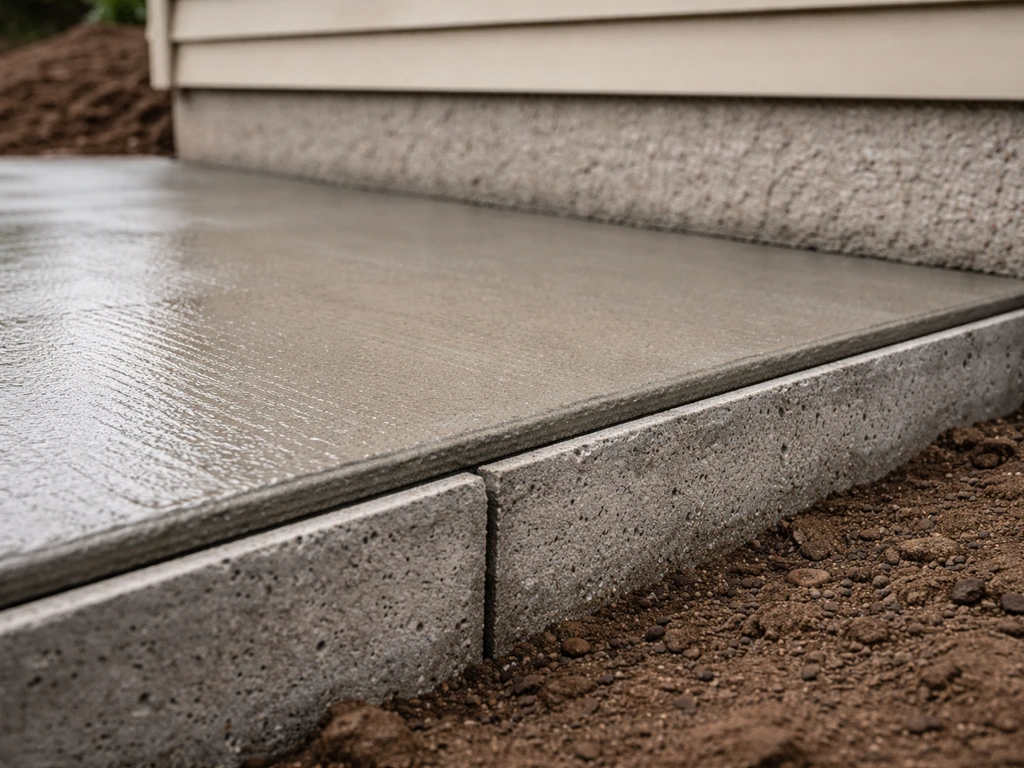
A poured slab is rigid and essentially permanent once it cures. That rigidity means you need to be more intentional about the movement gap at the foundation. A slab poured flush against the foundation wall with no isolation joint will eventually crack at that junction as the slab and foundation settle at different rates. Standard practice is to use a 1/4 to 1/2 inch isolation joint (a compressible foam strip) between the slab edge and the foundation, which also serves as the gap that lets drainage water exit rather than pool. The slab surface should be finished to slope at least 1/8 inch per foot away from the house.
Permeable pavers and segmental pavers
Pavers give you more flexibility because they are not monolithic. You can leave a gap of 1/2 to 3/4 inch between the last paver course and the foundation, fill it with coarse gravel (3/4 inch crushed stone works well), and water will drain through rather than pooling. Some installers pull the pavers back 4 to 6 inches from the foundation entirely and fill that strip with gravel, which essentially creates a French drain channel at the base of the wall. This is especially useful if your house has no gutters or if a downspout dumps near that corner. The Home Depot paver installation guide is consistent with this approach: always work outward from the house, slope the base away, and never trap water at the wall.
Covered vs. uncovered patios
A covered patio changes the equation in two ways. First, the roof structure (whether it is an attached pergola, a patio cover, or a full room addition) will need to be permitted and will have formal setback requirements from the house and from property lines. Second, a covered patio actually reduces direct rain splash at the wall, which can be a net positive for moisture management, but roof runoff from that cover then becomes a new drainage problem you need to route away. Plan for gutters and downspouts on any patio cover roof that sheds water toward the house.
Steps and transitions
If your patio requires steps down from the door threshold, each step puts the patio surface a bit lower relative to the siding, which is generally better for clearance. A common scenario: a door threshold sits 7 inches above grade, and the patio needs two steps to get down to the patio level. That naturally creates the vertical separation you need. What to watch out for is the landing at the top of the steps pressing tight against the wall. That top landing or stoop should follow the same siding clearance rules and still slope away from the door.
Site-specific situations that change the math
Downspouts and roof runoff
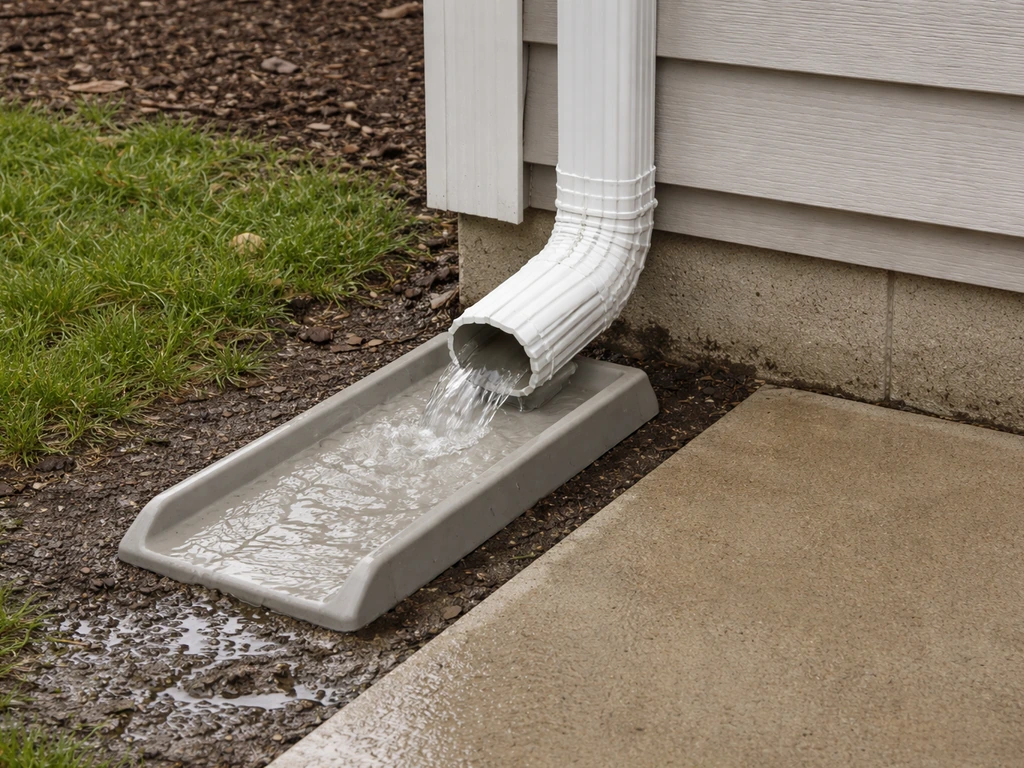
A downspout dumping onto or near your patio surface is probably the single biggest moisture risk in any patio layout. Wherever a downspout exits, you either need to extend it at least 4 to 6 feet away from the foundation before it discharges, or you need to trench it underground with a pop-up emitter in the yard. Never let a downspout discharge at the patio surface right against the house wall. Even a perfectly sloped patio cannot move that volume of roof runoff fast enough during a heavy rain.
Sloped lots
If your yard slopes toward the house (a negative grade), a patio actually makes the problem worse by creating a large collection surface that funnels water to the wall. Before you build, you need to establish positive drainage by regrading the area so water moves away. The IRC's foundation chapter addresses setback requirements for footings near descending slopes, and some jurisdictions require a minimum horizontal distance between a patio footing and a slope for structural reasons, not just drainage. If your lot drops sharply within 10 to 15 feet of the house, talk to a structural engineer or your building department before finalizing the patio layout.
Landscaping beds between the house and patio
A lot of homeowners want a planting bed running along the house wall and then the patio starting a few feet out. This is actually a good drainage strategy as long as the bed is graded to drain away and not mulched so heavily that it holds water against the foundation. Keep mulch at least 6 inches below the siding bottom, and slope the bed surface outward toward the patio. If you go with river rock or decorative gravel instead of organic mulch, you get better drainage and less organic material accumulating against the foundation.
Retaining walls
A retaining wall near the house creates a catch basin effect if drainage is not engineered. Any retaining wall within 10 feet of the foundation should have a gravel backfill with a perforated drain pipe at its base, routed well away from the house. If the retaining wall is holding back soil that sits higher than your patio or foundation, that hydrostatic pressure has to go somewhere, and without drainage it will push toward the path of least resistance, which is often your foundation wall.
Utilities, fire features, and hot tubs
Buried utilities (gas lines, irrigation, electrical) need to be located before you excavate. Call 811 (in the US) at least 3 business days before digging, regardless of how shallow your patio excavation is. For fire pits and outdoor fireplaces, most jurisdictions require a minimum clearance of 10 feet from any combustible structure, so factor that into patio placement if you plan to add a fire feature later. Hot tubs add significant point loads, so confirm that your patio slab thickness and base compaction can handle the weight (a filled hot tub can weigh 3,000 to 6,000 pounds), and ensure any electrical and plumbing rough-ins are planned before the slab is poured.
Measure before you build: a practical layout checklist
Doing this in the right order saves a lot of rework. Walk the site with a tape measure, a 4-foot level, and a marker before you call a contractor or rent a plate compactor.
- Measure from the bottom of your siding to the current grade at multiple points along the wall. You want at least 6 inches of clearance everywhere. Mark any spots where the grade is too high and note how much soil needs to come out.
- Find your door threshold height and measure down to grade. This tells you whether you need steps and how many, and it sets the target elevation for the finished patio surface (aim for 1 to 2 inches below threshold).
- Use a long level or a string line stretched from the house outward across the planned patio footprint. Measure how much the ground rises or falls. You need at least 1/8 inch of drop per foot moving away from the house, so calculate the minimum height difference across your patio width.
- Walk the roof perimeter and identify every downspout location. Note where each one exits and where the water currently travels. Plan your patio layout so downspouts are either redirected underground or discharge at least 4 to 6 feet beyond the patio edge.
- Mark any buried utilities by calling 811 and waiting for flags. Do not skip this step even for shallow excavation.
- Sketch the patio footprint on graph paper and note the finished surface elevations at the house edge and at the far edge. Confirm the slope math works out before you commit to an elevation.
- Check local code for your cladding type (vinyl, fiber cement, wood) and confirm the required vertical clearance. Note it on your sketch so your contractor knows the constraint.
- If the patio abuts the foundation, decide now whether you will use an isolation joint foam strip (for poured concrete) or a gravel-filled gap (for pavers). Both need to be in the plan before excavation starts.
How this guidance compares for decks, porches, and other structures
A ground-level patio slab or paver surface sits on grade, so the primary concerns are drainage slope, siding clearance, and foundation gap. Once you move to a deck, a covered porch, or an elevated structure, the rules shift in important ways.
| Structure Type | Primary Spacing Concern | Code/Permit Trigger | Key Difference from a Patio |
|---|---|---|---|
| Ground-level patio (slab or pavers) | Vertical siding clearance (6 in. min.), drainage slope, movement gap at foundation | Often no permit for surface only; check local rules | Sits at or near grade; moisture risk is primarily from surface drainage and siding contact |
| Elevated deck (attached) | Ledger board connection to house framing, joist clearance from grade (typically 12 in. minimum), drainage away from ledger | Almost always requires a permit; IRC Chapter 5 and deck attachment provisions apply | Physical attachment to the house structure is the critical detail; water behind the ledger causes major rot issues |
| Attached covered porch | Roof drainage, formal setbacks from property lines, structural attachment, siding clearance under roof edge | Permit required; often treated as an addition to the house footprint for zoning | Creates a larger structure with its own roof drainage; increases the square footage counted toward lot coverage limits |
| Detached patio cover or pergola | Property line setbacks, foundation/footing size, clearance from house for fire rating | Permit likely required; setbacks apply as accessory structure | Not attached to house so ledger issues disappear, but property line setbacks still apply |
| Screened porch or enclosed patio room | Egress window requirements, structural loads, energy code in some states | Definitely requires a permit; may be treated as conditioned space depending on enclosure level | Highest code complexity of the group; egress and insulation requirements add significant design constraints |
The practical takeaway is that a simple ground-level patio gives you the most flexibility because the primary rules are about drainage and material clearances rather than structural attachment. As soon as you add a roof, attach it to the house, or elevate it off the ground, you are in permit territory and the setback and structural rules become more formal. If you are trying to decide between a patio, a deck, or a covered porch, understanding these differences in complexity and cost is part of making the right call for your property.
The related questions of how close to the property line you can build, the code clearance between siding and patio, and how close to a fence you can build all connect to this same family of decisions. The patio-to-house distance is just the first measurement you need to nail down, and once you have it, the others follow in a logical sequence.
What to do right now
If you are still in the planning stage, the fastest useful thing you can do today is walk around the house with a tape measure and check the existing siding-to-grade clearance everywhere the patio will sit. If you already have less than 6 inches, you know before spending a dollar that the patio surface needs to come in lower than existing grade, which affects excavation depth and potentially steps. That one measurement shapes almost every other decision in the layout.
After that, identify where your roof runoff goes, confirm your cladding type and its clearance requirement, and pull up your local jurisdiction's accessory structure rules online. Most county building departments post their permit threshold rules and setback tables publicly. Armed with those three pieces of information, you are in a much better position to have a productive conversation with a contractor, pull your own permit, or finalize a DIY layout that will not cause moisture problems five years down the road.
FAQ
If there is no exact “X feet from the house” rule, how do I choose a safe patio distance anyway?
Start with the vertical relationship, then the drainage path. Confirm at the patio location that the patio surface will sit at least about 6 inches below the bottom of the siding, and that the surface slopes away at roughly 1/8 to 1/4 inch per foot. The horizontal distance is usually whatever you need to achieve those two conditions while still keeping a small edge gap at the foundation (commonly 1/4 to 3/4 inch).
Can I build the patio flush to the foundation wall and just rely on slope for drainage?
It is risky. Even with a good slope, direct contact traps moisture at the wall base and blocks the drainage plane behind siding. Use a separation strategy such as an isolation gap at a slab (often 1/4 to 1/2 inch) or a gravel backfilled gap for pavers, so water has a clear exit route as seasonal movement and settlement happen.
How far should a patio be from the siding, not just from the foundation?
Measure from the siding’s bottom edge to your planned patio grade at the closest point. The practical goal is to maintain about 6 inches of clearance below the siding bottom to keep the cladding drainage plane functional. If you cannot achieve that without making the patio too low, you may need regrading, steps, or a different patio elevation plan rather than pushing the patio closer horizontally.
What is the right way to handle downspouts near a patio corner?
Do not discharge onto the patio surface near the house. Extend each downspout so runoff lands roughly 4 to 6 feet from the foundation before it soaks into the yard, or route it underground using an approved method such as a pop-up emitter. If you expect frequent heavy rains, treat this as a primary design input, not an afterthought.
If my yard slopes toward the house, can I still build a patio without digging drainage?
Usually no. A negative grade funnels stormwater toward the wall, and a patio can worsen it by acting like a collection surface. You will likely need regrading so water moves away, and in some cases add subsurface drainage (for example, trenching or redirecting runoff) before the patio is poured.
Do pavers require the same foundation gap as a concrete slab?
Yes, the gap concept is still important, but the execution differs. With pavers, many installers leave a visible gap (commonly 1/2 to 3/4 inch) at the foundation and fill it with coarse gravel (often 3/4 inch crushed stone) so water drains through instead of pooling. Some designs also pull the paver edge back several inches and leave a gravel channel that behaves like a localized drain.
How do I prevent a slab isolation joint from becoming a water trap?
Keep the joint filled with a compressible material (like foam backer rod where appropriate) but ensure water can still escape at the bottom edge. Pair the joint with a slight outward drainage slope and avoid creating a “rim” where water can collect at the wall. If you see standing water after testing with a hose, adjust slope before curing any final surface.
Does a covered patio change how close it can be to the house?
Yes. Once you add a roof or attach structures, permitting and formal setback rules become much more likely. Also plan for roof runoff management, even if the roof reduces splash from direct rainfall onto the wall. Make sure gutters and downspouts route water away from the foundation, not toward the same corner you are trying to protect.
Will adding steps from the door affect the siding clearance requirement?
It can help, as steps typically lower the patio level relative to the door threshold and can increase the effective clearance from the siding bottom. Just avoid making the top landing press too tightly against the wall without maintaining the siding clearance principle at that landing area, and keep the landing itself draining away from the house.
How close can a patio be to a property line versus the house?
Your property line setback rules are separate from your patio-to-house drainage and siding clearance requirements. A patio might satisfy siding clearance but still violate side or rear property line setbacks, especially in dense neighborhoods or planned developments. Check your local accessory structure tables and zoning rules, not just the spacing to the house.
Do I need to call 811 if my patio is only near the surface?
Yes. Even shallow excavation can hit utilities you cannot see, and 811 is designed to prevent accidental strikes. Call at least a few business days ahead, and mark the planned patio area before you dig or compact the base.
What should I measure during planning to avoid rework before I excavate?
Measure three things: (1) existing siding bottom to grade clearance along the whole patio footprint, (2) the downspout discharge points and their distance to where water will land, and (3) the intended drainage slope using a level and marker. If the siding clearance is already tight, plan your excavation depth and step design first, because that usually dictates the rest of the layout.
Grass Is Higher Than Patio: Causes, Fixes & Deck vs Patio
Grass higher than patio? Causes, slope checks, repair options, lower lawn, raise patio, or build a deck, with costs & DIY